
As a mixologist who has developed a ton of cocktail recipes at home and loves to entertain, I totally understand the allure of the slick, shiny, and completely cool bar tools that catch the eye of many home bartending enthusiasts. You could spend hundreds buying all the fancy bits that promise to make cocktails more exciting, but I’ve always been of the mindset that I’d rather spend the bulk of my home bar money on ingredients instead of bar tools.
Why? Because you can’t taste most bar tools in a drink, but you can taste the quality of the ingredients. While bartending — even at home — requires a few important tools, the bulk of them are budget busters that won’t make a huge difference in your final drink. These are the bartending tools you don’t need for your home setup, why you don’t need them, and what you can use instead.
Boston shaker
When you belly up to the bar on a night out, part of the fun is watching a skilled bartender who knows how to wield a Boston shaker. They make it look easy. In a busy bar, Boston shakers make perfect sense, but there are easier-to-use options for the home enthusiast.
What’s so difficult about putting a tin and a pint glass together and shake, shake, shaking? There’s a learning curve to this seemingly simple contraption. The first is sealing the glass and the tin together at just the right angle. Next comes holding it properly for a good shake that doesn’t result in drink and ice splashing in your face. And the final one is perhaps the most frustrating for novices — separating the tin and glass that have magically vacuum-sealed together when it’s time to strain.
For these reasons, I recommend home bartenders grab a different type of cocktail shaker: the cobbler shaker. They’re made for home bar use, easy to maneuver, and have an attached strainer that makes it unnecessary to purchase and use other types of strainers. If you don’t have a cobbler shaker, don’t worry. You can use anything that seals with a lid, from a Mason jar to a Thermos, and strain the ice out using a fine-mesh sieve.
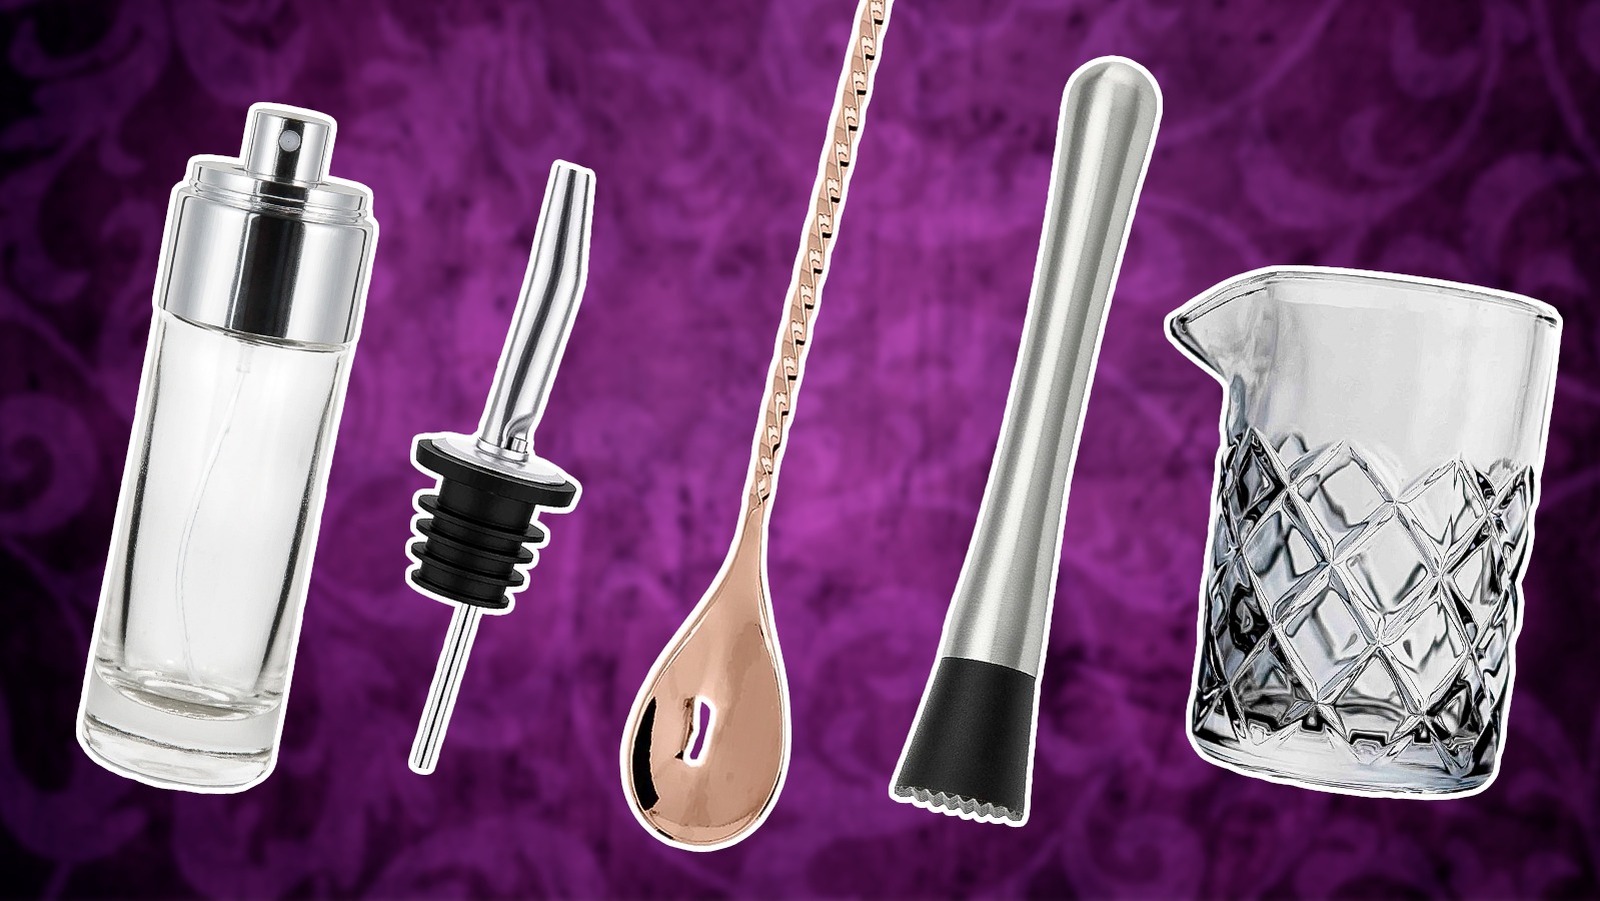
Bar spoon
Those long, twirly handled spoons look elegant in the hands of a skilled bartender stirring a drink. And in a professional setting where bartenders sometimes stir more than one drink at a time, the length of the handle makes total sense. You’ll also see bartenders using bar spoons for measuring small amounts of drink ingredients when a cocktail calls for just a splash.
While bar spoons are nice to have if you plan to stir a big batch of drinks at home, they aren’t necessary where you need the length of the handle. For measuring, you can use measuring spoons, a regular teaspoon, a jigger, a shot glass, or, if it’s a really small amount, you can just add a splash of an ingredient without measuring it. For stirring, any household spoon will do — I’ve even used a wooden spoon for batch drinks — or you can use a chopstick, a straw, or any other food-grade implement that’s long enough to fit in the glass you’re using.
Bottle pourers
You’ll often see pro bartenders pouring ingredients from long spouts stuck into the neck of a bottle, and they serve an important purpose in a bar. Many bartenders use pour counts instead of precisely measuring (because it’s faster and easier to do in a busy bar), and the pourers regulate the flow of the liquid so it’s easy to get a consistent count. As they pour, they count to measure their ingredients and create a balanced (and profitable) drink.
For most home bartenders, this isn’t ideal because it takes practice to perfect pour counts. If you’re drinking your own product as you’re pouring drinks for others, it gets more difficult to be precise with your counts (ask me how I know), so your drinks wind up out of balance and not as good as they could be. Nix the bottle pourers and measure your ingredients instead, using a shot glass or a jigger. This will keep your measurements precise and consistent, so your drinks will be more balanced and better tasting.
Mixing glass
Those pretty crystal cocktail mixing glasses you see bartenders use to make martinis and other spirit-forward drinks look so elegant. But they aren’t strictly necessary for a home bartender because you can mix your drinks in just about any vessel, from a jar to your uncovered cocktail shaker. While you don’t need a fancy mixing glass, you will need something for mixing if you’re making drinks that contain only spirits, such as martinis or classic negroni cocktails.
If a drink contains juices, you should always shake them in a shaker to get the right amount of dilution and to fully blend the ingredients. But with drinks that contain only liquors, stirring for 30 seconds to a minute creates the right level of dilution, chills the drink to just the right amount, and achieves the smooth, silky mouthfeel that makes spirit-forward drinks so yummy. So if you’re making all-spirit drinks, have something on hand to mix your spirits with ice, but it doesn’t have to be a mixing glass.
Atomizer
Bartending pros use atomizers to add a hint of flavor or aroma to a finished drink by spritzing something aromatic over the top. One of the most common uses of this is in a very dry martini, where the bartender wants to add just a hint of dry vermouth, so they spritz it over the top of chilled, straight vodka or gin just before serving. If you want to achieve a similar effect at home with aromatic ingredients like vermouth or absinthe, you can use a couple of different techniques that don’t require special equipment.
The first is rinsing the glass. Pour a dash of your aromatic into the empty glass and swirl it around the inside of the glass to coat the sides and bottom, dumping any excess out before building your drink and pouring it into that glass. Next, you could wash your ice. Put your drink ice in a container and add a dash of the aromatic liquid. Swirl so the liquid coats the ice and then strain off any excess liquid using a colander. Use that ice to chill your cocktail when you shake or stir it.
Multiple types of strainers
Pros use different strainers at the bar for various kinds of drinks. And strainers are indeed essential bartending tools — I use them all the time. They remove ice, strain pulp from freshly squeezed juices, and get out bits of herbs or other things you use to flavor your drink, resulting in a clearer drink without undesirable chewy bits. Most are pretty straightforward, although a Hawthorne strainer (it’s a flat, paddle-like strainer that looks like it’s rimmed with a spring) can have a learning curve if you’ve never used one.
If you’re making cocktails at home, you will need a strainer, but you don’t need all the kinds of strainers. Pick one that’s easy to use, such as a fine-mesh strainer, or use the built-in strainer in your cocktail shaker. In the absence of an official cocktail strainer, you can use other items that you may have on hand, like tea strainers or a bit of cheesecloth stretched over the top of the glass as you pour the drink into it.
Fancy cocktail glasses
Serving a drink in a fancy cocktail glass is a lot of fun, but how much cupboard space do you really have to devote to them? Probably not a lot, and there are so many different types of cocktail glasses. Even professional bars are turning away from having a whole bunch of barware and are getting back to the basics. All you need at home to serve drinks are three types of glasses: wine glasses, highball glasses, and rocks glasses.
You can use wine glasses for wine, drinks like sangria, and blended frozen drinks like daiquiris or margaritas. Drinks served on the rocks, like negronis, lemon drops, or margaritas on the rocks, fit perfectly well in rocks glasses. And highball glasses are perfect for spritz drinks like Tom Collins or mojitos. Still not enough cupboard space? Rocks glasses will do. Most drinks fit neatly in them, and you can fit plenty in your cupboards for entertaining.
Ice bucket and tongs
Those pretty silver ice buckets look nice at a party, and they’re fun for chilling tableside wine. But they aren’t necessary and are even impractical for large gatherings because they don’t hold much ice. And while the short silver tongs are cute for putting ice into drinks, you don’t need them. If the gathering is small and you’re mixing drinks for just a few people, you can scoop ice straight from the ice maker into your shaker and glasses.
For a party, keep the ice in an insulated cooler because it melts a lot slower, and depending on the size of the cooler, it will probably hold all the ice you need. Instead of ice tongs or an ice scoop, use a measuring cup or anything else that you have on hand that allows you to grab the ice quickly. To keep wine chilled, fill up a large bowl with ice and put the bottle of wine in that. No ice bucket or tongs needed.
Ice molds
Craft ice is having a moment in the cocktail world, and I have to admit that I love playing around with interesting ice molds to add a little panache to my drinks. But ice is ice, and while it has an effect on the flavor of the drink due to dilution and chilling, the shape doesn’t matter a bit. So while those ice molds are a lot of fun, filling your freezer full of every size and shape of ice known to humanity isn’t practical. A regular ice cube tray — or your fridge’s ice maker — is all you need for almost every drink you’ll create (unless you’re making mint juleps, where you need crushed or shaved ice).
If you want fancy ice, one way to add a little flair is to freeze herbs, fruit, or edible flowers in ice cubes and float them in your drink as garnish. If there’s one fancy ice mold that does make sense, it’s a king cube mold if you drink a lot of spirit-forward drinks like an old-fashioned. It’s not strictly necessary, but king cubes melt slowly, so your drink waters down less.
Muddler
Muddling herbs, fruit, and other ingredients is a great way to add tons of flavor to cocktails. Take the classic mojito, for instance. Bartenders use a muddler to lightly crush mint leaves to release their flavor into this light and tasty drink. These drinks are easy to make at home, but you don’t need a muddler to do it.
I’m a huge fan of muddling but terrible at keeping track of my muddler, so I often wind up using the back of a wooden spoon or a spatula instead. You can use anything with a rounded end to lightly crush herbs and fruit, from the backs of baking tools to a mortar and pestle. Pro tip: “Lightly” is the keyword here. If you over-muddle (particularly herbs), it can throw off the delicate balance of flavors in your drink, or it can leave behind a bitter taste. If you don’t make drinks with crushed herbs or fruit, you can skip muddling altogether.
Three-tier rimmer
If you have to give a lot of glasses a salt and sugar rim in a short period, then a tiered rimmer makes a ton of sense, which is why you see them used in bars. But at home, they are completely unnecessary since it’s so easy to add a rim to any type of glass quickly.
To do it, run a wedge of citrus (usually lime, lemon, or orange) around the rim of the glass (you can then use the wedge for garnish) and spread your salt or sugar on a saucer. Dip the rim into the salt or sugar, and you’re good to go. Another way to do it is to only dip one side of the glass into the salt or sugar, which I prefer because it gives everyone the option to sip on the rim or not. To do this, just run the wedge of citrus along one half of the glass and dip it in the salt or sugar — easy peasy and no special equipment needed.


