
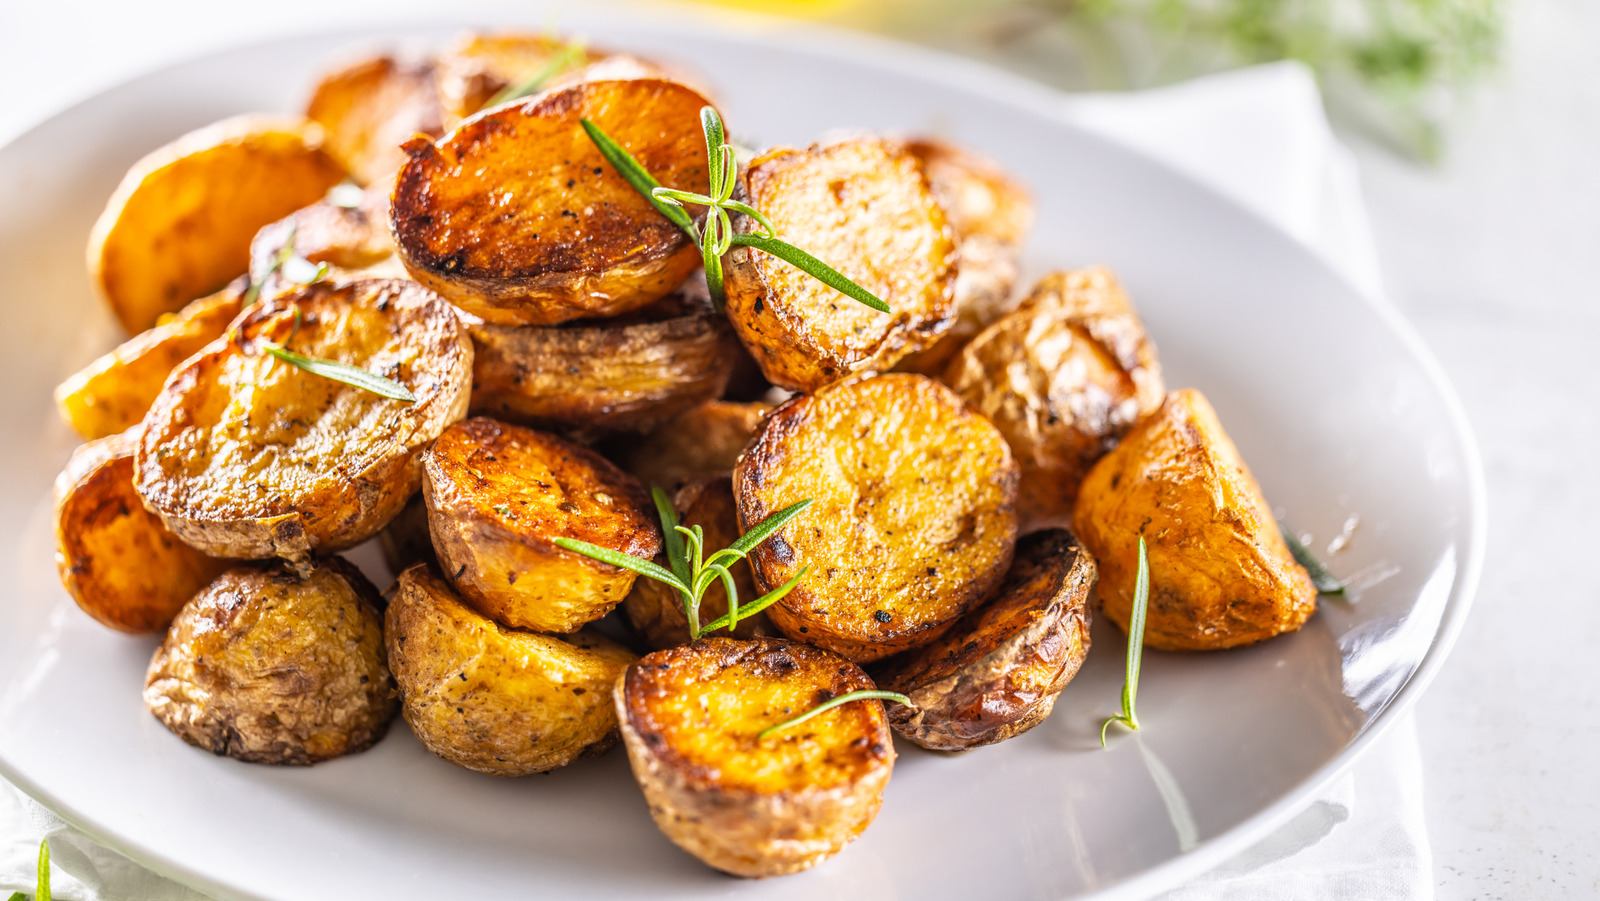
There are few dishes that are universally loved, but you’d undoubtedly feel hard done by if someone vehemently opposed the humble roast potato. Boasting a delectably crispy crust and delightfully fluffy interior, a perfectly cooked roast potato is pretty hard to beat, offering unrivaled satisfaction in a fuss-free package. And, though we all have different ideas of just what exactly qualifies as a ‘perfect’ roast potato, there are a few certain features that every great roast potato should have, including textural contrast between inside and outside, an inviting golden brown coating, and a wonderful depth of flavor. With so many takes on this dinnertime classic and an overwhelming array of recipes readily available, it can be tricky to know just what is necessary for achieving a successful batch of golden-brown roasties that are good enough to have your guests consistently coming back for more.
Amidst the array of information out there, there persists a handful of tips and tricks that truly do make all the difference. Mostly small, sometimes even ostensibly inconsequential, tweaks can take your homemade roasties to the next level, from picking the right type of potato to perfecting the amount of movement needed to craft that moreish crust. So, whether it’s your first time attempting roast potatoes at home or you want to up your game slightly, here are 12 tips you need to take them from a solid side to the star of the show.
1. Pick the right potato for the job
When it comes to nailing perfect roast potatoes, much of your success hinges on the type of potato you’re using. While you might be inclined to pick up the first option you see at the supermarket, the various types of potatoes are each suited to different jobs, and not just any kind will give you that perfect crunchy-fluffy combination you’re after. For best results, you’ll want to opt for a potato with a good degree of starchiness and sturdiness so that it holds its shape in the oven and doesn’t fall to pieces when you give the tray a shake. At the same time, choose one that isn’t too waxy, or else you won’t achieve that light and fluffy interior. Safe choices are therefore often any type of potato that is deemed “all-purpose,” for their versatility means they can be roasted without crumbling or staying too rigid.
If you’re in the U.K., Maris Piper and King Edward should be your go-tos, striking the ideal balance between fluffy and firm. Over in the U.S., Yukon Gold potatoes are one of the top choices, boasting the perfect texture for fuss-free roasting that would bring forth an inviting color and delicious, rich, and buttery taste that would take it to an extra indulgent level.
2. Swap oil for butter or animal fat
While most vegetable and seed oils are a fine choice for many things in the kitchen, when it comes to creating flavorful roast potatoes that hold their own alongside hearty joints of meat, a simple swap to butter or animal fat makes a significant difference. Cooking your roast potatoes in butter not only imparts a deliciously rich and nutty taste upon them but also grants them a truly decadent texture, providing crisp, lightly browned, and almost caramelized edges and a wonderfully soft, slightly creamy interior. Using butter also opens up the door for a wider range of flavor possibilities, since it couldn’t be easier to give your potatoes a wonderful garlicky, herbaceous, or spicy aroma than by infusing your butter with said ingredients before you start cooking.
For arguably even more indulgent spuds, however, animal fat is pretty hard to beat when it comes to securing both taste and texture. Whether you opt for duck fat, goose fat, or punchy beef drippings, animal fat provides the same tender, melting, yet beautifully crisp texture as butter while also giving the flavor a savory, meaty edge. It’s a richness and nuance that oil simply can’t compete with — the type of flavor that’ll have your guests asking for your secret. So whether you pick up a jar of goose fat from the supermarket or collect the rendered fat from the pan after roasting a beef joint, you’re sure to end up with showstopping results with little effort.
3. Preheat your fat in the oven first
A surefire way to ensure a beautiful golden brown and delightfully crisp exterior without overcooking your spuds is to make sure your fat is piping hot before you start cooking. Indeed, coating your potatoes in cool or room-temperature fat means you run the risk of them becoming soggy since parboiled potatoes will absorb some of the oil before things heat up enough. Sizzling hot fat, however, will ensure that the potatoes start crisping up as soon as the two come into contact, helping you obtain that perfect crunch without excess greasiness.
Simply line a sturdy, preferably slightly deep, baking or roasting tray with a hearty layer of your chosen fat, and pop it into a hot oven until the fat is shimmering and starting to sizzle (this shouldn’t take more than 10 minutes). After carefully removing the tray from the oven, gently lower your potatoes into the fat, being mindful not to drop them in from too high to avoid splashing yourself with piping hot oil. A slotted spoon or kitchen tongs make this a much safer and easier job. You should hear a hiss and crackle as soon as your potatoes come into contact with the layer of fat, a good sign that things have heated up properly and a wonderful crisping cue. Give them a quick toss to coat everything evenly before instantly returning them to the oven to keep things hot.
4. Cut your potatoes into even chunks
Though it may seem like a trivial detail, cutting your potatoes into evenly sized chunks is key for ensuring a perfect tray of uniformly cooked roasties. When all of your pieces are roughly the same size, they’ll take the same amount of time to cook all the way through, which means no unexpected half-raw centers awaiting inside larger chunks and no smaller portions turning to brittle, burnt, and inedible chips before the rest of the tray begins to brown. It’s no doubt far harder to achieve the perfect crispy-fluffy contrast when you’re trying to keep an eye on multiple-sized potatoes at once, and even harder to adjust things like shelf positions and oven temperature if you’re trying to accommodate for wholly different pieces. Thus, keeping things as uniform as possible sets you on the best path to success.
When it comes to deciding exactly what size and shape you’re after, it largely comes down to preference. There’s no set list of dimensions that guarantee a perfectly formed roast potato, and cooking time, level of heat, and conformity all play a much more important role. Smaller pieces may give you crispier edges in less time, whilst larger pieces offer a more substantial, satisfying bite overall, so take your pick based on your desired results and aim for general consistency in volume.
5. Add baking soda to your boiling water
When it comes to upgrading your roasties with minimal effort, there’s a trick that’ll take you less than two seconds to incorporate into your prep and that your future self will no doubt thank you for. As it turns out, this simple step of adding a pinch of baking soda to your boiling water is a total game-changer. Though it’s likely an unexpected addition to most of us, this culinary hero works wonders for obtaining a crispy, flaky crust, thanks to its impact on the pH levels of the water. Baking soda is an alkali, meaning that when you add it to water, it raises its alkalinity, helping to break down the potatoes just that little bit more than neutral boiling water would. The result is a soft and starchy outer layer that transforms into a beautiful craggy shell when roasted in hot fat. You won’t taste a difference, either, making this step absolutely one that you don’t want to skip if you’re after maximum crunch.
6. Toss your potatoes after draining
Once you’ve parboiled your potatoes in alkaline water and broken down some of their structure to give way to a starchy, slightly ragged exterior, there’s a simple step to ensuring extra fluff, and it’s simply giving them a bit of roughing up. Indeed, once you’ve drained your spuds, giving them a shake to break them apart a little more and fluff up the edges is an integral part of the process for crunchy, slightly crumbly exteriors and a wonderfully light and airy inside. As you toss your potatoes in a colander or empty pan after draining, you maximize their surface area by encouraging the outer layer to break up even more, creating rough edges and tiny crevices, ideal spaces for hot fat to cling to. The rougher, craggier outer layer also transforms completely in the oven, giving you a potato that comprises almost entirely of delectable crispy golden shards for an utterly moreish and satisfying mouthful.
You don’t need to exert too much force, especially if you’re working with relatively small chunks, as too much shaking could cause the potatoes to fall apart entirely. Just a few gentle shakes of whatever vessel your drained potatoes are in should agitate them enough to give you the fluffy insides and crispy outsides you’re after.
7. Let excess water evaporate
If your fat is piping hot, your potatoes are evenly cut, and you’ve tossed them up to craggy, flaky perfection, the last thing you want is for them to fall flat at the last minute, thanks to slightly rushed preparation. To avoid creating a soggy mess (and subsequently disappointing end results), you’ll want to ensure that you’re working with the driest potato chunks possible. Sure, draining them fully after boiling will rid them of most excess water, but letting the potatoes sit and steam for an extra few minutes is key to ensuring they’re free from as much moisture as possible, which in turn means they’ll crisp up immediately as soon as they hit the hot fat.
As such, though you may be inclined to introduce your potatoes to the heat as soon as you’re done prepping them, exercising a little patience makes a world of difference. Just spread out your drained chunks on a clean tray (not the same one with your fat on) and allow them to let off excess steam for a bit, dropping them into the oil once the steaming subsides and obvious signs of excess water have disappeared.
8. Don’t overcrowd your pan
One of the most common mistakes made when roasting potatoes (or anything, for that matter) is overcrowding your tray or pan, serving as a shortcut to uneven cooking and lackluster results. Though it may be tempting to get as many roasties in the oven as possible to speed things up, when you overload your tray and cram things together too tightly, the heat from the oven can’t circulate properly, meaning that some pieces will end up soft and soggy, while others may be overcooked. Even if your chunks are cut to roughly the same size, stacking them on top of each other or packing them so closely together that not enough heat can surround each piece will no doubt lead to mismatched colors and textures.
For best results, be sure to arrange your potatoes in a single layer, leaving a significant amount of room between each piece where possible. Of course, if you’re working with a small tray or a large batch of roasties, it may be impossible to keep them all at a significant distance from each other, so don’t fret too much if some pieces are touching. Just space them out as best you can and consider cooking them in batches if you’re preparing a particularly large volume. Remember that it’s much easier to reheat or keep finished roast potatoes warm than it is to save a mismatched, unevenly cooked batch midway through cooking.
9. Be sure to give them a shake
Though by and large, you’ll mostly want to leave your roast potatoes be as they cook, especially in the first 20 minutes or so, as they remain rather fragile, a good toss halfway through is a surefire way to keep things uniform and guarantee that perfect golden-brown coating all around. At the midway point of cooking, which will no doubt depend on both the size and amount of potatoes you’re working with, give the baking tray a gentle shake to disrupt the chunks slightly. If anything sticks to the bottom or doesn’t move, you can help things along by gently turning them over with a slotted spoon or pair of tongs. Doing so helps ensure that all parts of your roasties are getting adequately crispy, helping expose all corners and crevices to the magic of the hot fat. Moreover, if any potatoes have become stuck together, a gentle shake will prise them apart, allowing each piece to get the heat and space it deserves.
You don’t need to shake the tray vigorously; you’re simply trying to move the potatoes around a little and redistribute the fat slightly, so there’s no need to try and drastically flip or toss each potato with a flick of the wrist. Just pull your tray halfway out of the oven and give it a quick wiggle, paying attention to any pieces that might have become stuck or melded together.
10. Keep temperatures high
Much like with anything that you’re trying to grant a crispy crust without overdoing the interior — think fried chicken or perfectly-seared steak — the key to obtaining this balance with roast potatoes is in using high heat. High heat ensures that the exterior crisps up quickly and significantly, eliminating the risk of the insides drying out or toughening up over an extended period of time as you try and develop a golden-brown crust. Indeed, you may be able to achieve a decent crispy shell for your potatoes using low and slow heat, but not only will it pale in comparison to those cooked in a piping hot oven, but you’ll also run the risk of the inside being totally parched by the time you reach the color and consistency you’re after.
For best results that include fluffy but nonetheless moist interiors, keep your oven significantly hot. Aim for a temperature between around 400 to 450 degrees Fahrenheit, which will keep the fat nice and hot and stop anything from getting soggy (there’s nothing worse than a greasy potato that’s been steaming in a puddle of fat). If you’ve got meat you want to roast for the same meal, your best bet is to keep the two separate instead of compromising your potatoes by lowering the heat. Just leave your meat to rest while your potatoes cook on a far higher heat, and there’s no need for concessions.
11. Pay attention to visual cues
Though most recipes will give you a rough guideline for how long your potatoes should be roasting in the oven, there’s no real ‘sweet spot’ when it comes to timings. Many variables, such as the size of your potato chunks, the temperature at which you have the oven, and if there is anything else in there with the potatoes can all significantly impact the amount of time needed to produce perfectly cooked roasted potatoes. Still, you’ll want to follow general rules of thumb, such as maintaining a very hot oven and giving the tray a gentle shake halfway through. Keeping an eye on them is oftentimes the best way to gauge their progress and thus make any required adjustments.
Indeed, as your potatoes roast, you’ll notice the edges start to darken and crisp up — an excellent sign that things are on the right track. You’ll most likely be able to leave them alone, but staying near the oven and keeping a close watch may help prevent any mishaps. If you notice that they’re browning on top remarkably quickly but haven’t had nearly enough time to cook all the way through yet, simply drop the temperature slightly to slow things down a little. Most issues can be resolved by minor adjustments and are oftentimes very easy to see, so just be sure to remain nearby and check periodically to ensure things look as they should.
12. Don’t skimp on seasonings
A perfectly crisp roasted potato cooked in rich, savory animal fat or creamy, nutty butter is arguably pretty hard to beat in its own right. However, if you’re finding that your roast potatoes aren’t quite hitting the spot no matter how well you nail their preparation, it could simply be that they’re missing a little attention in the flavor department. It goes without saying that all roast potatoes should be seasoned with a generous grind of coarse salt and pepper, but the possibilities don’t have to stop there. There are an array of delicious ingredients to add more flavor to roasted potatoes an instant upgrade, so don’t reserve herbs, spices, and aromatics solely for the main dish.
Classic aromatic herbs like rosemary, thyme, and sage lend themselves wonderfully to roasted potatoes, giving them a delicious earthy, woody taste. Garlic or onion salt, likewise, bring a beautiful natural sweetness and nuance that wonderfully compliments the nuttiness of lightly caramelized roast potatoes, while bolder, punchier additions such as chili powder, cayenne pepper, or cumin, offer a unique and tasty take on a classic. Thanks to their versatility, roast potatoes pair well with a wide array of herbs, spices, and sauces, so feel free to get creative and use whatever you have on hand to give them the little extra oomph they deserve.


