
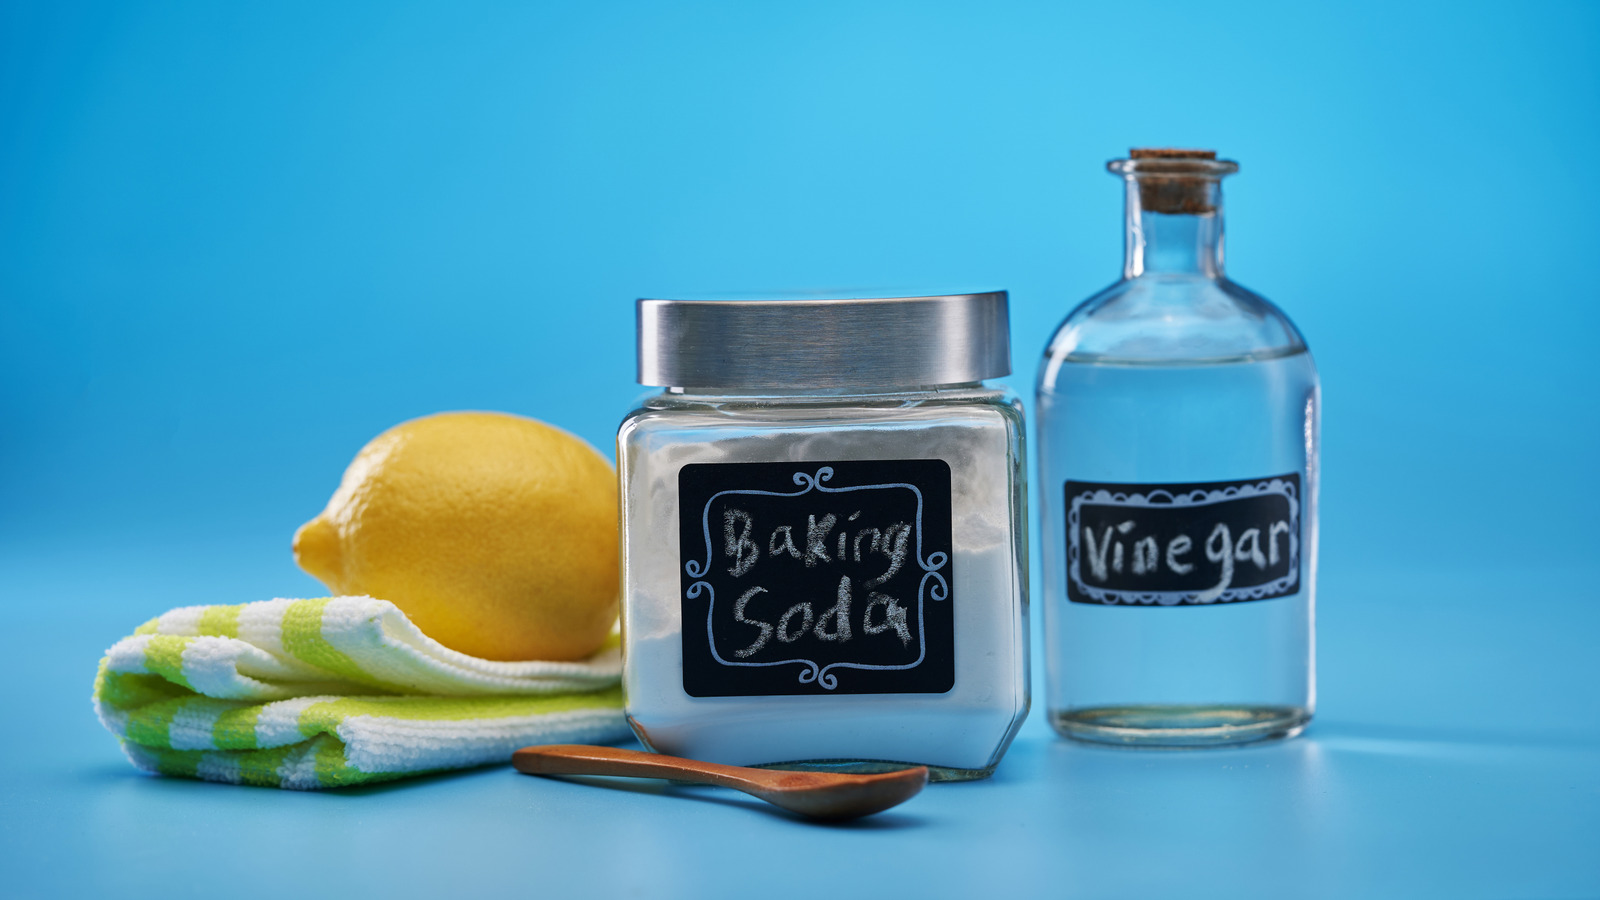
People have been using baking soda for years as part of a “natural” cleaning arsenal. However, with inflation being a concern, you may want to give the abrasive but gentle powder a second look even if you haven’t been interested in more natural cleaners. It’s inexpensive and can clean more in your kitchen than you thought possible. Used on its own or mixed with lemon juice, vinegar, hydrogen peroxide, or soap, baking soda is a helpful cleaner that’s very easy to find and store for a long time. By the way, if you’ve got old, expired baking soda that you had been using for cooking and baking, don’t throw it out; it’s still perfect for cleaning. Baking soda is wonderfully economical.
It is important to note that you don’t want to use baking powder instead of baking soda — they aren’t the same. And though you will find those who insist baking soda never, ever works, when it is used correctly, you can get great results that help your kitchen appliances, fixtures, and dishware look better than ever. Try these 13 clever ways to clean your kitchen with baking soda to see for yourself.
Remove tea and coffee stains from mugs
If you have ceramic mugs that are discolored with old coffee and tea stains, use baking soda to get rid of most, if not all, of the stains in a few seconds. Some stains are tough and require more time and effort, but for the vast majority of them, a paste of baking soda and water is all you need. You don’t even have to use a sponge for this; use your fingers and wash your hands afterward.
Wet the mug, drain out excess water, and shake baking soda over the stain, or as close as you can get to it if the stain is on the rim. Start scrubbing the baking soda over the stain. It doesn’t have to form a soft, squishy paste like toothpaste; you just don’t want it to remain dry. The stain should come right off. Wash the mug with soap and water to remove any remaining baking soda residue. If part of the stain is still present, try again. Make sure you’re reaching all parts of the stain, especially in straight-sided mugs where the sides and bottom meet inside the mug (that’s sometimes difficult to reach in larger mugs). Let the paste sit for a few minutes if a stain is really stubborn.
Try cleaning the entire mug this way, even if you see only one or two small stains. Coffee and tea will discolor mug surfaces gradually, so you may not realize just how dingy the entire mug has become.
Help open slow drains (with warnings)
A common suggestion for opening slow drains is to put baking soda and vinegar down the drain, followed by very hot water. This is one of those tips that many swear by while others detest, but it can work if you keep some things in mind.
The process is to pour baking soda into your drain (generally around 1/2 to 1 cup of baking soda), followed by an equal amount of vinegar or vinegar and water. Immediately plug the drain opening. Let the mixture sit for 15 minutes or so. Then dump at least a couple of cups of very hot water down the drain to clear out the mixture. Repeat a few times if necessary. The foaming action is supposed to loosen the gunk that’s partially clogging the drain. The hot water washes that loosened gunk away.
This is an old remedy, despite many thinking it’s another TikTok hack. Some claim it doesn’t work, but that’s often due to misuse. You have to plug the drain; the foaming action needs to head into and not out of the drain. Also it’s worth noting that this won’t work on drains that are slow due to hair and other non-dissolvable materials. It can also take a few tries to get the drain open, and many people give up after just one round. Finally, don’t let the mixture sit for too long. Baking soda that doesn’t fully dissolve can dry up and create a clog of its own.
Easily scrub away leftover grease on pans
When you’ve finished cooking something that’s left a pan full of grease or oily residue, you shouldn’t let the grease or oil go down your sink drain when you wash it. That can lead to clogged pipes. However, scrubbing with baking soda allows you to remove the gunk and dispose of it in the trash instead. Let the pan cool enough so that you can handle it safely. Drain pooled oil (such as from deep-frying) into an oil storage container, and wipe out loose, greasy particles and extra oil with a paper towel.
Shake baking soda all over the pan; you might initially see the baking soda dissolve in very damp spots, so keep adding more until the soda covers all the grease. Grab a non-abrasive sponge or paper towel, and start scrubbing with a little pressure. You should see the grease come off fairly easily on nonstick pans; stainless steel and similar materials may require more effort. You can also use a nylon pan scraper to try to knock away stubborn food residue. Dump the baking soda and loosened food into the trash. For really stubborn spots, cover those again with more baking soda, and add a few drops of water to form a paste. Let the paste sit for a couple of hours, and then try scrubbing and scraping again. Do not leave the paste on for too long, however; it can dry and create even more of a mess.
Clean some of those old copper pots
Copper pots look beautiful when clean and new, but they quickly tarnish. You can restore the shine of the copper with baking soda and lemon juice. This is a variation on another method using salt and lemon juice, so if you’ve used that combination before, you’ll follow the same procedure. The recipe for mixing the soda and juice can vary, so this may take some experimenting.
In one version, you’ll mix three parts lemon juice and one part baking soda. Start polishing the tarnished copper with the paste on a soft cloth or paper towel. This can take time and effort, but keep gently scrubbing the surface until the tarnish is gone. Another version combines equal parts of the two to create a thicker paste that you again rub all over the tarnish. No matter what proportions you use, once you’re done removing the tarnish, wash the pan and dry it immediately.
Finish removing hard-water scale
Hard water leaves those spots on glasses and that scaly gunk on your faucet aerator, your dish rack, and just about anything else it touches. Usually, white vinegar is the go-to for cleaning away limescale and water spots, and it works well enough that many times, it’s all you need. But occasionally that scale is stubborn and needs more attention. You can try soaking the item with vinegar again, or you can whip up a baking soda paste to scrape off the rest of the scale. Do be aware that the abrasiveness of baking soda, which is so helpful for removing dirt, can also scratch fragile surfaces, so test a small area first if you’re not sure what you’re dealing with.
Once you’ve decided vinegar is no longer enough, wash off or wipe away the residue. Mix a paste of baking soda and water in equal proportions, and apply it to the limescale. Let that sit for maybe 10 minutes. Grab a clean toothbrush (not the one you use on your teeth) and start gently scrubbing the paste and limescale. Wipe away loose scale as needed, and reapply the paste if some scale is left on the surface. Once done, rinse the surface to remove the paste.
Deodorize an old cookbook
You’ve just grabbed an old cookbook off your shelf, opened it up to your favorite recipe — and recoiled. The pages smell musty and vaguely like something cooked long ago. Don’t despair; you can deodorize the book with baking soda. Books tend to smell as they get older and the volatile chemicals in the pages break down. Some people love this smell, but others think it’s musty and gross. Cookbooks have the added issue of repeatedly being exposed to cooking smells. All those odors come from acidic particles; baking soda can reduce the odors because the contact between any stirred-up acidic particles and the alkaline baking soda produces a more neutral-smelling compound.
To remove at least some of the smell, add about a cup (or more, if you want) of baking soda to a large bag or bin. You can either lay the book directly on the baking soda, or place the book in a smaller bag and set that on the baking soda. The interior bag should be large enough to hold the book but smaller than the bag/bin holding the baking soda. Leave the interior bag open if you use it, and set the book so that it’s upright with the pages and cover spread open. Close the exterior bag/bin. It can take several days for the baking soda to absorb the book’s odors and reduce their intensity.
Remove lingering (repeat: lingering) odors from your fridge, freezer, and trash can
Food odor particles can also settle onto surfaces in your trash can, refrigerator, and freezer, and scrubbing with a commercial cleaning solution does only so much. Baking soda can also neutralize these odors, but here’s an important note: You have to remove whatever caused the bulk of the odors. If something is actively stinking up the kitchen, you have to take care of that first. Otherwise, the baking soda will do nothing to stop the odor. For example, if your refrigerator smells like onions because you’re storing chopped onions in there, you’ve got to place the onions in a container with a better seal. Just throwing baking soda in there with the onions won’t work.
But once you’re sure you’re dealing with lingering odors only, put baking soda’s alkaline compounds to work. Place a bowl or small open box of baking soda in the refrigerator and freezer; any odor particles that contact the baking soda will be neutralized. Do not use this baking soda for cooking. As for the trash can, wipe it down with water and a little baking soda, dry it, and then sprinkle some dry baking soda at the bottom of the trash can to eliminate odors.
Freshen up cutting boards
The idea that you can sanitize a cutting board with baking soda and lemon juice is a controversial one; some say the mixture is good for sanitizing, while others say it won’t work that way. What people do agree on is that scrubbing the board with baking soda and half a lemon is a fantastic way to clean and lift many stains from wooden boards. A combination of hydrogen peroxide and baking soda can work for plastic cutting boards.
For wooden boards that are generally clean but not looking their best, sprinkle baking soda over the board, and then gently scrub the soda with a lemon half. The juice may make the baking soda fizz a little, but just keep scrubbing until stains are gone. If the stain is really stubborn, try rubbing in the baking soda with a soft brush. Wash and dry the board. One potential issue is that baking soda can cause discoloration on some wooden boards, so if you can, check the manufacturer’s website for warnings. For plastic cutting boards, mix baking soda, dish soap, and hydrogen peroxide in a 3:1:1 ratio. Cover the board with the mixture, making sure stains are totally covered. Let that sit overnight or for several hours, then rinse off the mixture, and clean the board with soap and water.
Quick-clean your dishwasher
Dishwashers, oddly enough, can become kind of gross over time, despite all the soap and water that keep swirling around in there. Bits of food can become stuck, limescale can be an issue if you have hard water, and even soap scum can be a problem. You can clean the dishwasher with a number of materials, including baking soda. This one is more of a quick clean than a deep clean, and it’s very easy.
Always clean out the filter first, and wipe any obvious food grime out of the dishwasher. Then, pull the bottom rack forward all the way. Reach in and spread baking soda over the bottom of the dishwasher. Push the rack back in, run a short hot-water cycle, and then open the door to let the dishwasher air dry. You’ll need about 1/2 to 1 cup of baking soda for this. You don’t have to let the baking soda sit before running the dishwasher, although some do recommend letting it rest for about half an hour before starting the cycle.
Elbow-grease time: Clean your oven naturally
Baking soda is an excellent cleaner for your oven, too, if you want to avoid using commercial cleaners with strong odors. However, this method does require time and effort, and it applies to the oven sides and door, but not really for the racks. Mix water and baking soda in a 1:3 ratio. Arm & Hammer describes what you want to create as “roughly the consistency of pancake batter.” Apply the paste to the solid surfaces inside the oven, avoiding any electrical components, gas burners, and so on. Let the paste sit (depending on the source, this can be anywhere from 15 minutes to a full day). Then start to remove it. You may need to scrub with a nonabrasive pad or paper towel. When all the baking soda paste is gone, wipe the surfaces with a wet paper towel. Dry the surfaces when done.
For the racks, fill a large tub with warm water and dishwashing soap. Let the racks soak a bit, and then clean them with a scouring pad. Baking soda paste is harder to use on racks and should never be used on aluminum racks. If you don’t know what material the racks are made of, stick with water and dishwashing soap. And, of course, rinse them off and dry them before you put them back in the oven.
Restore dingy silverware
Baking soda can clean away silver tarnish. One of the simplest and safest methods is to add a gallon of hot water to a bin or bucket and mix in a cup of baking soda. Let the silver soak, and when the tarnish appears to be gone, rinse the silver and dry it. A similar method involves adding some white vinegar to the water to help the tarnish disappear more quickly. You can also mix up a watery baking soda paste and gently scrub silver items until the tarnish disappears; let the paste sit for up to 30 minutes before scrubbing, rinsing, and drying.
One more method gets rave reviews but carries a warning. This is the method where you line a pan with foil (shiny side out) or use a foil pan. Place the silver in the pan in a single layer. Pour boiling water over the pieces, using enough water to submerge the silver. Add a couple of tablespoons of baking soda, and 1/2 cup of white vinegar if you want. Let everything sit; what should happen is a reaction among the aluminum foil, the baking soda, and the silver that causes the tarnish to disappear. Rinse the silver and dry it, buffing for a better shine. The warning is that this method can be so effective that it removes not only the tarnish, but also any desirable patina and oxidation.
Make food stains in plastic containers disappear
Reusable plastic containers help you avoid wasting single-use bags, but those containers can stain easily. Chances are you’ve seen your share of reddened plastic that once held a tomato-based sauce. Washing the containers with soap and water does nothing to remove those stains, but baking soda paste can. All you have to do is shake a good amount of baking soda into the container, add a few drops of water to make a thick paste, cover the stain with the paste, and wait. Give the paste a good 30 to 60 minutes to work, and wipe it away, giving the container a final cleaning with soap and water.
By the way, there’s a viral tip online to rinse tomato-stained containers with cold water first to prevent stains from setting. However, according to other commentors who’ve worked in kitchens, this does not work, and storing the sauces in glass containers is better.
Give your kitchen sink a new look
If you have a stainless steel, porcelain, ceramic, or enamel sink, you can clean it with baking soda. You’ll use it like a scouring powder as part of a multi-step process, but the entire procedure is very easy. The simplest way is to shake baking soda all over your sink, wet a sponge or paper towel, and start scrubbing. Spread the paste that forms all over the sink, continuing to scrub while focusing on stains or food residue that won’t rinse away. Then, rinse the baking soda off the surfaces of the sink.
On stainless steel, try to follow the grain and wipe in circular motions instead of straight lines. If the sink surface is porcelain, enamel, or ceramic, you’ll want to mix the baking soda with other liquids. For porcelain, use a little hydrogen peroxide sprinkled over the baking soda to form the paste. For ceramic and enamel sinks, add the baking soda and then wet a paper towel with soapy water. In all cases, scrub gently and then rinse away.


