
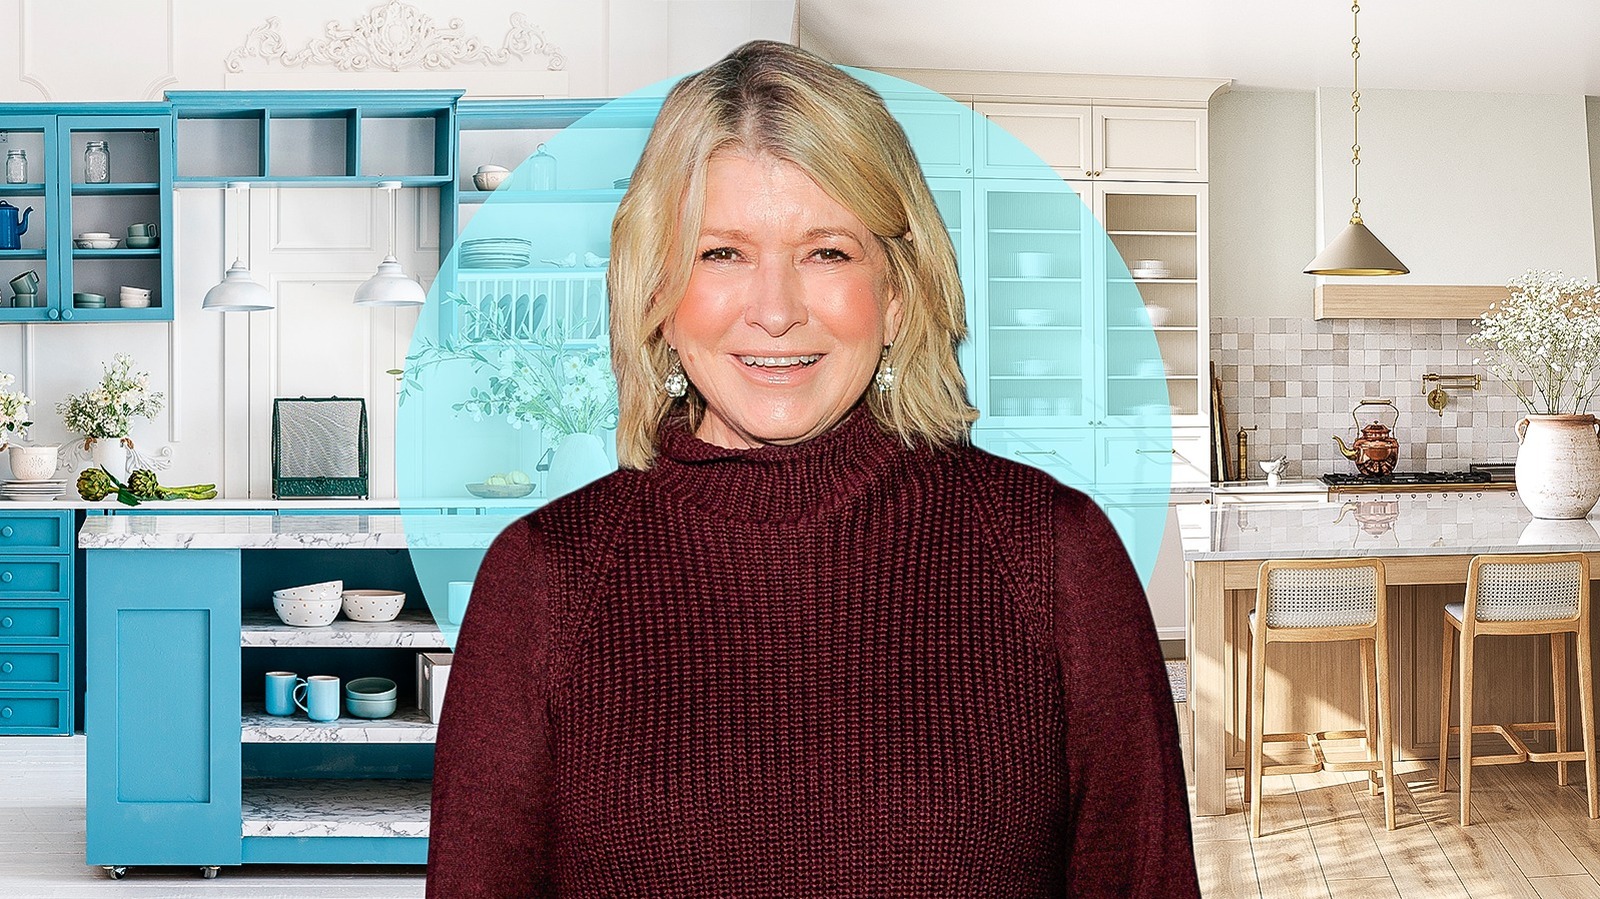
Martha Stewart’s advice for home design, care, and cooking have helped many create comforting spaces for themselves over the past decades. After working on Wall Street, Stewart moved into catering, which grew into the home and food media empire that you see today. It’s safe to say that Stewart has been a major force in changing our concepts of what a kitchen should include.
Whether you’re rebuilding the kitchen or trying to spruce it up on a budget, pay attention to what Stewart says about organization and decor for the space. She’s been very open about how she doesn’t think kitchens should put style over substance, and every piece of advice she gives is meant to make your kitchen more usable and more enjoyable to be in. Granted, a number of her tips rely on working with more room than you might actually have. But even if you have a tiny kitchen and an even tinier budget, she’s got advice you can use. Here are 14 of Martha Stewart’s favorite kitchen design tips.
1. Aim for functional and practical
Walking into a stylish kitchen with wonderful colors and the latest designs can feel wonderful, but do you know what’s even better? Walking into a kitchen where you know that everything has a purpose and that everything works. “Stylish” means nothing if it results in dead space that you can’t reach or are even nervous about using.
The corner base cabinet is a classic example. Those typically have a lot of space in the very back that people can’t reach because it’s too far back and too low. Yes, you get a lot of counter space in that corner, but the trade-off is that you end up with a partly unusable space underneath. This is why so many designs now incorporate (or at least suggest using) a pull-out rack or rotating tray that makes whatever you put in that far-back spot accessible. Also, any wall shelves should give you enough room to move things around on the counter without hitting the edge of the shelf.
2. Hang pots and pans on a rack within easy reach
Hanging pots and pans from a rack in the ceiling or on a wall isn’t everyone’s favorite design, but it’s one that Martha Stewart encourages if you have the room. You can see everything you have and easily grab what you need, rather than having to stop what you’re doing, open a cabinet, and rummage through stacked pots to find that specialty omelet pan that you bought years ago.
There are only a couple of drawbacks to hanging up cooking tools. One is dust; you’ll have to keep cleaning all of those pots regardless of how often you use them. The other is that anything you hang up should look good. Pots and pans are meant to be used, so of course, they’ll show their age after a while. But you want to avoid showing items with dents or stains. And if you like copper cookware, as Stewart does, you’ll need to polish each and every piece before hanging it back up to avoid the sight of tarnish.
3. Choose a color scheme that suits you
If you’ve ever had a kitchen installed and just went with whatever basic color the cabinets and counters came in, you’re not alone; that’s what many people do. But Martha Stewart advocates for finding a color that better suits your preferences, be that a neutral white or off-white or another color like blue. If you can’t find cabinets that are sold in the color you like, then find a good style and have them repainted.
Stewart herself has changed her own kitchen color scheme, repainting her cabinets black when she decided she wanted a different look. Obviously, how often you can do that depends on your budget, but the point is to make the kitchen truly yours instead of living with a color scheme you’re no longer interested in. Choose something that makes you feel comfortable and happy and that makes your kitchen look inviting.
4. Use drawer organizers and bins to ensure visibility and efficient use of space
This one’s simple, and there’s no renovation needed: Get organizer trays and bins for your kitchen drawers. At the very least, you want one to separate forks, spoons, and dinner knives, but having more bins and baskets to separate additional cooking utensils is much better. Tossing items into a drawer leads to a mess; no matter how nicely you try to arrange them, eventually, you end up with something that looks more like a random pile of spatulas. The bins both stop those messes from forming and let you see exactly what you have.
Sorting what you have into these trays and bins also lets you sort out items that you don’t need, have too many duplicates of, or that are broken. Finding that you have two slotted spoons is nice — you have a spare in case the other one breaks — but finding that you actually have six slotted spoons is an entirely different matter. You may also want to add a first-aid drawer, too. And finally, if you have the space, set aside a drawer for all your sharper knives, and install knife organizers to keep the blades covered.
5. Hide your trash
Martha Stewart has said she doesn’t want trash bins out and about, and you can see it in all of her own designs. Every kitchen should have a convenient trash bin, but hide the bin when possible to make the kitchen look sleeker and cleaner. If you can’t hide it, at least make it decorative that it doesn’t initially scream trash. Most of the time, this means installing a cabinet where you can place the bin; larger kitchens usually have a pull-out rack for this very purpose. In one of her videos, Stewart doesn’t have the trash hidden away, but she has a unique way of disguising it by using a large pickle crock with a smooth, wooden cover.
If you install a cabinet or pull-out rack for trash, keep two things in mind. One is that you want to be able to pull the bin out far enough so that you can easily access the entire top of the bin and have enough clearance to put things in without hitting the surrounding surfaces. That also means choosing a trash bin that is the right size for the cabinet, rather than throwing what you already have into a space where it might not fit that well. The other issue is that odors from the trash can permeate the surrounding cabinets, so take out very smelly items instead of adding them to the bin.
6. Everything should be as easy to clean as possible
You will see and hear this over and over again if you read or watch interviews with Martha Stewart: She wants surfaces that are easy to clean. Kitchens generate a lot of dirt and grease residue, which are hard enough to remove from smooth, non-porous surfaces. Some kitchen textiles are necessary, such as curtains and dishcloths, but those can be washed in a machine; the same can’t be said for that big seat cushion that’s spot-clean only. If you can’t clean it without taking special precautions, you may not want it as part of your kitchen design.
A fact about using a kitchen is that you need to clean it well and often. Anything that’s hard to clean becomes an annoyance. Thorough deep cleaning can involve the ceiling, range hood, and every other surface you can think of, so why would you want to make any of that harder to keep clean? Look for smooth surfaces that you can clean with a mild cleanser and water and be careful of placing anything ornate in your kitchen. That doesn’t mean you can’t have nice things or any detail on cabinet doors, but it does mean looking at how you’d remove grease trapped in those details. When you finish cleaning, you want your kitchen to actually look clean, and the surfaces you choose affect that outcome greatly.
7. Stone and zinc are better materials for countertops
Martha Stewart has used a number of countertop materials before and prefers stone or zinc. Stone’s appeal is in how easy it is to clean up compared to something like wood. Just be aware that some stone types (looking at you, granite) have to be sealed every couple of years to prevent stains from settling in after spills. Stone can chip, and it’s usually expensive. But with reasonably careful use and cleaning, a stone countertop will last a long time and stay in good shape.
Zinc countertops are not just metal counters. These are countertops with a wood layer that’s covered with sheets of zinc. The zinc changes appearance over time; scratches show, and a patina forms within a few months. In fact, the first year or so of having a zinc countertop can look messy because the patina doesn’t appear in a uniform manner; some spots change before others, especially if you’ve spilled anything on the material. Zinc’s finish is often called a living finish because of these changes. However, it’s very easy to clean, it’s non-porous and customizable, and you can prepare food on it because of its antibacterial and non-stick properties. It is pricey, and zinc isn’t very good with heat, so you’ll need to use trivets under hot items.
8. Maximize the use of the space you have
This tip is related to the first one about keeping your kitchen practical and functional: maximize your ability to use as much of the space as possible. You still need enough room to move around and keep a smooth flow of foot traffic. But you’d be surprised at just how much extra space there is even in a kitchen that looks like it’s got every inch in use.
If your kitchen has a quirky shape that makes more traditional arrangements impossible, be creative. For example, if you don’t have a lot of horizontal room to add a new bank of base cabinets to what you already have, you can still add more usable space to your existing cabinets. The very bottom of the base cabinets is usually just an empty space covered with a strip of wood, but you could add a shallow drawer that opens with a toe-kick mechanism. Add a kitchen island where half is a dining table (not bar-style seating) and half is storage. Convert large, half-filled drawers into two so that you don’t have all that empty space in the top half of the drawer. The goal is to find more space while avoiding making the kitchen look crowded.
9. Consider open shelving
Opponents of open shelving don’t like it because it allows dust to settle on dishes and can make the kitchen look cluttered if whatever is on the shelves is disorganized. Proponents like them because the minimalist shelves make a kitchen look a lot bigger than if you had large, overbearing upper cabinets. Martha Stewart falls on the supportive side and has said she loves open shelves.
If you decide to install open shelving, keep a few things in mind. One is that the dishes will collect dust and grease residue, so you’ll need to be vigilant about cleaning them. This includes the dishes that you don’t use often, so be prepared to take everything down regularly. You may want to consider not having all of your dishes on the shelves just to save time when cleaning. Also, shelving has weight limits, so don’t exceed them. By the way, the items on these shelves can fly if a quake hits, so you might not want to have open shelving if you live in a quake zone.
And if you like the look but just don’t want your dishes out in the open, use the open shelving for decorative dishes. Remember to dust them and to anchor them to the shelves if you’re in an area that experiences shaking from earthquakes.
10. Pantry shelves should let you see everything
Whatever you use as a pantry needs to be open enough so that you can see everything you have in there. It’s very common to see cabinets where the edges of the shelves on either side are blocked from view by the cabinet frame, and items that you place in these corners can quickly be forgotten. Pantries may have solid shelving that makes it harder to see what’s on the very top shelves.
As you organize your pantry space, keep visibility in mind. Items you use often should be front and center where you can grab them easily (there’s no reason to have to dig behind other items to reach those), and jars of items — even if you can see what’s in them — should have clear labels that you can read wherever the jars are stored. Place items in baskets for easier access if you have to use those shelf spaces that are hidden by cabinet door frames. And last, but not least, organize similar items like vinegar bottles by height, with the tallest in the back.
11. Have a big kitchen island when possible
If you have the space for a kitchen island when remodeling, get one — Martha Stewart puts them in all her kitchens — and make it as large as you can while maintaining proper clearance all the way around. If you’re not remodeling but have some extra room, get a cart that doubles as an island. Wheels make it easier to move the cart/island when you want more space on one side or the other. Kitchen islands should meet certain requirements, mainly in terms of dimensions. Stewart says islands should be at least 4 feet long and 2 ½ feet wide, and you should be able to keep at least 3 feet of space around the island on all sides.
Think carefully about what role you want the island to play. If you want people to be able to sit near you in the kitchen to talk, consider adding an overhang so that people can sit at the island just as they would at a table, without their knees hitting the base of the island. If the island will be a food preparation zone, use stone that’s easy to clean for the top.
12. Make the kitchen as large as you can and zone it
This one’s for people who are remodeling their homes or building a customized dwelling: make your kitchen as big as you can. This is a major part of the house, not only for food preparation but also for socializing, and you don’t want a tiny cooking space that separates you (or whoever’s cooking) from the rest of the people in the house. Even if you’re an introvert who hates it when others get into your kitchen space, you don’t want the kitchen to be isolating.
Next, create zones in the kitchen because this maximizes efficiency. The more efficient the space, the smoother cooking and cleaning up will go, and the more enjoyable the experience will be. Have the food prep and storage areas together, the stove and oven near each other (if you’re using separate range tops and wall ovens instead of a combined stove and oven unit), and then have a separate washing area. Socializing areas like the dining room table should be in their own spot as well. Stewart has even designed huge kitchens with two different islands, one for food preparation and the other for people to sit at and talk.
13. Store items near where you use them
Think about the times you stored cooking utensils at one end of the kitchen while the stove was by the other end. Maybe your spice rack is stuck to your refrigerator with magnets while the counter where you prepare your food is several feet away. Or, maybe all your spices and oils are in a cabinet near where you prepare food, but they’re placed so haphazardly that finding something takes more time than it should. This is the time to take everything out and move items to locations near where you actually use them to make your kitchen function more efficiently.
You do need to protect oils and spices from heat and changing temperatures, so keeping them in a drawer or cabinet is a good idea — one that isn’t right above or next to the stove. But do move them closer to where you use them if they’re currently far away. There’s no reason to have to walk across the kitchen to grab several spice jars if you have the room to store them in a drawer closer to the food preparation surface that you use. Place those cooking utensils in a crock near the stove (or a drawer with organizers if you don’t want the tools out in the open), and store knives near cutting boards.
14. If you have the space, add a message center
A message center is a spot that’s dedicated to where you keep your shopping lists and dry erase boards with messages for other household members. If you have an area you can set aside for this, do so; even a small cabinet will be sufficient, and it doesn’t have to be that deep. A message center becomes the place to go to find spare keys and notes about what’s happening or what your schedule for the week is.
In very small kitchens, you may just want a dedicated space where you have enough room for a couple of boards and notepads. But Martha Stewart promotes having a built-in desk and workstation. If you do go the full desk route, keep this additional advice from Stewart in mind: The side of the desk adjacent to other cabinets or the wall can have drawers, but the side of the desk that faces the rest of the kitchen should use table legs. Those don’t look as closed off as another bank of drawers would.


