
Our microwaves are trusty tools for reheating leftovers, defrosting frozen foods, and perhaps even whipping up an indulgent mug cake or two. There’s no doubt that these handy appliances can save us time in the kitchen, but what if we told you that most people aren’t using their microwave to its full potential? In many cases, it’s entirely possible to use this tool as a replacement for more traditional cooking methods, such as oven-baking or pan-frying. Sometimes, you can even use your microwave to make an entire from-scratch meal.
From hearty breakfast and dinner dishes to simple snacks and sweet treats, your microwave can tackle it all with ease. This appliance offers a wonderfully hands-off approach to cooking on busy days, and will likely save you time spent on clean-up, too. If you thought pan-frying bacon was the only way to get that perfectly crisp finish, think again. And, did you know that granola most definitely doesn’t have to be baked in the oven? The humble microwave has an amazingly wide array of applications, so let’s explore some of the many ways it can help with your everyday food prep.
Homemade mac and cheese
When lovingly prepping a homemade mac and cheese, using the microwave probably isn’t the first method that comes to mind. However, this technique can yield excellent results and save you a significant amount of time. There’s no need to pre-boil the pasta or stand over your stovetop making the cheese sauce. Instead, you’ll add everything to a microwave-safe bowl to get a comforting, perfectly cooked dish in under 10 minutes.
Step one is adding dry macaroni to your bowl with some water. Microwave this on high for about four minutes (or until the pasta is tender) before draining off the water. Then, it’s time to add the sauce ingredients. Toss in some shredded cheddar cheese, along with a dollop of cream cheese, a splash of milk, and a pinch of salt, and stir everything well. After popping the bowl back into the microwave for another one to two minutes, your pasta will be coated in a delightfully melty, gooey cheese sauce. Try serving your fuss-free mac with a fresh, leafy side salad, or perhaps some steamed green veggies such as broccoli or asparagus.
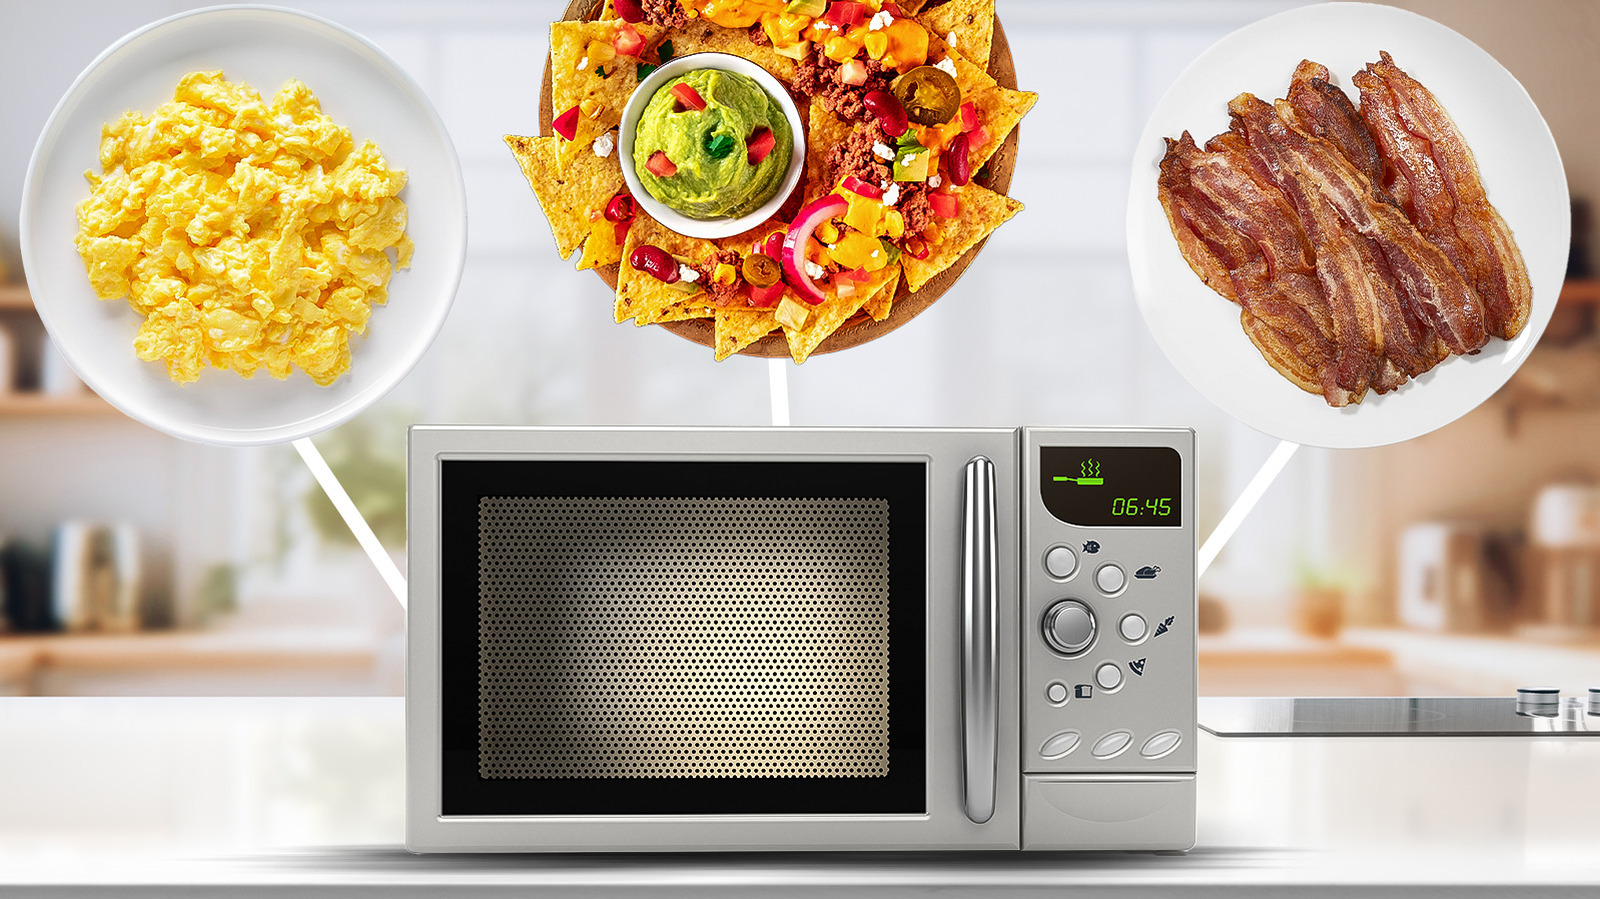
Scrambled eggs
Scrambled eggs are most commonly made in a frying pan, but surprisingly enough, it’s totally possible to cook them in the microwave. They’ll come out just as soft and fluffy, and you can cook them in under two minutes. Plus, you won’t have to scrub any stuck-on egg off of your pan.
To get started, simply beat two eggs with a splash of milk and a pinch of salt in a microwave-safe bowl. Place this into the microwave, and cook the mixture on high for 30 seconds. Give it another quick stir with a fork to start scrambling the eggs, then return it to the microwave. After another 30 seconds of cooking, stir the eggs again. They should now be starting to clump and break apart. They’ll likely need another one or two 15-second bursts of microwaving (stirring in between) to reach your desired level of doneness, but this is totally subject to your preference. Once cooked until soft-set or completely firm, the eggs are ready to spoon atop some freshly toasted bread, or add to a fully-loaded brunch plate.
Bacon
There’s nothing quite like the smell of freshly-cooked bacon in the morning. This beloved breakfast food is a staple for many, but let’s face it — the usual pan-frying method can be a little messy. Thankfully, your microwave can ease the hassle while still yielding beautifully crispy results.
To microwave your bacon, start by lining a microwaveable plate with paper towels. Place the bacon strips on top, ensuring they aren’t overlapping, and cover with another layer of paper towels. This will keep bacon grease from splattering everywhere. Put the plate in the microwave and cook the bacon on high for three to four minutes, until it’s gloriously crispy. Once you’ve (carefully!) taken the hot plate of bacon out of the microwave, remove the paper towels swiftly to keep them from sticking to the meat.
This shortcut is perfect for busy mornings, when you’re short on time but still want to fuel yourself with a hearty breakfast. It’s also a great hack to use when you need to quickly prepare cooked, chopped bacon as an ingredient for other dishes, such as a variety of frittata recipes, salads, or pasta dishes.
Risotto
A notoriously time-consuming dish to make, risotto generally requires a significant stint of standing over the stovetop, since most recipes recommend near-constant stirring of the broth and rice. However, opt for the microwave method and you’ll have a far more hands-off cooking experience, with the prep time reduced by about half.
The base of a classic Parmesan risotto typically consists of finely-diced onion and minced garlic, and these flavorful aromatics don’t necessarily need to be sautéed in a pan first. Instead, you can add them to a microwave-safe casserole dish with some butter and microwave them on high for three minutes. The next step is to warm the broth (vegetable or chicken will be fine) in a separate bowl. This should take around two minutes. Now, pour the broth into the dish with the aromatics, and stir in the arborio rice. You could totally incorporate some frozen peas or chopped mushrooms at this point as well, if desired. Cover the bowl with plastic wrap and cook everything on high for six minutes — then, stir in a splash of white wine, and put the dish (uncovered) back into the microwave for a final 10 minutes. Before serving the risotto, stir in a generous handful of grated Parmesan cheese for a rich, gooey result.
Jam
Making jam from scratch is the perfect way to pack your diet with fresh fruit and adjust the sweetness to your taste, and there’s a way to make the process wonderfully effortless. That’s right: You can absolutely make a batch of jam without firing up the stove. Use your microwave instead, and you’ll still achieve that same thick, spreadable texture.
Various types of fruit can be turned into homemade jam. If you’re using something with stones or pits, such as cherries or peaches, make sure to remove these first. Larger fruits should also be chopped up into small pieces. Berries are always an excellent choice, with raspberries or strawberries being great additions. Once your fruit has been prepped, add it to a microwave-safe bowl with some sugar and a splash of fresh lemon juice. Then, leave this to sit for 30 minutes, so the fruit can macerate.
Next up, you’ll microwave the fruit for 10 minutes, giving the mixture a quick stir halfway through cooking. Check the texture at this point, and mash the fruit a little if you prefer a smoother consistency. Keep cooking the fruit in two-minute bursts, stirring between each, until the liquid has reduced. When it’s ready, the jam will be thick enough to coat the back of a spoon, and it’ll thicken further as it cools. Now you can transfer the jam to a lidded jar and store it in the fridge, where it’ll keep for up to two weeks.
Potato chips
As unconventional as it might sound, you can absolutely make a batch of potato chips in the microwave, without the need for oil-heavy deep-frying. Give this easy method a try, and you’ll be shocked at just how crunchy the chips turn out.
When making homemade chips, slicing the potatoes thinly is key. Using a mandoline slicer can help with this. Next, you’ll need to soak the potato slices in cold water to remove as much starch as possible, yielding that all-important crispy texture. Dry the potatoes thoroughly, then add a layer of paper towels to a microwave-safe plate before arranging the thin slices on top. Brush them with olive oil, scatter over some salt and pepper to taste, and microwave the potatoes on high for six minutes, flipping them over halfway through cooking. Check the chips, and continue microwaving them in one-minute intervals at half power until they’re beautifully golden and crispy. You’ll find that they reach their peak crispness once they’ve fully cooled.
Frittata
Frittata makes for a delightfully versatile, protein-packed breakfast or lunch (or even dinner), and it’s super easy to customize with your favorite meat and veggie add-ins. Most recipes involve combining the ingredients in a skillet and baking everything in the oven, but yet again, your microwave can serve as a highly effective replacement.
To get started, add some butter (plus any veggies or aromatics of your choice) to a microwavable casserole dish. A mixture of finely-diced onion, bell pepper, and minced garlic would work brilliantly, but you could also toss in some sliced mushrooms, cherry tomatoes, or spinach. Season this with salt and pepper, then cover the dish and microwave everything on high for around five minutes to soften the veggies. Next, beat your eggs in a different bowl with a dollop of sour cream, and stir in your shredded cheese of choice. A scattering of fresh herbs like parsley or basil would also make a great addition. Pour the egg mixture over the cooked veggie base, stir well, and cover again, cooking for a final four minutes or so until the eggs are no longer runny. Then, your frittata is ready to slice and enjoy.
Meringues
Fluffy, chewy, and irresistibly sweet, meringues make for fun bite-sized treats that can be enjoyed alone or incorporated into other bakes. And if you thought it was impossible to make them without a stand mixer and piping bag, you’d be wrong.
To craft some homemade microwave meringues, you’ll need just two ingredients: egg whites and icing sugar. In a bowl, beat the egg white lightly to froth it up a little, then sift in the sugar. Stir the two ingredients together until you have a very thick, icing-like texture. This is different from the usual meringue texture, which is typically lighter and fluffier (but don’t worry, your treats will still turn out beautifully soft and chewy!). Shape the mixture into balls using your hands, and arrange them on a plate that’s been lined with paper towels. You’ll need to work in batches of about three, ensuring there’s plenty of space between the meringue balls, because they’ll grow significantly in size as they cook. Microwave them for around 90 seconds, and watch the magic happen — soon, you should have a plateful of perfectly puffy meringues, each with a crisp exterior and pillowy middle.
You also have the option to flavor these meringues with an extract of your choice, such as vanilla, almond, or even peppermint for a festive twist. The resulting treats will taste wonderful served with whipped cream and fresh fruit. Or, try arranging them atop a decadent multi-layered cake.
Granola
Granola in the microwave? Yep, this technique works wonderfully, and saves heaps of time when compared to traditional cooking methods. It’s an amazing way to get that sumptuous, toasty taste and texture, with no oven-baking required. This approach is especially ideal if you’re wanting to make a smaller portion.
You’ll first need to prepare the granola coating. Combine coconut oil, a liquid sweetener of your choice (such as honey, maple syrup, or agave syrup), some vanilla extract, and a splash of water. Add these ingredients to a large mug or bowl, and microwave on high for 20 to 30 seconds to fully melt the oil. Now, you can throw in your granola add-ins. Rolled oats make an excellent base, but feel free to get creative with the other elements. Pumpkin seeds, sunflower seeds, or chopped nuts (like pecans, almonds, or cashews) work beautifully. Stir these into the oil mixture and microwave everything on high for around two minutes, stopping every 30 seconds to give the granola a stir. You’ll know it’s ready when the oats are lovely and golden, and your kitchen is filled with that wonderful nutty aroma.
Let the granola cool down by spreading it out on a plate. Then, go ahead and add any extras, such as chocolate chips, dried cranberries, coconut chips, or raisins. It’ll keep well in an airtight container for around five days.
Mug cookies
You’ve heard of a mug cake, but what about a mug cookie? These crowd-pleasing treats don’t always have to be made in a large batch. If you want to whip up a single-serve cookie for dessert, your microwave can help.
Start by whisking the wet ingredients — a liquid (like milk), melted butter, brown sugar, and vanilla extract — together in a mixing bowl. Keep going until you have a smooth, non-grainy texture. Then incorporate the dry ingredients: flour, baking powder, and salt. You should now have a thick cookie dough mixture. Stir in some chocolate chips, spoon the mixture into a large microwave-safe mug, and microwave it on high for 40 to 50 seconds, until it’s nicely set on top and melty in the middle.
To finish things off, why not top your mug cookie with a scoop of vanilla ice cream or a drizzle of caramel sauce? You could even garnish it with a dollop of Nutella or your favorite nut butter.
Lemon curd
Gorgeously vibrant and loaded with zesty citrus flavor, lemon curd is an elegant condiment that’s perfect for filling cakes, drizzling over cheesecake, or just spreading on toast. It’s traditionally made in a bain-marie, requiring low and slow cooking to ensure the eggs don’t scramble. Making lemon curd in the microwave, however, is an effective hack to have up your sleeve when you’re in a pinch.
Just grab a microwavable bowl and toss in some sugar and eggs. Whisk these together until well combined, before stirring in plenty of lemon juice and zest, plus some melted butter. Microwave the mixture in 30-second bursts, stirring in between, until it’s thickened up nicely. You’ll know it’s ready when it coats the back of a spoon. Then, run it through a strainer to remove any zest and get a smoother texture. Your homemade lemon curd can be transferred to an airtight jar and stored in the fridge, where it’ll keep well for up to three weeks.
Nachos
The ultimate crowd-pleasing appetizer, nachos are relatively simple to prep, but the process can be made even quicker and easier by opting for the microwave method.
First, spread a layer of tortilla chips out onto a microwavable plate and give them an initial toast, microwaving on high for about 90 seconds. Then, it’s a simple case of piling them with shredded cheese and your favorite toppings. You could go for refried beans, sliced jalapeños, chopped green onions, or olives. Once you’ve added a generous selection of goodies, microwave the nachos for about 30 seconds, then continue cooking them in 15-second bursts until the cheese is nice and gooey.
With your microwave nachos prepped, go ahead and enhance them even further by adding some fresh extras. A dollop of homemade guacamole, sour cream, or salsa will taste incredible, and crunchy additions like shredded cabbage or pickled red onions work great here too. A scattering of chopped fresh cilantro makes for an excellent final touch.
French toast
For a convenient and satisfying sweet brekky, ditch the frying pan and make your French toast in the microwave. This hassle-free method still yields a delightfully pillowy texture, and offers ample opportunity for customizations with your favorite toppings.
Just like with traditional French toast, you’ll need to soak the bread. But, when using the microwave, it’s best to toast the bread first to prevent any unwanted sogginess. Then, slice the bread into chunks or strips, which will help you coat it nice and evenly. Beat an egg with some milk, maple syrup, and vanilla extract, either in large microwave-safe mug or bowl. Add the bread pieces and toss them until thoroughly coated, making sure to add enough bread to soak up all of the liquid. Then, microwave the mixture for around 90 seconds, giving everything a quick stir halfway through.
This easy treat tastes incredible drizzled with syrup and scattered with some chopped nuts. Or, for a healthier approach, add a dollop of Greek yogurt and top your microwaved French toast with a medley of fresh berries.
Roasted garlic
Roasting garlic is a fantastic way to bring out its natural aromatic sweetness. As its name would suggest, this is generally achieved through oven-baking, but there’s another way to get those cloves irresistibly tender and fragrant in a fraction of the time — and it involves the microwave, of course!
To prep the garlic bulb, set it down on a cutting board and slice off the top horizontally, revealing a cross section of the cloves inside. Place the bulb into a microwavable dish with the cut side facing upwards, and pour in a few tablespoons of water. Add a glug of olive oil, ensuring this hits the exposed garlic cloves, and place the bowl into the microwave. Cook the garlic on medium power (at about 40%) for five minutes. After this time, you can check it for doneness. The cloves should be super tender, so if they’re still too firm, keep microwaving in one-minute bursts until they’ve softened up.
The “roasted” cloves should now come out of their skins with ease. Just squeeze them out and they’re ready to use right away, whether you’re blending them into a sauce or dip, tossing them through pasta, or mashing them into potatoes.


