
There’s nothing like having a really clean kitchen. It isn’t just better from a food safety perspective: A clean and well-organized workspace is one you’ll enjoy working in, and it’s physically safer as well.
Cleaning kitchens is something I’ve done a lot in my life, both at home and later as a chef and restaurateur. You might be surprised just how much of a budding chef’s education revolves around cleaning and sanitation (at my school, we weren’t even allowed into the kitchen until we’d passed our food safety exams).
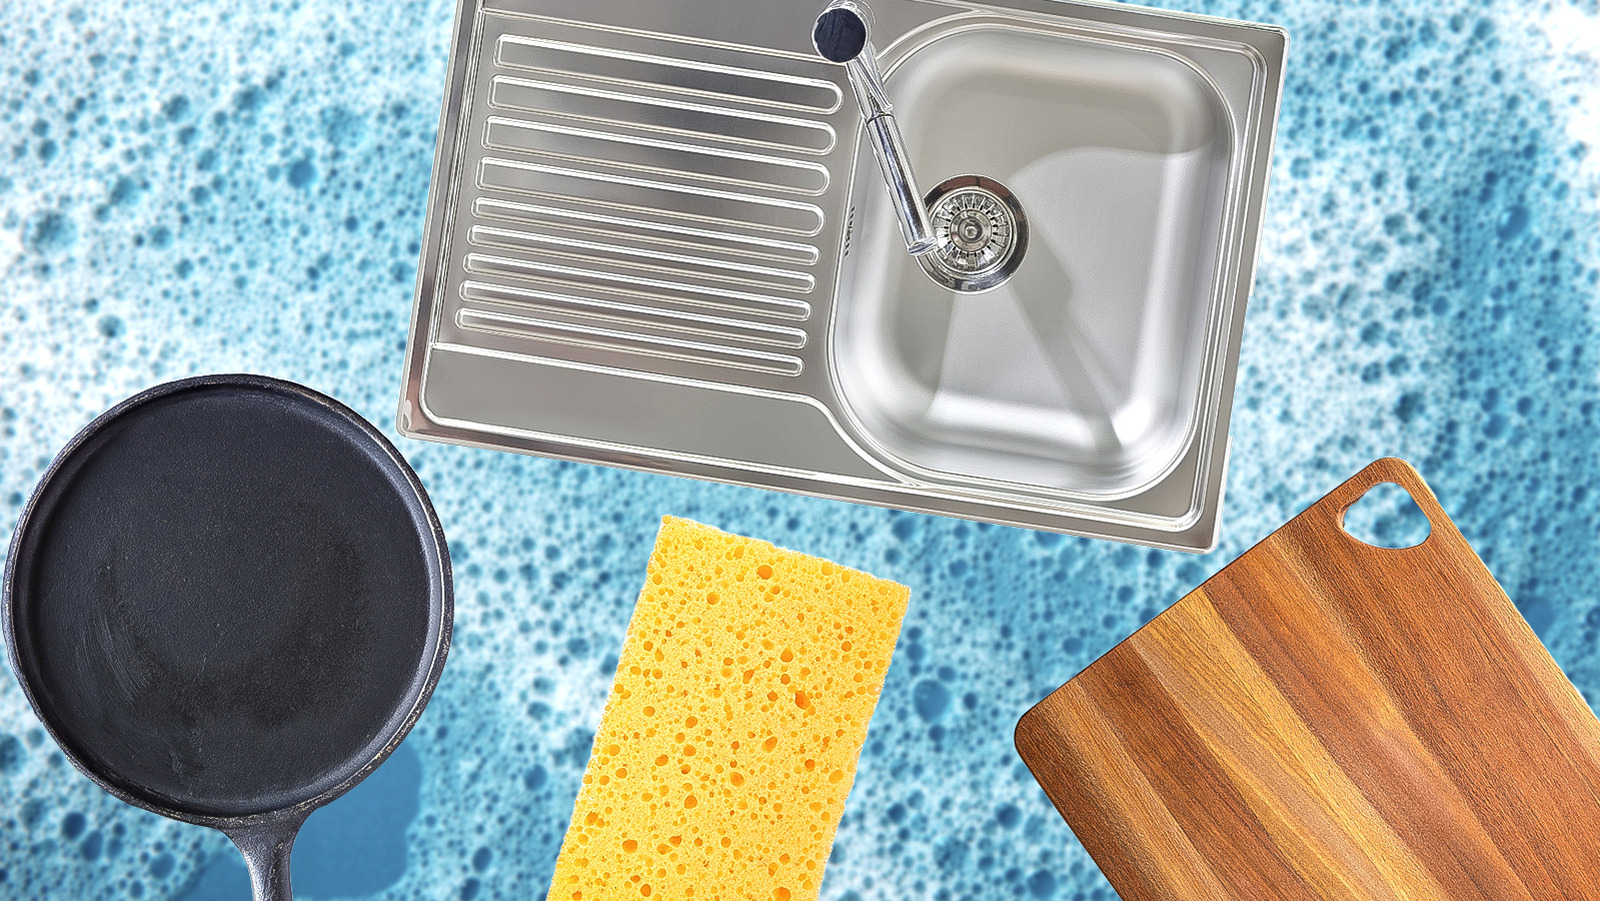
Cleaning and sanitizing are different things, and it’s an important distinction. Nothing’s really sanitary until it’s clean because otherwise, you’re just leaving places where bacteria and mold can grow. The unfortunate reality is that there are things in your kitchen that are really hard to keep clean. I’ve learned a few tricks along the way that can help make that chore easier. Here’s my personal list of 16 of the worst kitchen items to clean and how best to tackle them.
Cutting boards
Cutting boards are tough to clean by nature because they tend to accumulate cuts and scratches, trapping fluids and food particles that can potentially make you sick. Although there are other materials available, most of us use either plastic or wood (usually hardwood or bamboo) cutting boards.
The dishwasher does a passable job of cleaning plastic boards but will ruin a wooden board over time. However, handwashing wooden boards to keep them clean and sanitary is important. Soap and hot water should always be your first step, and then you can proceed to stain removal and sanitizing.
You can sanitize wood cutting boards with vinegar, diluted with water, and then rinsed. Soaking boards, particularly wood material, in a solution of 1 or 2 tablespoons of chlorine bleach to 1 gallon of water, then rinsing, will sanitize them, but there are also other ways to keep cutting boards clean. To remove stains on either wood or plastic, you can scrub the board with coarse salt and a half-lemon because both salt and acidity are antibacterial agents. When a board’s surface is really damaged, scraping it with a putty knife or a baker’s workbench scraper removes that porous upper layer. To restore a board to like-new condition, take it to a woodworking shop and have it fed through a planer to create a new work surface.
Kitchen sinks and drains
Most of the food that goes through your kitchen leaves traces in your sink and drain. Worse, once they’re there, they tend to linger. That raises a risk that they’ll contaminate anything you bring to the sink, from produce you wash (do you put it right in the sink?) to the utensils you clean.
Aside from using commercial cleansers to clean kitchen sinks, baking soda is a mild and effective abrasive, vinegar removes grease and kills bacteria, and peroxide disinfects and helps bubble out dirt. On ceramic sinks, baking soda or Bar Keepers Friend will do the trick. Use a toothbrush or a specialized cleaning brush to get into any crevices around the drain.
As for cleaning the sink drain — a reservoir of bad smells and bacteria, pouring boiling water down the drain periodically helps keep it clear. A narrow drain snake can help clear any physical blockages.
Dish sponges or washcloths
The sponge and washcloth you use to clean everything else are among the most important things to keep clean, so it’s really bad news that sponges are among the most bacteria-ridden things in your kitchen. Sponge, washcloth, brushes, whatever you use: They’ve got to be cleaned and sanitized.
When your sponge or cloth smells funky, it’s already past due for changing or cleaning. Cloths and kitchen towels should be laundered every few days but as soon as possible if they touch raw meat. Sponges can last for a month or longer, depending on the materials, before they need to be replaced, but should be cleaned at least weekly. There are several ways to clean and sanitize a sponge, including boiling it, soaking it in alcohol or bleach solution, or even microwaving it (as long as it doesn’t contain any metal). If you use the microwave trick, be sure the sponge is wet. Superheated steam sterilizes the sponge, and a dry sponge might actually catch fire.
Tile grout on the floor or backsplash
This is a huge pet peeve of mine, having worked in older kitchens with a lot of tile surfaces. Thankfully, tile countertops are O-U-T in home kitchens right now, but tile backsplashes and floors keep getting revived (and don’t get me started on the idea of rough barnwood for a backsplash or hood vent). Why the hate? Because grout, to be blunt, is an absolute pain to clean, and it’s a bacteria magnet as well.
I really recommend using a commercial cleaning product, like this grout cleaner, if your grout hasn’t been cleaned for a while. After that initial cleaning, all of the usual hacks and tricks for cleaning a kitchen backsplash are useful for regular weekly cleaning. These include baking soda, vinegar, hydrogen peroxide, and diluted chlorine bleach, whichever you prefer. If making life easier for yourself is how you roll, consider using a food-safe grout sealer once it’s clean.
Pots and pans with burned-on gunk
If you’ve ever wondered whether it’s just you, the answer is no. All of us — even professionals — have to scrape burnt-on gunk from our pots and pans at times.
Before you start scrubbing, try simmering. First, scrape out as much loose gunk as you can, then run an inch or so of water into the pot or pan, add dish soap or vinegar, and give it a 30-minute simmer. The gunk should come off much easier. Afterward, a quick scrub with baking soda or coarse salt will usually do it. For really stuck-on food debris, heating the pan at your oven’s highest setting and scrubbing once it cools will usually do the job (make sure the pan and its handle can take the heat).
The dark gunk that builds up on the outside of pans is polymerized fat, and it’s genuinely challenging to get off. A wire wheel works but abrades the surface and makes future gunk more likely. You can use oven cleaner on sheet pans and some regular pots and pans, but it’s harsh and will damage some materials (read the label carefully). This is purely a cosmetic issue, so you may also learn to live with it.
Range hoods
Range hoods exist for the sole purpose of corralling all of the steam and greasy spatters from your cooking, so they get dirty fast. In restaurants, I’ve cleaned them every night at times, though weekly is more common.
Here’s how to clean a greasy range hood. First, wash the outside with dish soap and hot water or a vinegar and water solution. Remove the filter to soak in a sink of hot, soapy water for 30 minutes or so, then rinse it repeatedly (some, but not all, can go through your dishwasher). The filter covers can usually go through the dishwasher, or you can hand-wash them in the sink as well. For the inside, with the filters and covers removed, mist with vinegar and water from a spray bottle and let the mixture rest while you clean the other parts. After this, it should wipe clean easily unless it’s heavily soiled. For heavy buildup, I personally use this cleaner-degreaser for an initial cleaning, then vinegar and water for regular light cleaning.
The tops of kitchen cabinets
Greasy steam will circulate around your kitchen no matter how good your range hood is. The doors and facings on your cabinetry are finished and easy to wipe down. The bare wood or particle board on the top of the cabinets (or the underside of the top cabinets)? Not so much.
That rough, porous surface makes them a bear to clean, though the usual vinegar-cleaning hacks work here as well. I’ve found that my best bet is scrubbing off loose dust and grease with a stiff brush, then going back over it again with a vinegar solution, brush, and microfiber cloth to blot up as much moisture as possible. The surface is porous, remember, so you don’t want to let your cleaning solution soak in and cause damage.
An ounce of prevention is definitely the easier option. I’ve started covering the tops of the cabinetry with wax paper, kraft paper, aluminum foil, or even paper towel (whatever’s handiest) to catch the grease, and then periodically change the covers.
Microwaves
Habit is a funny thing: I keep the kitchen microwave pretty clean but tend to let stuff build up on the one in my personal office. The reality of using a microwave is that despite your best efforts, things will spatter and stick at times. Yes, an inexpensive splatter cover will help, but somehow, the microwave always seems to find a way to get dirty.
The easiest method I know for cleaning a microwave is to boil some water in a microwaveable bowl or measuring cup and leave the door closed for 10 to 20 minutes. Adding vinegar or lemon juice to the water makes it even more effective because that acidity cuts through fat and grease. Afterward, the gunk wipes out easily, though sometimes a second steaming is necessary. Any stubbornly stuck-on bits can be scrubbed off with baking soda, and the turntable itself can go through your dishwasher.
Ovens and oven grates
The easy answer for cleaning your oven is oven cleaner, but it’s nasty stuff, and you sure don’t want to be breathing it. I’m sensitive to some scents and chemicals, so I avoid it when I can. I used to work with “combi-ovens” in commercial kitchens and quickly discovered that a steamed oven is an easily cleaned oven.
So when mine needs attention, I start by scraping and brushing out as much debris as possible, spraying the walls and bottom with a vinegar and water solution (lemon and water also works), blocking the burner where my oven vents heat when it’s in use, and putting a large pot of boiling water on the middle rack. After the steam does its job for 30 minutes, I can usually wipe everything clean with minimal fuss. For any remaining burnt-on spatters, the usual hacks for keeping your oven spotless may work, like scrubbing with coarse salt or baking soda and using vinegar as a cleanser.
Grates can go in a large sink, bathtub, or plastic tote full of hot, soapy water for a soak. Once the soil is loosened, it’s relatively easy to scrub off with a brush or a cloth.
Fridges and freezers
If you’re in the “cleaning is drudgery” camp, your fridge just might be Exhibit A. I share a house with grandkids, so in-fridge spills and messes are just a fact of life. Unfortunately, there aren’t any real shortcuts here, but I’ve evolved a process over the years that works for me.
First, empty the fridge into a few picnic coolers, or mound everything on your table and cover it with a blanket to keep it cold. Now, take all of the drawers and door baskets and put them in a sink full of hot, soapy water. Soak down the interior and shelves of the fridge with soapy water or a vinegar solution, and let it sit for several minutes while you wash and dry the drawers. Then wipe off the interior and shelves (unless your shelves fit in the dishwasher, in which case that’s how you should be cleaning them). You can scour stubborn spots with baking soda and use a toothbrush for any tricky crevices. Use the same process for your freezer, though you’ll need to defrost it first.
Two final tips: Wipe down any dirty jars or containers before placing them back in the fridge, and replace the air or water filters periodically if you have them. It’s one of those refrigerator maintenance tasks people overlook.
The gap beside the stove range
This may be the spot a lot of us dread most. If you have a slide-in range, food and debris (including a surprising quantity of silverware) will inevitably fall down between the range and its surrounding cabinets. It’s an awkward spot to get into, and depending on your kitchen’s arrangement, it may not always be practical to slide the range out for cleaning.
A flat broom will often fit into that gap and let you sweep out dust bunnies, fallen forks, and other debris with relative ease. For a periodic deep clean, slide the range out, spray its sides with a commercial degreaser or vinegar and water solution, and then wash off the gunk once it’s softened. You can scour off any stuck-on food with baking soda. To simplify cleaning this space in the future, adding foil in between can capture crumbs between your stove and counter.
Cast-iron cookware
Okay, cleaning cast iron isn’t really as hard as you’ve been led to believe. You actually can use soap and water for routine cleanups, as long as you don’t leave the water sitting in your pan. Yes, dish soap is designed to cut through fat and grease, but that’s immaterial. The “seasoning” of your pan is the same kind of polymerized fat that builds up on the outside of your other pans, and you know how hard that is to remove.
If you’re protective of the seasoning on your pan, here’s a trick that chefs use to deep clean cast iron without soap and water. When the cookware is cooling down but still slightly warm, pour a generous handful of coarse salt into it. Scour the salt around with a cloth (so you don’t burn your hand) until any food debris is removed, then dump the salt. Lightly oil the pan, wipe it clean, and it can go back into storage.
Cooktops
The place where your actual cooking happens is, logically, the place where most of the mess happens as well. Flat ceramic cooktops, whether conventional or induction, are easy to clean as long as you stick to scratch-free cleaning methods, but gas and electric coil stoves are not.
For gas stoves, remove the burner components, soak them in hot, soapy water, and then scrub them off. Household ammonia works well on heavily soiled burners, but it’s nasty, so wear gloves and only use it in a well-ventilated area. Baking soda will do the trick if they’re only mildly soiled. For electric coils, wipe off heavy soil and then burn off everything else by cranking up the heat (open your windows and turn off the smoke detector). Don’t wash them in the sink; it’s a mistake to avoid. Once they’re cool again, remove the coils and clean the catch trays underneath. Some ranges have a lifting cooktop, which lets you get right underneath to remove debris underneath.
Dishwashers
The Roman satirist Juvenal is credited with coining the phrase “Quis custodiet ipsos custodes,” which can be translated as “Who guards the guards” or “Who watches the watchers?” In the kitchen, we might ask, “Who washes the washers?” Well, that would be us.
Dishwashers do a good job most of the time, but regular cleaning is a must lest it get gunked up. I’m on a well, and our water seems to make this buildup happen pretty quickly. I use a cloth and hot, soapy water for the inside of the door and easily-reached spots. For the filter area, I use a commercial cleaner-degreaser, brushes, and a cloth. After this, I run a cycle with a commercial dishwasher cleaning tab to get the parts I can’t reach. Before you add vinegar to your dishwasher, as many online influencers suggest for easy cleaning, you should know that it will slowly erode the appliance’s working parts.
The gaskets on fridges, freezers, and dishwashers
When was the last time you actually looked at the rubber (or at least rubber-adjacent) gaskets that keep your fridge, freezer, and dishwasher sealed? They get dirty pretty quickly, and if you live in a humid climate (as I do), you may even see mold. Most gaskets are white, so it quickly becomes apparent when they’re dirty.
The simple way to clean fridge and dishwasher gaskets is with a soft-bristled toothbrush (I buy cheap ones for cleaning), a soft cloth, and either a mild all-purpose cleanser or a diluted solution of bleach or vinegar. Wipe the gasket clean first with the soft cloth, then use the brush to get into any crevices, and finally again with your cloth. Wiping the gasket with a light coat of food-grade mineral oil once or twice a year will keep it flexible and extend its life.
Between panes of oven windows
This one stymied me for a while. Eventually, I realized that I could lift the door from the oven, remove a couple of screws to separate its front and back, and get at the windows that way. Yes, that’s inconvenient and a lot of work, but I do really like being able to see what’s happening inside my oven. This is still how I do a deep clean on a badly soiled window, but I’ve recently learned an easier trick for routine cleaning.
So, how do you clean between the oven windows without disassembling the door? It turns out that a lot of doors, including mine, have a slot in the bottom where you can reach up in between with a suitably narrow brush or other cleaning tool. Who knew?


