
You’d be surprised how good a pizza can turn out in your own kitchen after mastering just a few tricky techniques, like stretching dough. While the ideal for a pizza is a high heat pizza oven, with good homemade pizza dough and toppings, you can still make a picture-worthy pie that will taste amazing without ever leaving your home. The dough itself isn’t that complex or challenging, and as long as you avoid a few common mistakes for topping your pizza, like overloading with sauce and cheese, even inexperienced bakers should be able to do a great job.
There is only one part that’s easy to trip up on: stretching the pizza dough, which can be sticky, hard to handle, and quick to tear. So we reached out to an expert, 13-time World Pizza Champion master pizzaiolo Tony Gemignani, to get his best tips for stretching your pizza dough like a real pro. Gemignani walked us through every aspect of stretching dough, from which surface makes it easiest to handle, to the exact size you want to aim for when you shape your pizza with a home setup. He even gave us the best technique for tossing your dough like a true pizzaiolo, and it’s a lot easier than you might think. Covering each stage of the pizza shaping process, follow these five tips and you’ll never worry about a lopsided or sticky pile of pizza dough again.
Use both flour and semolina to handle pizza dough
When your pizza dough is risen and ready to go, the first thing you should be doing is covering your work area with flour, but not just any flour. Gemignani told us, “Using a combination of flour and semolina will make it easier to stretch dough rather than just using flour.” This works best for a few different reasons. The first is that while regular flour can keep your dough from sticking for a little bit, it also absorbs moisture quickly, so it will gradually get absorbed into the dough, and you’ll have to keep adding more. Semolina flour is less finely ground, so it won’t dissolve into the dough in the same way.
Semolina’s shape also makes the dough easier to move around. The small, round granules act like little ball bearings, helping pizza dough slide across surfaces. This is especially important for the critical step of getting your pizza into the oven, as it keeps the dough from sticking to your pizza peel and makes it easier to slide off without catching. For that reason you should be dusting your peel with semolina too, just to be safe. And as a little extra bonus, semolina helps add an extra crunch to the crust once it cooks. If you don’t want to buy semolina just for stretching pizza dough, cornmeal can also work, but it is more prone to burning, so be a little more careful with the cooking time.
Work on a cold, smooth surface and avoid stretching pizza right on the counter
You may be tempted to work on a wooden cutting board, but depending on the surface of your counter, Gemignani says that you may have better options. He told us, “It’s also helpful to use a cold solid surface such as marble, granite, or stainless steel.” He explained, “It won’t stick to the surface like it would with a wood or plastic surface.” If you don’t have a marble or granite countertop to work dough already, there are still ways to work with this advice, like icing your countertop in advance. Marble’s excellent qualities for working with dough means that you can actually buy separate marble pastry boards. If those are a little too expensive, a more affordable option that works well with sticky dough is a silicon Silpat Roul’pat, which can turn any counter into a perfect, non-stick pizza work station.
But no matter where you are working, you don’t want to be stretching that pizza dough right on the counter anyway. When we asked Gemignani whether tossing pizza or stitching on a board was easier, he was clear in saying, “It’s typically easier to stretch with your fists and or the top of your hands and knuckles.” You don’t have to outright toss it like everyone imagines a pizza chef doing, but do it on your hands, because as Gemignani explained, “I feel that the hardest thing to do is stretching it on the table. That’s what most people have difficulties with.”
Slowly stretch your pizza dough using the tops of your hands to keep it even
Your hands are the ideal tool for handling dough as you shape it, but you still need to be careful to keep from sticking or tearing your pizza dough. To start stretching your pizza, Gemignani says, “Make sure to use the balls of your fingertips and push the crust down, creating a quarter inch edge (which will be your crust).” Moving from your crust, he says, “Work your way to the middle and push the middle as flat as you can.” Gemignani suggests aiming for a 10-inch circle before you start to work. Then, “Pick up your pizza and start stretching it with both of your fists and/or the top of your hands and knuckles.”
Once the dough is on your hands, Gemignani advises, “Your hands should be at the level of your chest.” Take your time and “slowly bring your fists away from each other, then back and then away from each other as you stretch your dough around the end of your circle — not in the middle.” Gemignani explained that this technique “will help create a nice crust without being too thin in the middle.” Starting from that 10-inch round, he says, “You should be able to stretch this to about a 12-inch circle before adding your pizza toppings.” If your dough is still shrinking after you stretch, you may need to let it rest before continuing to work it.
Avoid overstretching your pizza to larger than 14-inches
While the size of your pizza is going to be impacted by just how much dough you start with, we also asked Gemignani how to avoid overstretching your dough. He told us, “Usually, you want to stretch your pizza out to about 12 to 14 inches.” Since the thickness of your dough is partly just personal preference, his reasoning was more practical, saying, “Remember that your typical home oven and most outdoor grills can’t handle a pizza that’s 16 inches or bigger.” And it might not just be your oven limiting you either, as Gemignani noted, “Most pizza stones, [steels], and grill plates tend not to be too large, so 12-inch pizza is sufficient.”
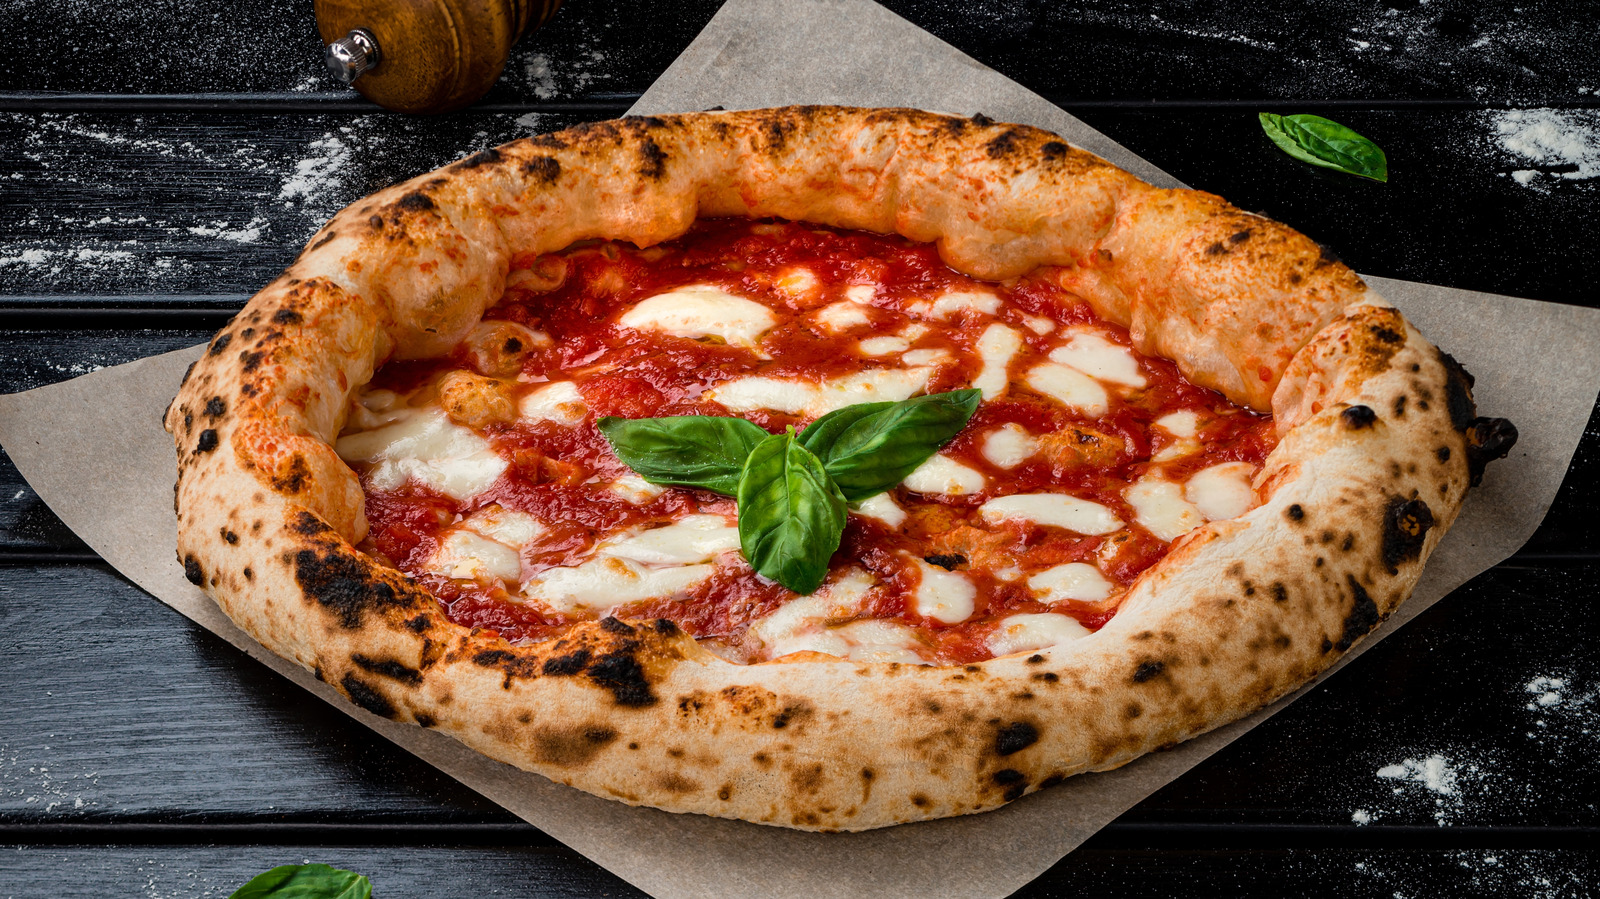
The thinness of your pizza crust is going to depend on your recipe, but most recipes should specify the ideal size of your pizza. As a baseline to go off of, our Neapolitan pizza dough recipe using two cups of flour is meant to produce two 12-inch thin crust pies. And while you don’t want to stretch your dough so thin that it rips, remember that it will rise in the oven like yeasted dough, even with sauce and cheese on it. Pizza dough rolled as thin as ⅛” will double or even triple in thickness when cooked. So don’t be afraid to get that pizza dough well stretched out if you prefer a nice, thin crust.
Use a rolling pin if you plan on grilling your pizza
If you’ve never grilled a pizza before you are in for a true revelation, just be sure to avoid these common pizza grilling mistakes. And according to Gemignani it will require a different shaping technique. What makes grilled pizza so good is that a grill is the closest most people without a dedicated pizza oven can get to the high temperatures those ovens cook at, and you also get that wonderful smoky char to flavor your crust. But that high heat and the grated surface of the grill require a different way of cooking crust than normal. Gemignani told us, “If you’re grilling, I recommend using a rolling pin because you want that pizza to be nice and flat and typically a grilled pizza is grilled on both sides.”
Grilled pizza is cooked on both sides because the heat is only coming from one direction. This means that both sides need to firm up before the pizza is topped to avoid it sagging through the grill grates. Rolling it flat makes it easier to drape onto the grill, and then flip over and hold its shape, which it needs to do as you will be adding your toppings directly on the grill as the second side cooks. It may not look like your traditional pizza, but we guarantee that you’ve never tasted pizza quite like it.


