
Whether you’re in the middle of a full DIY kitchen remodel or just decided to upgrade your tile backsplash or add some large-format tiles to make your kitchen seem larger, there is a lot on your mind. Laying new tiles isn’t the easiest task for many DIYers. There are several mistakes you could make. Grouting is one component of tiling that trips many people up. It seems much more straightforward than it is. And, unfortunately, if you do make a mistake, it can come with serious consequences, including cracked or otherwise damaged grout, grout that dries out and becomes unworkable, unfilled gaps between the tiles, hazy or stained tiles, and more.
Because we don’t want any of our readers to have to deal with the consequences of improper grouting, we reached out to three tile and design experts. Drew Mansur is the co-founder of TileCloud; Jeff Thacker is a master tiler; and Bar Zakheim is the CEO of Better Place Design & Build. Each of these experts offered guidance about what to avoid when grouting tile, along with some tips to ensure that you are able to choose the best product, mix it, and apply it correctly to your tiles for a quality finish and a professional look.
Choosing the wrong type of grout
One of the biggest mistakes people make with grout happens before they even start mixing it. In fact, it happens before they bring the grout home from the hardware store. There are several different types of grout, and choosing the wrong one for your project can cause a range of problems. “Different types of grout are designed for different applications. They have different levels of durability, moisture resistance, stain resistance, and ease of working,” explains Bar Zakheim.
Two of the main grout categories you’ll find are sanded and unsanded. Sanded grout is generally considered the best choice for wider grout joints (between about ⅛-inch and ⅝-inch). It will help prevent these wider joints from cracking over time. However, as Drew Mansur explains, “Unsanded grout is better for smaller grout lines.” Unsanded grout is generally seen as the better option when tiling a wall since it tends to have a stickier consistency and is less likely to slide down the wall before it has a chance to dry fully.
So, if you’re grouting a tile backsplash, unsanded grout will be the way to go. If you’re grouting a checkerboard floor for that retro kitchen of your dreams, sanded grout will be ideal if the joint lines are ⅛-inch or larger, while unsanded will be best for thinner grout lines. “Making sure you pick the right group for your space will help make sure that it lasts as long as possible. If you don’t pick the right grout, you might find that it will crack and cause trouble later on down the line,” says Mansur.
Choosing the wrong grout color
Many people spend a lot of time picking out new tile for their floor and completely overlook how important the grout color between those tiles will also be. Even the best backsplash for a vintage kitchen isn’t going to look right if the grout color between the tiles is off. When you want the tile to be the star of the show, Jeff Thacker explains, “You don’t want a grout color that’s going to stand out more than the tile. Choose a subtle color that will blend in with the tile, to let the tile be the focus.” However, there may also be times when you want to choose a contrasting grout color to draw attention to a specific tile layout or design. Either way, the grout color you choose deserves more of your time than many people give it.
Generally speaking, the lighter the grout color, the more muted the look will be. This will keep the tile as the primary focus for your kitchen flooring or backsplash. However, going with a darker grout can also be a good choice, particularly if you want more contrast or to call more attention to uniquely-shaped tiles. To visualize how grout color can make a huge impact, picture a classic white subway tile backsplash. Now, think about how that backsplash would look if it had white grout lines, black or gray grout lines, or even blue or red grout lines. While white grout could help you achieve a much cleaner look, the black or gray grout would add more contrast and draw more focus to the size and shape of the tile. A colored grout would add even more drama to the mix.
Failing to properly mix the grout
While mixing grout may seem like such an easy task, it is not as straightforward as you may think. Many people make mistakes with this step, and these errors can have a serious impact on the quality of your tiling job, its looks, and the overall strength of the adhesion. According to Drew Mansur, the water-to-grout ratio is critical. He explains, “Mixing grout too thin can lead to weak adhesion, while too thick can make it hard to apply. Following the instructions and making sure you have the right consistency will help it set properly, giving you and the job the best chance at looking great.”
Jeff Thacker also notes how consistency plays an important role in the quality of the finished project. “Always mix grout into a peanut butter consistency, although with some types of tile, you want it to be a little bit wetter,” he says. To avoid making the grout too watery, you shouldn’t start with all the powder in the bucket. If you’ve used up all the powder, and the resulting mixture turns out thinner than desired, you won’t be able to remove any water from it. However, if you have at least some of the powder left, you can always add more to thicken the grout.
Beyond understanding the consistency goals, you’ll also need the right tools and materials to ensure that the grout gets mixed properly. You will need a large bucket, a mortar mixer, and a sponge. Combine the grout and water in the bucket using the mortar mixer. If the consistency is too thick, you can use the sponge to carefully squeeze water (only a little bit at a time) into the bucket to thin the mixture out slightly.
Waiting too long to apply mixed grout
If you’ve just finished mixing a batch of grout, you shouldn’t choose that moment to give yourself a break or delay applying it for another reason. All of our experts explain that waiting too long to apply grout once it has been mixed will be a serious mistake. According to Jeff Thacker, “You should always use grout as soon as you mix it.” In fact, Drew Mansur points out that the grout will likely only be workable for up to 15 minutes.
The reason you have such a limited application window has to do with how quickly grout hardens. Bar Zakheim says, “Grout is going to start to dry and cure as soon as it’s mixed, and if you don’t use it soon enough, it’s going to be harder to work with and not set properly.” If you do manage to apply it, it may not provide an effective seal between the tiles. The finished product is also less likely to look as nice.
Mixing too much grout at once
Now that you understand why you shouldn’t wait too long to apply grout once it has already been mixed, this next mistake should make a lot of sense. You should also avoid mixing a huge batch of grout all at once. While it may be tempting due to the increased efficiency that will be possible when you don’t have to pause to mix a new batch, you’ll be opening the door to various problems. First, if the grout starts to cure before you’ve had a chance to apply it, you’ll likely end up wasting much of what you already mixed and needing to make a new batch anyway.
Bar Zakheim highlights another reason why it is a mistake to mix too much grout at once. He explains, “I also recommend mixing your grout in small batches, especially if you’re new to this. This will mean wasting less if you make a mistake.” If you end up getting the consistency wrong and the grout turns out too watery, it could become unsalvageable, making it necessary to start all over.
Using the wrong tools or methods to apply the grout
One mistake people often make when applying grout is not being prepared with the proper tools. If you have a trowel from a previous home improvement project, you might assume that you’ll be fine to use it for spreading the grout, too. However, Drew Mansur explains that this is simply not the case. He says, “When grouting, using the right trowel is key. If you want to do the job properly, make sure you have a rubber float; this will be best for spreading grout. Too flat, and you’ll have excess grout all over the place.”
Beyond using the right tool to spread the grout, you must also know how to hold it. In most cases, you should hold the grout float at a 45-degree angle. However, Bar Zakheim explains that this is another instance where it is possible to make a mistake. He says, “Getting the angle just right takes trial and error, since it depends on the size of the tool you’re using and the size of the gaps you’re working with. Too shallow of an angle will leave empty space behind your grout.”
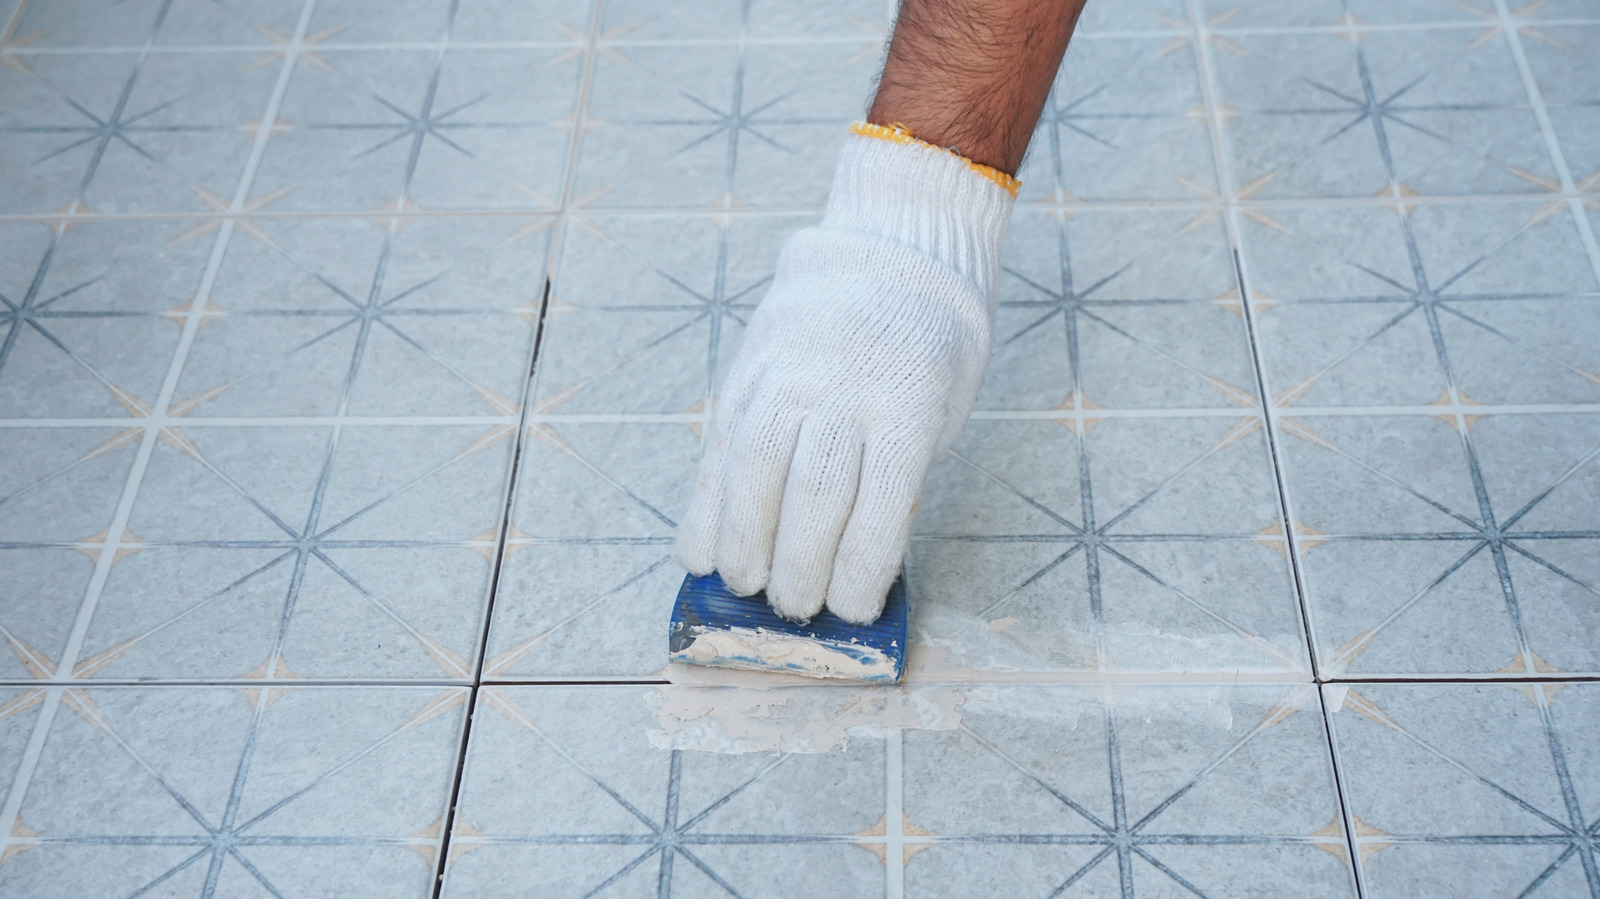
Not knowing the best way to remove excess grout
Spreading grout is a messy job. It is impossible to do it correctly without getting a fair amount on the surrounding tiles. However, it is also critical to know the correct way to remove this excess grout. Otherwise, you could inadvertently remove the grout from the joints where you want it or fail to properly remove it from the face of the tile where you do not want it. Jeff Thacker offers a word of advice. He says, “When you remove excess grout, lightly sponge it off, cleaning your sponge often. Being gentle with the sponge will prevent grout lines from being damaged.”
Drew Mansur agrees with this advice. He also recommends working in a circular motion and making sure that there is not too much excess water in the sponge. Additionally, Mansur says, “When you are grouting, it’s best to remove the excess grout when it’s still wet — don’t wait until it’s dry.” If it cures over the fronts of the tile, you’ll find that it is much harder to fully remove. To avoid letting the grout dry before you get a chance to remove it from the tiles, Thacker says, “Grout small areas at a time, removing excess grout as you go.”
Failing to seal the grout
Once you’ve finished all the tiling work, applied the grout, and cleaned the excess off the tiles, you may assume that you’re done. However, if you stop at this point, you’ll be skipping a very important step: sealing the grout. According to Bar Zakheim, “Sealing grout is especially important in applications where you’ll be dealing with water; that means most kitchen and bathroom applications.”
If you don’t seal grout, you’ll likely end up regretting it down the line. As Drew Mansur explains, “Sealing grout is essential to prevent moisture, dirt, and other nasty stains from getting in. If you don’t use one, it can absorb liquids, which can make the grout change color or get moldy.” Think about everything that happens in a kitchen. From tomato sauce that is so prone to splattering to water splashing when you wash dishes at the sink, there are many opportunities for moisture to penetrate the grout. It simply isn’t worth the risk (and the future headaches that you’ll face) to skip the step of applying the sealant.
Not knowing how to properly remove old grout
Perhaps you’re not in the middle of a full tiling project. You may simply be trying to update the backsplash or floor, or to fix a design flaw in the kitchen before selling your home. For example, if your grout is old and crumbling or is an odd color that really doesn’t look good with the tile, you might scare away potential buyers. However, if you don’t know how to properly remove the old grout, you could end up making a mistake. “If you don’t remove old grout properly, it’s easy to chip or crack the tiles. You have to take your tile and remove the grout carefully,” says Jeff Thacker.
To avoid making a mistake, Drew Mansur cautions against rushing. “Old grout is old for a reason; it’s been there a while. It can be stubborn, so take the time, use the right tools, and be patient.” There are a few different methods you can try when removing old grout. One option is to use a rotary tool with a grout removal bit, carefully pressing the tip into the grout and sliding along the center of the line. You can also remove grout using a utility knife or a grout saw. These tools should both be held at a 45-degree angle. You should work using shorter strokes in small areas of the wall or backsplash before pausing to clean up the old grout that you cut out.


