
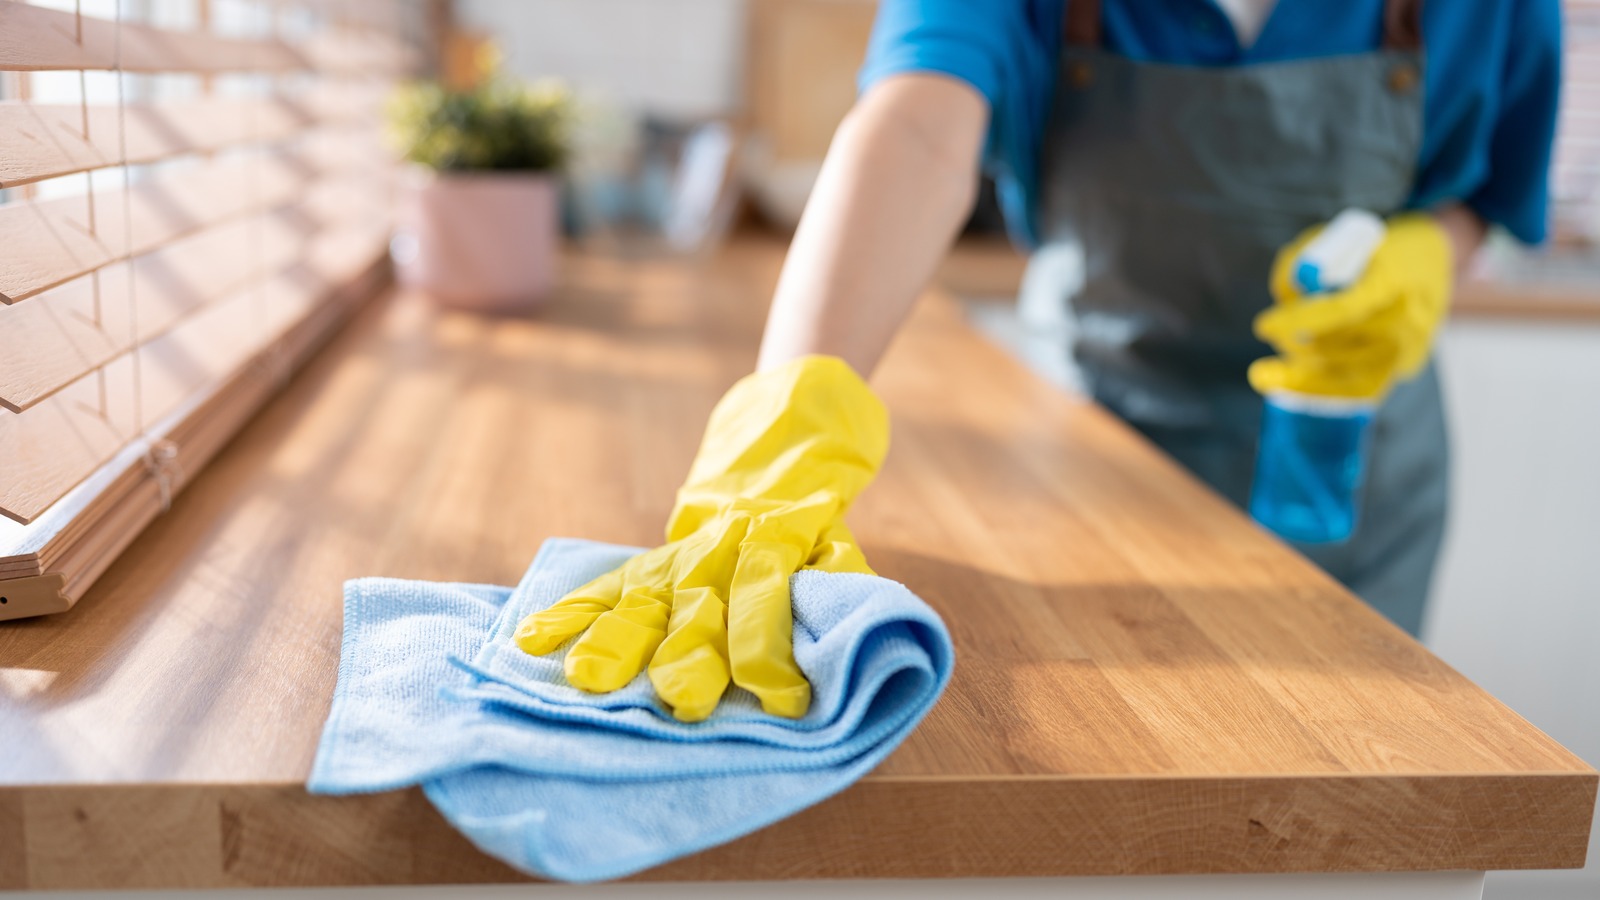
Cleaning the kitchen is one of those tasks we would all love to avoid, but we just know we can’t. Whether you like to have a spotless kitchen before heading to bed every night, or you give it a big wipe down every few days, most of us have accepted that constant kitchen cleaning is just part of being an adult.
No matter how proud you feel when you stand back and look at your shiny counter tops, there is likely a different story being told in certain corners of the kitchen. From filters to cabinets and inside kettles and toasters, there are some spots in the kitchen that manage to evade our sponge regularly. Even if you are aware of them, they can often move so far down the to-do list that they fall off the end.
Fear not, we have rounded up 13 common spots in the kitchen that you’re probably forgetting to clean, so that you can don your rubber gloves and tackle them straight away. Alternatively, put the (probably dirty) kettle on and enjoy a cuppa while you peruse the list.
Cooker hood filters
Cooker hood extractor fans are the unnoticed workhorses of the kitchen. They remove nasty smells as you cook, and prevent the kitchen from steaming up while the pots bubble away on the stovetop. For most of us, though, we rarely think to clean the filters as part of our kitchen cleanup routine, and it’s probably been a lot longer than you care to think since you cleaned them properly.
If you’re wondering if the filter really needs to be cleaned, the answer is almost certainly yes. Touch them with your fingertips and you will get the confirmation you need — they collect grease so easily and they need more regular attention than you have likely given them.
Fortunately, cleaning the filters is a relatively easy, if messy, task that gets quicker the more often you do it. Most of them pop out of the hood easily at the press of a button, and they can be washed in a basin of hot soapy water. Add a little baking soda to the water to help break down the grease, and leave them in the water for around 10 minutes. Firmly scrub them to remove the remaining grease, before rinsing and drying. The first wash may not return them to their original, spotless glory, but over time it will make a difference. This task should be completed at least every three months to ensure your extractor fan keeps working properly.
Garbage disposal
If you have a garbage disposal in your kitchen, chances are you chuck your leftovers in the sink and are grateful that they are being dealt with, without giving much thought to how dirty it might be. By definition, it has scraps of garbage clinging to it, and most of them will be hidden out of sight. Over time, however, the rotting food will build up and make its presence known with a horrendous smell. To avoid this happening, regular maintenance of your garbage disposal is crucial.
The first step to cleaning the disposal is of course to turn it off at the mains. And no matter what, don’t put your hand inside — even stationary blades can cause injury. Scrub the visible parts of the disposal unit with a sponge to remove all of the built up sludge, then pour a cup of vinegar down the drain with half a cup of baking soda, and cover the top of the drain. After 10 minutes, you can turn the power back on and run the machine as hot water pours through it.
For an easier clean up of the mechanism, pour ice cubes down the drain, followed by either salt or vinegar and run the machine. This will keep it cleaner than usual in between deep cleans. Maintaining the garbage disposal will not only keep your sink free of funky smells, but it will prolong the life of the appliance too.
Water filters
Water filters in the kitchen are becoming increasingly common, with lots of us enjoying the taste of freshly filtered water straight from the fridge. Whether you are pouring from a filter jug, have a fridge with a built in water filter, or have one installed under the sink, it is easy to overlook the need to clean it, which can lead to it getting pretty grimy over time. Remember that whatever your filter is preventing you from consuming — dirt, sediment, chlorine etc — is being trapped in the filter instead.
The frequency of cleaning the filter will depend on your setup, but you will likely start to taste the difference in the water as it approaches that point. Consult your user manual to find out how often the filter should be washed or replaced, to make sure you continue to have fresh, clean drinking water in the long term.
Backsplash
The backsplash behind your stove top is a lifesaver in the kitchen, preventing hot oil splatters, grease splashes, and tomato soup spills from ruining your walls. As we rush about in the kitchen getting dinners ready for everyone, it can be easy to miss just how dirty the backsplash is becoming, until one evening the oil stains catch the light and you recoil in horror at how filthy it looks.
Like so many kitchen cleaning tasks, maintaining the splashback is much easier if you remember to do it regularly. The longer the grease stays on the surface, the harder it is going to be to get off, so putting off this task is just going to make it harder in the long term. Fortunately, you don’t need any fancy tools to get that surface back to its shiny best. Dish soap and hot water will get rid of most of the grease, and for really tough spots you can try targeting them with a mixture of baking soda and vinegar. Once you’ve removed the old grease, try to get into the habit of wiping down the splashback at the end of each meal, meaning you can go longer between deep cleans.
Kitchen composter
A kitchen composter is a handy bin to help reduce food from ending up in landfill, and make you feel slightly less guilty about your food waste. It’s easy to forget, though, that it is essentially filled with rotting food, and most of us don’t thoroughly clean it as often as we should.
The first step toward a clean composter is to not put food directly into it. Biodegradable liners are commonly available, so use them to keep the majority of the food scraps from getting stuck in the nooks and crannies of the bin. Even with liners in place, however, little pieces of food often manage to escape, and if not spotted when you empty the composter, will continue to rot in the bin for weeks.
To prevent long-term gunge, wash the empty composter with hot soapy water once a week, and dry it thoroughly before adding a fresh liner. Don’t forget the lid — it has extra bumps and crevices that allow food to avoid your gaze for longer.
Cabinets
When cleaning the kitchen, we spend so much time tidying and wiping down the worktops and putting things away in cabinets, but we rarely stop to think that the cupboards themselves may need to be cleaned every so often. Giving them a crumb down and a spray regularly can stop the grease from building up and keep the items inside pristine.
The most obvious place to start is the outside — depending on your color scheme and the material they are made from, your cabinet doors could be pretty filthy without you realizing. Greasy fingerprints are a common culprit, and a quick wipe with soapy water can prevent the marks from becoming more permanent. Now to the inside — spots that house the ketchup or olive oil are the most likely to contain spillages, so tackle them on a regular basis. Every few months, empty everything out of the cabinet and clean the whole inside thoroughly with a damp sponge. Make sure it isn’t too wet, as this could damage wooden cabinets.
Finally, pay some attention to the handles of the cabinet. It would amaze you how much grime they pick up, as you open the cupboards while you cook and leave behind traces of food. Give them a wipe down with a damp cloth every day and notice how much they shine.
Inside the kettle
How could any of us cope without our trusty electric kettle in the kitchen? From making our morning coffee to boiling up water to cook pasta, most of us use it everyday. But as much as your kettle looks after you, how often do you check inside of it? Not often, we’d guess, and it may not be a pretty site when you do.
Unless you live in an area with soft water, such as the Pacific Northwest, limescale is likely to build up in your kettle over time. While limescale looks unsightly, it is caused by a build up of minerals from the water, and can be removed fairly easily. As so often with kitchen cleaning, vinegar comes to the rescue again. Add a 3:1 mixture of water and vinegar to the kettle, boil it, then leave it for 20 minutes. Rinse the kettle thoroughly before using again, and you can repeat the process if the limescale still remains.
Above the fridge
“Out of sight, out of mind” is certainly a phrase that rings true in the kitchen — look no further than the top of your refrigerator. Whether you store your cereal boxes up there or just use it to get random items off the counter tops, it is an area of your kitchen that can be left unattended for months on end. At the very least, it is a dust magnet, and it will definitely need to be cleaned every so often.
Once you have found a step stool or ladder, remove any items from above the fridge, especially crumbs that have fallen out of packaging. Dish soap and hot water should do the trick, or you can use a vinegar solution if it is particularly greasy up there. Before you replace everything where you got it, decide if there is a better spot in the kitchen where they could reside, and prevent the top of the fridge from becoming a dumping ground.
The bottom of the oven
We all know we should clean the oven regularly, but as far as kitchen chores go, it is definitely one of the worst. Even if you do a good job of cleaning the racks and wiping down the glass door, chances are the bottom of the oven is an area that gets neglected. It seems that the slightest spill can cause a catastrophe at the base of the oven, and pretending it doesn’t exist feels like a much better option than actually cleaning it.
If you have decided to tackle the mysterious layer of grime, you can make the task easier by loosening some of the crusted-on grease first. Fill an oven-safe dish with water and turn the oven on for up to an hour. Once it cools you should find it much easier to remove the grease. A baking soda paste can then be applied to the dirtiest spots, and left to do its magic before being wiped away with a damp cloth.
To prevent the bottom of the oven getting quite so dirty, consider lining it with aluminum foil, or using an extra large baking sheet that will cover the entire base and can be removed periodically.
The kick plates
In most cases, the cleanest parts of our kitchens tend to be the sections at eye level, which means that the kick plates have got no chance. These long pieces of panelling prevent stray blueberries from rolling under the cabinets — don’t worry, they’ll end up under the fridge instead — but by definition they are prone to a little bit of abuse.
The kick plate will suffer whenever you drop things on the kitchen floor, and if you have young children or pets, you can forget any notion of them staying sparkling. Giving them a quick clean daily can help prevent serious dirt build up, meaning they won’t need a deep clean as often.
When you are vacuuming the kitchen floor, run the attachment along the length of the kickplate to remove excess dust, then give them a quick wipe afterward with a damp cloth. If your kick plates are removable, you should lift them out a few times a year, but be prepared for the collection of food that may be hiding behind them.
Dishwasher
The dishwasher does a brilliant job of cleaning up all the crockery and glassware in your kitchen, but how often do you clean the appliance itself? Although you may assume it is getting cleaned during each cycle, pieces of food from the plates get stuck in crevices and filters, and need to be removed to prevent nasty odors from building up.
Cleaning your dishwasher is relatively easy, and there are a few methods you can try. Firstly, remove the filter from the bottom every week, empty it, and brush it gently with a toothbrush before replacing it. For a deeper clean, you can buy cleaning capsules that are placed in the empty dishwasher for a long, hot cycle. This should get rid of most of the grease and ensure your dishwasher continues to operate effectively.
For ongoing maintenance, you can add a deseeded lemon half to the top rack of your dishwasher regularly, and run the washing cycle as normal. Your glasses will come out sparkling and the dishwasher will be left with a fresh scent. (This is just one of the many ways you can use a lemon when cleaning your kitchen.)
The toaster
The toaster is a game changer in the kitchen that prevents you having to fire up the broiler whenever you fancy a slice, but the mess that can end up at the bottom is disheartening. Toast crumbs are the bane of many homeowners’ lives, and they tend to get ignored until a substantial pile has built up.
If a burning smell has started to appear whenever you use the toaster, it’s time to rescue those charred crumbs before they catch fire. Many modern toasters have a crumb tray, meaning you can remove said crumbs without too much effort. If you didn’t know this existed, toaster cleaning has just become considerably easier.
Otherwise you’ll need to do it the old-fashioned way: Turn the toaster upside down over a trash bag or sink and shake out the debris. If it wasn’t obvious, be sure to unplug the toaster before attempting any of these feats. Once you have emptied the toaster, wipe down the outside with a damp cloth, and spend the rest of the day feeling a little smug at how clean your toaster is.
The burners on the stove top
After cleaning the oven, washing the stove top has to be the most hated kitchen chore. Even when you haven’t spilled anything, there seem to be greasy splatters and tiny crumbs in every little crevice you can see. But what about the places you can’t see? You may think you keep your stove top pretty clean by wiping it down every evening, but remove the caps of the burner and you may get a fright.
Often the burner can have gunk and crumbs blocking the flame, meaning the stove will not be as efficient as it should be. While the burner caps soak in soapy water, use a sponge and toothbrush to loosen off any burnt-on grease from around the burner. A baking soda paste can be applied to remove stubborn stains, rather than a harsh scourer that could cause damage. Cleaning the stove top regularly will prevent the buildup of grease and make this thankless task easier to cope with.
Under the drawers in the fridge and freezer
You’ve spent what seems like hours cleaning and organizing your fridge freezer, and you stand back and look proudly at what you’ve achieved. Then you realize you haven’t cleaned under the drawers, and just like that, your bubble bursts. The area under refrigerator and freezer drawers plays host to all sorts of crumbs and unknown spillages, and rather than leave them there to fully decompose, you should lift out the drawers every so often and give them a good clean.
Removing the drawers can be tricky at first, but you want to give them a gentle wiggle as you pull. Use a clean vacuum attachment to remove any crumbs from inside and under the drawers, then clean the drawers with hot soapy water. The same water should be enough for the area underneath, but if you haven’t been under here in a while, you may need to opt for some baking soda paste to loosen some of it first. Once you have wiped everything dry, return the drawers to the fridge, realizing that no one will even notice what a good job you have done. The same method applies to the freezer — try to do both every few months.


