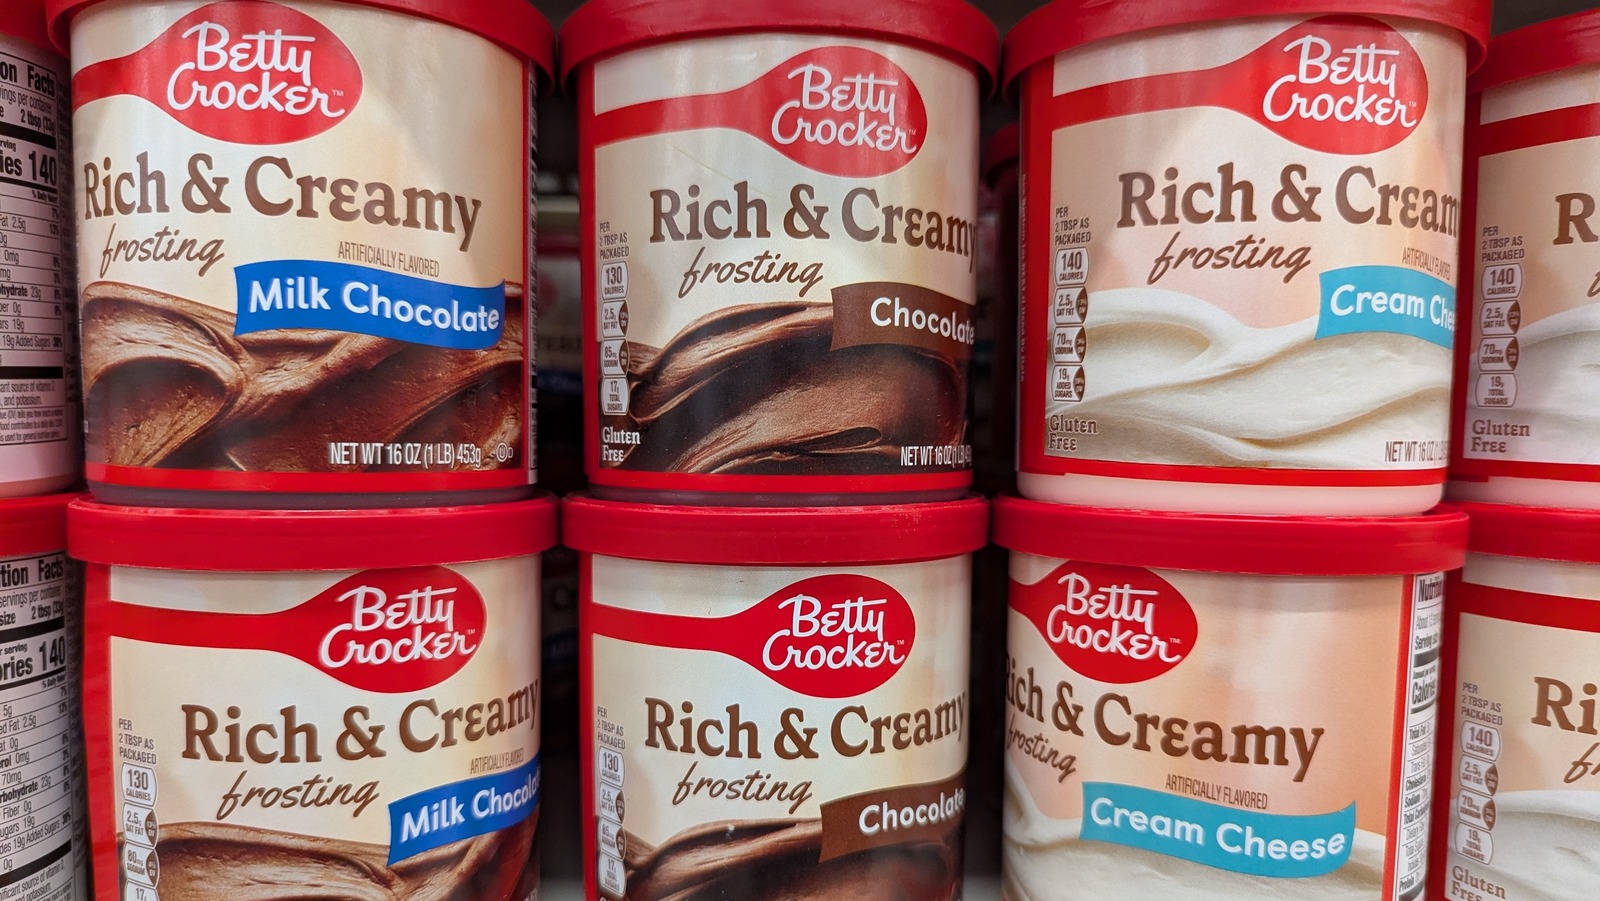
Home bakers know that a can of store-bought frosting can be a total time saver when whipping up a batch of cupcakes for your kid’s school bake sale or a cake for your bestie’s birthday. But while piping and decorating are the most obvious uses for canned frosting (and there are even ways to elevate it), its application does not stop there. All it takes is a little imagination to take your frosting from a baking aisle quick fix to the star of the show.
Below are some creative ways to use store-bought frosting. Whether you are looking to upgrade your mixology game by adding a little pizzazz to your cocktails or simply need a fast and easy dessert recipe, the possibilities are just about endless when it comes to cans of frosting. So, get your apron on and dig in. You might just surprise your family with a sugary twist on a breakfast staple, or a fresh take on a Thanksgiving classic.
Level-up your cocktails with a frosting rim
Everyone loves a margarita with a salty rim, but you can achieve a similar effect with sweet cocktails by using frosting and sprinkles. It is pretty straightforward; All you need are two plates, your store-bought frosting, some sprinkles, and your cocktail glasses.
Smear a layer of frosting onto one of the plates — you want it just thick enough to create an even layer along the top of your glasses, but not too thick or else it will get gloopy (yuck). Pour your sprinkles (or edible glitter or, if it is the holiday season, some crushed bits of candy cane) onto the other plate.
Gently press the rim of your cocktail glass into the frosting, giving it a spin to make sure the entire circumference is coated. Carefully remove the glass from the frosting and lightly dip it in your sprinkles, again giving it a spin to cover all of the frosting. Repeat on all of your glasses, turn them upright, and fill with a beverage of your choice.
Try it on pancakes
At its core, frosting is just fat and sugar. Butter and maple syrup? Essentially the same thing. So, go ahead and slather some frosting on your flapjacks to add a similar sweetness. It makes them a lot more dessert-y, but who says that is a bad thing?
Spread a thin layer between each pancake in your stack, allowing the frosting to get a little melty and seep into the flapjacks. If you have really got a sweet tooth, you can also add some maple syrup, but that is completely optional.
Use chocolate frosting on chocolate chip pancakes to really double down on all that cocoa goodness, but red velvet pancakes with store-bought cream cheese frosting is also delicious. The tang from lemon frosting complements blueberry pancakes gloriously, and coconut frosting adds a tropical vibe to banana pancakes. Basic vanilla frosting is perfect for buttermilk pancakes or warm cinnamon flapjacks. Whatever combination you use, it is sure to make for a delectable breakfast.
Make cake pops with it
Get out your stand mixer because store-bought frosting is the perfect hack for making easy cake pops at home. Whether you are making cake pops with leftover cake or are baking one just for this occasion, all you have to do is crumble the cake right in the stand mixer. Using the paddle attachment, bring your stand mixer to a medium speed. As it is breaking down the cake into crumbles, start adding spoonfuls of your canned frosting until you have reached a moldable, doughy consistency. Different cakes require different amounts of frosting, so it is best to eyeball this one.
Once you have achieved the right consistency, scoop the dough into balls a bit smaller than a golf ball. Roll them between your palms for a smooth exterior and place them on a parchment-lined baking sheet. Chill them in the refrigerator for at least an hour to firm up. Then, spike each cake ball with a 6-inch lollipop stick.
Melt some chocolate of your choice and dip each cake pop, covering completely. Secure the dipped cake pops in a foam block and decorate them however you please: drizzles, sprinkles, edible glitter, or crushed candy. Let the cake pops set in the refrigerator and enjoy once the chocolate has solidified.
Make truffles with it
Store-bought frosting can also become the base for ridiculously simple truffles. Grab your can of frosting (any flavor will work) and place it in the fridge to firm up. Once the frosting has chilled, scoop tablespoon-sized balls onto a parchment-lined baking sheet. You can roll the balls of frosting between your palms to make them super smooth or just use a small cookie scoop to keep things uniform.
Once your frosting has been scooped, place the baking sheet in the freezer for at least half an hour — you want to make sure the truffles are firm and pretty solid. Melt some chocolate of your choice and dip the frozen truffles into the melted chocolate, coating all sides. Remove the truffles from the chocolate and place them back on the parchment-lined baking sheet. Optionally, you can top the truffles with sprinkles, crushed candy, or another fun topping. Immediately place the truffles into the refrigerator until they have set completely. Some flavor combinations to try out: salted caramel frosting with dark chocolate, lemon frosting with white chocolate, and strawberry frosting with milk chocolate.
Turn it into a glaze
Power up your microwave, because you can quickly transform your store-bought frosting into a glaze to top cakes, breads, donuts, and other pastries and baked goods. Transfer your can of frosting into a microwave-safe bowl and heat it in the microwave for 30 seconds on high. Give it a good stir. If it is liquid and pourable, your glaze is ready to use. If it is a little too thick, heat it in additional increments of 10 seconds, thoroughly stirring between each round, until you have achieved the right viscosity.
Carefully pour or slowly spoon the glaze over your sweet treats to finish them off. Keep it classy and classic with a simple vanilla glaze, or make things extra decadent with chocolate. You can also try making glazes out of fruit flavored store-bought frostings like lemon, strawberry, or cherry to add a fruity punch to a light and airy angel food cake or a rich and buttery pound cake.
Coat pretzels in it
Sweet and salty, chocolate-covered pretzels are a satisfying treat, but the process of tempering chocolate can be a hassle. Save yourself the trouble by using a can of store-bought chocolate frosting instead.
Transfer the frosting into a microwave-safe container. A vessel narrower than a mixing or cereal bowl — like a mason jar without the lid — would work well here. Pop it in the microwave on high for 30 seconds. Then, give it a good stir. The frosting should be warm but not scalding, and it should be loose without being too runny, like the ribbon stage in baking. Dunk your pretzels right into the melted frosting, coating three-fourths of the rod (you want to make sure you leave some of the pretzel bare in order to avoid getting chocolate all over your hands).
If you fancy some additional toppings, hold the coated pretzel horizontally and sprinkle them over top, rotating to get all sides. Alternatively, you can spread your toppings out onto a plate and then gently roll the coated pretzel in the toppings. Place the chocolate frosting-covered pretzels on a parchment or wax paper-lined baking sheet and chill in the refrigerator until the frosting has hardened.
Sweeten up your lattes
Flavored syrups and coffee creamer are packed with sugar anyway, so try mixing things up by using canned frosting to sweeten your morning cup of joe. Consider stirring a spoonful right into your drip coffee. You can also swipe a bit of canned frosting into the bottom or sides of your demitasse cup and brew your espresso right over it to really blend the flavors. If you would prefer a latte, do the same thing, but in a bigger mug. Then froth your milk of choice and pour it over top of the espresso. Gently stir it to create a smooth texture. It is a decadent way to start your day.
But if you do not have an espresso machine in your kitchen, fret not. You can still make perfect lattes at home without a fancy machine. And if you are not a coffee drinker at all, you can also use canned frosting to sweeten your hot tea lattes. Try it in chai, matcha, or even a London fog.
Top your bagel with it
If you are a fan of sugary bagel toppings, this one is for you. Store-bought frosting, the cream cheese flavor especially, is the perfect addition to your morning bagel. Pop your bagel in the toaster and use the frosting as a schmear for a sweet breakfast or snack.
It is a good idea to go with a plain or sweet bagel variety like cinnamon raisin, blueberry, or chocolate chip. Although an everything bagel with cream cheese is to die for, an everything bagel with cream cheese frosting will not hit the spot like you need it to.
To upgrade the situation even more, top your frosting-covered bagel with some sliced strawberries for a little berries and cream situation. If you normally opt for Nutella on your bagel, canned chocolate frosting is a pretty straightforward swap. Fruit-flavored store-bought frosting also makes a great schmear. Some flavor combinations to try out: lemon frosting with a blueberry bagel, cherry frosting on a chocolate chip bagel, and coconut frosting with a cinnamon raisin bagel. Yum.
Add it to your peanut butter sandwich
Okay, fine, this might sound wild, but fluffernutter sandwiches are a thing. So, why not try a frosting and peanut butter sandwich?
It is important to have the right kind of bread on hand for this sandwich. Something sweet and soft will work beautifully: think brioche, challah, or even Wonder Bread. Most canned frosting flavors will work here, but some especially good ones are chocolate and cream cheese. Next, start assembling the sandwich like you would a PB&J.
Spread a generous dollop of frosting on one side of one slice of the bread. On one side of the other slice of bread, do the same with the peanut butter. Stack the slices of bread on top of one another with the fillings facing inward. For an extra bit of melty goodness, lightly butter the exterior of the sandwich and toast it in a pan on your stove until golden brown. The frosting and peanut butter will really start to mingle, and the toasty bread adds a fantastic crunch to this indulgent dessert sandwich.
Spread it on sweet potatoes
Toasty marshmallows on top of sweet potato casserole is an iconic combination and absolutely delicious Thanksgiving staple. For an equally yummy side dish (or main course, no judgment here) try slathering some store-bought cream cheese frosting on a baked sweet potato. To really level it up, lightly dust everything with ground cinnamon, cardamom, or a bit of pumpkin pie spice to capitalize on the autumnal flavors. Chopped nuts — either candied or plain ol’ roasted — add an excellent crunch that contrasts nicely with the creamy texture of the sweet potato.
It is best served right out of the oven when the sweet potato is still piping hot and the dollop of cream cheese frosting starts to get all melty and the aroma of the warm spices really shines. Though frosting on root vegetables may seem unconventional, it is certainly worth trying out if you have got a sweet tooth. Just make sure to avoid the mistakes everyone makes when cooking sweet potatoes.
Use it as a dessert dip
Need an emergency potluck dish? A snack to throw together for a last-minute hangout with friends? You can turn store-bought frosting into a dessert dip for a quick and easy crowd pleaser.
Go ahead and find a funky bowl or other vessel that is conducive to scooping and dipping. Make sure it is not too tall or narrow — no one wants to get frosting all over their hands. Then, grab that can of frosting (pretty much any flavor will work), and transfer it into your bowl. You can keep the frosting plain, or try jazzing it up by stirring in some rainbow sprinkles, chocolate chips, or other mix-ins for a bit more color and texture.
Serve your dessert dip alongside graham crackers, apple slices, whole strawberries, pretzel sticks, or vanilla wafers. So, yeah, you are basically making grown-up Dunkaroos (what happened to them anyway?). But it is so delicious that no one will bat an eye at it. Besides, a little ’90s nostalgia never hurt anyone.
Make two-ingredient chocolate fudge with it
If you have got a can of store-bought chocolate frosting and a bag of chocolate chips, you are just a few minutes away from making some yummy, rich and totally easy fudge. First, transfer your 12-ounce bag of chocolate chips into a medium-sized microwave-safe bowl. Then, microwave on high in 30-second increments, stirring occasionally.
Once the chocolate chips are completely melted, add the entire can of chocolate frosting to the same bowl. Stir until smooth and well combined. Spread the fudge into a lightly greased square baking dish, making sure to press it into an even layer that reaches all sides and corners of the dish. If it floats your boat, sprinkle on some toppings — M&M’s, crushed Oreos, bits of Heath toffee, or chopped nuts all work well. Cover tightly and refrigerate your fudge until it’s firmed up, at least an hour. You will know the fudge is ready when it can be smoothly sliced into squares without losing its shape. Divvy it up until bite-sized pieces and enjoy.


