
There are some bakes that are just as easy to make as they look — think chocolate chip cookies and brownies. Others, like croissants and kouign-amann, look difficult for a reason. Then there are scones: While they may look simple, making a good one is surprisingly tricky.
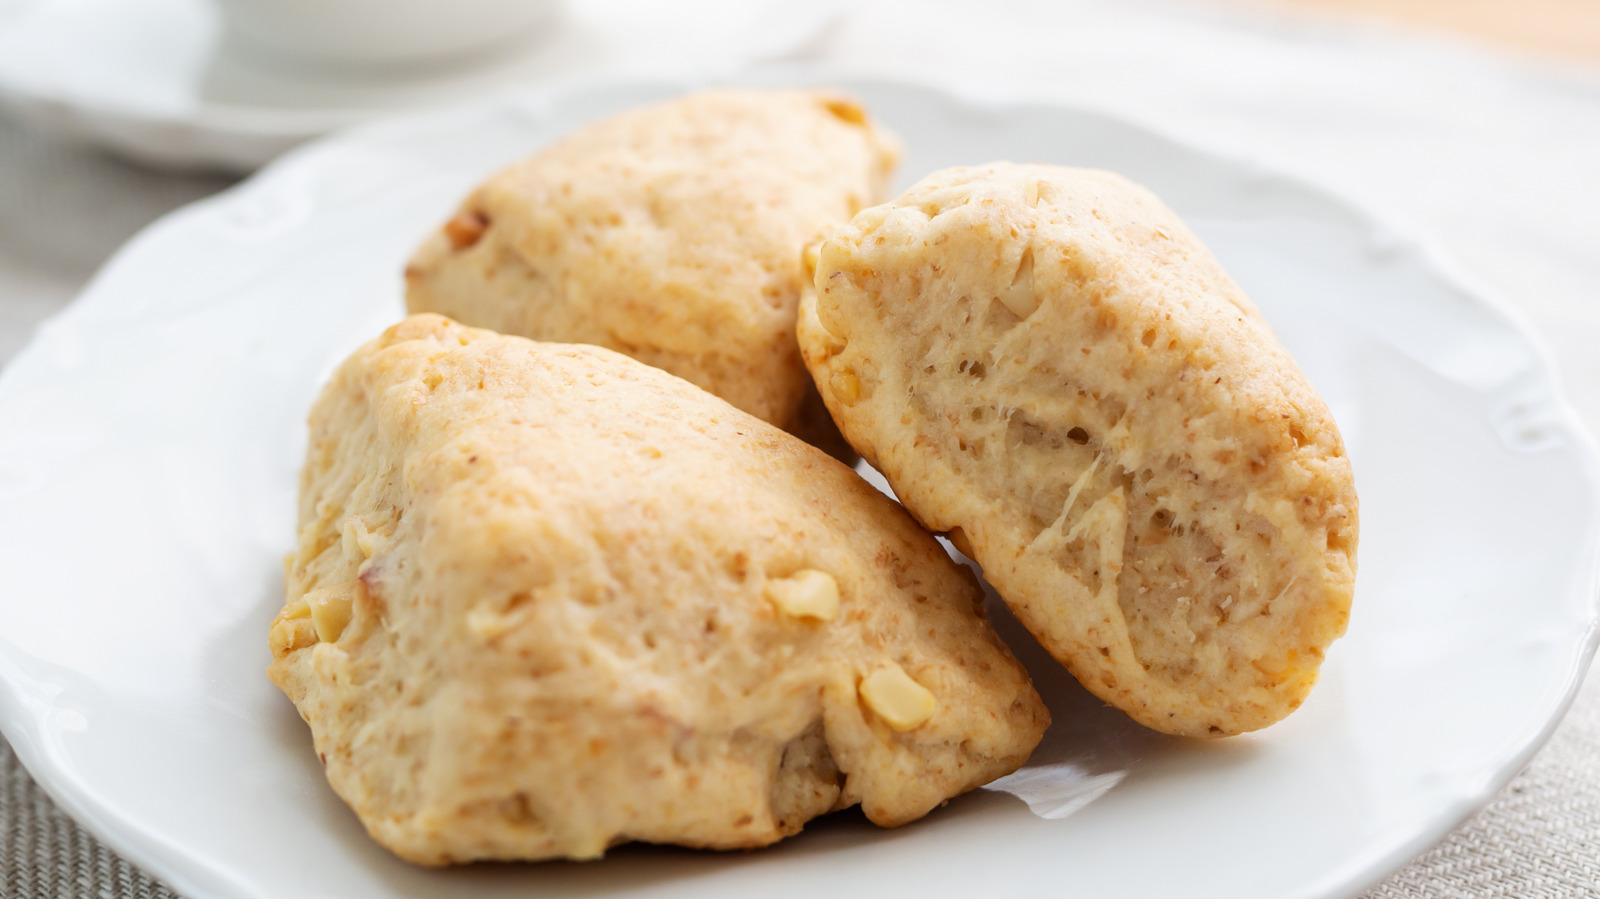
Scones, for those unfamiliar with the classic British treat, are dry and biscuit-like pastries commonly enjoyed during afternoon tea. They can be shaped several different ways, including cut into triangles and circles, or dropped free-form on a baking sheet pan. While the scone dough itself is pretty plain-tasting, the recipe can be customized relatively easy with sweet and savory mix-ins, or topped with spreads like the timeless clotted cream and jam duo. Their subtle flavor makes them the perfect pastry for someone who prefers milder-tasting baked goods.
A good scone is buttery and crumbly, yet also moist enough to retain its shape and complement any mix-ins added to the batter. There are many ways that bakers can mess up scones, rendering them too dense, overly dry, or ill-risen. To find out how to avoid these pitfalls and bake well-structured scones, we spoke with baking experts: Angela Latimer, recipe developer for Bake it with Love; Theresa D’Alessandro, recipe developer for Quiet Baking Day; and Trung Vu, chef-instructor of pastry and baking arts at the Institute of Culinary Education in New York City.
Keep your butter as cold as possible
One of the most common mistakes that people make with scones, and baked goods in general, is letting the butter get too warm. Most scone recipes will call for chilled butter because when the cold fat hits the heat of your oven, it will create steam and generate the perfect puff. If you use butter that’s too warm, you won’t have this same rising action, which can leave you with flat, sad scones.
“Plan ahead and work with everything cold and chilled — I freeze my butter overnight before starting,” says Angela Latimer, recipe developer for Bake it with Love. Not only does she recommend chilling the butter for your scone dough, but also other ingredients, including the heavy cream, buttermilk, and even the flour. She even chills the bowl she grates her butter into. Keeping your other ingredients and tools chilled will in turn keep your butter cold, making it a worthwhile tip to implement — even if it requires a little foresight on your part.
Use an appliance to get your butter to the perfect size
Temperature isn’t the only thing that matters when you’re making scones. The size of your particles is also important. One of the traditional methods for grating fat into scone batter is to take a box grater to a stick of frozen butter. But Theresa D’Alessandro, recipe developer for Quiet Baking Day, argues that not only is this method difficult to implement, but it may not be fruitful, seeing as “the butter will defrost in the time it takes to grate enough.”
Angela Latimer also foregoes the box grater hack and recommends using a food processor instead. She notes that this tool helps get the butter to “pea-sized crumbs” in no time at all. “I’m never looking back and will never do it any other way ever again, truly,” she says.
Not only can kitchen appliances help you get the right size butter pieces, but you can also use them to bring the batter together. Trung Vu, chef-instructor of pastry and baking arts at the Institute of Culinary Education in New York City, recommends using a stand mixer with a paddle attachment to incorporate your butter and flour together. “The butter will either ‘disappear’ into the [dry ingredients], or if there is a large amount of butter, it can create a coarse cornmeal-like texture,” he says. The key, though, is not to add in the liquid ingredients into your stand mixer, as the appliance’s power and speed may cause the dough to become overworked once the wet ingredients are added.
Rub the butter into the scones
Once your butter is broken up into small pieces, it’s time to combine it with your dry ingredients. While Trung Vu recommends of using the stand mixer do to this, Theresa D’Alessandro recommends rubbing the butter into the flour with your hands. She explains that “manually rubbing in chilled butter to the flour allows for some larger and smaller final pieces of butter — making for distinctive nooks and crannies throughout the dough.” This technique, also called “cutting” the fat into the flour, will help the butter chunks retain their shape, in turn helping produce a puffier and softer scone.
Vu explains that it’s important to use cold butter for this technique, as you don’t want it to melt as it’s mixing with the flour. If you are worried that your hands will warm up the dough, you can always turn to a pastry blender or fork instead.
Add an acidic ingredient to make your scones more tender
One ingredient that you may have seen in scone recipes, as well as biscuits, is buttermilk, and according to the experts we talked to, it’s one that you absolutely shouldn’t skip. “Since buttermilk is acidic, it will react with baking soda to provide lift, resulting in a lighter, airier scone,” says Trung Vu. “Acids also act as tenderizers, so the texture of the scone will be softer as well.”
Theresa D’Alessandro explains that the amount of buttermilk you add to your recipe is dependent on many different factors, including the type of flour you use, any mix-ins you include, and even the humidity. She explains that she only adds enough of the acid to her batter “to create a shaggy and sticky dough.” D’Alessandro also recommends reserving a little bit of buttermilk and adding it incrementally to the dough if it needs it. If you find yourself coming up short on buttermilk, or don’t want to add yet another item to your grocery list, you can always try making a two-ingredient homemade buttermilk with milk and an acid, like lemon juice or vinegar.
Try laminating the butter into your scones
If you’re a big fan of “The Great British Bake Off,” chances are that the term “laminating” rings a bell. The process involves repeatedly folding dough to create a better definition between the pockets of butter and the surrounding pastry.
While laminating is a technique often used for pastry dough and for things like croissants, it can also be used to give your scones a flakier texture. Angela Latimer explains that shaping your dough with your hands and laminating it, rather than rolling it out, will produce “extra flaky, tall scones.” This is because when you roll out the scones, you may not only be over-working the dough, but also flattening and combining the butter with the dough — producing the opposite of a lofty and light scone.
Theresa D’Alessandro also stands by the lamination method. “I typically fold the dough in thirds as if I’m folding a letter before patting into the final shape and cutting,” she says.
Avoid overworking your dough
The easiest way to render your scone dough unusable is to overwork it. Overworking occurs when the gluten in the flour becomes too tight and overdeveloped, which, as Trung Vu explains, can lead to a denser and tougher scone. “Scones should be mixed until the dough just comes together after adding the liquids,” he says. The “after the liquids” clause is very important here. Gluten only activates when it’s combined with liquid, which is why it’s better to mix your dry ingredients and wet ingredients separately before mixing them together. That way, you’re not having to remix the batter every single time you add a new dry ingredient.
Another thing that causes issues with gluten (and melted butter) is over-handling, like when you go to roll and shape your scones. Scone dough doesn’t like to be poked and prodded, so avoid touching and handling it too much when you’re shaping it.
Vu also shares that adding too much flour to your work surface or rolling pin, likely with the intention of preventing it from sticking, can also cause even more issues with gluten development. Keep the amount of flour you use during this stage at a minimum to prevent introducing more gluten to your dough.
Don’t go overboard with the add-ins
Surely, no one wants a mixed berry scone with just a single piece of fruit in it. But, adding too much fruit, or other add-ins, to your scones can lead to issues with their shape and texture. Angela Latimer recommends capping out at 1 cup of add-ins per batch and using no more than ¾ cup of spreads and jams. This threshold will ensure that you have a little bit of chocolate, or berries, or whatever you’re adding in every bite, but not so much that it weighs the dough down and prevents it from rising.
Latimer also shares that she adds extra flour to her batter to accommodate for add-ins. She mixes in anywhere between ¼ and ¾ cup of flour to balance out the extra moisture of her mix-ins.
Be methodical about when you add items to your batter
It would be easy if you could just chuck all of your scone add-ins to the dough at once and be done with it. But, we never said making scones was easy. Theresa D’Alessandro shared the best time to add each ingredient to the scone dough with us.
When D’Alessandro makes scones, she adds dry spices and seasonings to the rest of the dry ingredients at the beginning of the bake and saves the wet ingredients, including flavor extracts, for when the other wet ingredients are mixed into the batter. While this might sound pretty intuitive, the chunky and spreadable additions are a little more tricky to plan out. D’Alessandro opts to add the chunks — like chocolate, fruit, and cheese — to the batter after the flour and butter have been rubbed together. This not only allows for optimal distribution of the large pieces throughout the batter, but since it’s done before the wet ingredients are added, you reduce the risk of overdeveloping the gluten when you mix them in.
She goes on to explain that spreads, including Nutella and jam, can be added to the dough prior to lamination. That way, you’ll get fun, marbled swirls when you fold and slice your dough.
Chill your scones before baking them
Can you chill scone dough enough? As our experts would argue, probably not. Keeping your dough nice and cold is the key to getting the perfect bake. Theresa D’Alessandro shares that while her oven is preheating, she’ll slide the sheet of pre-shaped scones into the freezer. She explains that she does this because it will help generate flaky scones.
Meanwhile, Angela Latimer either chills the dough before or after it’s cut. While she notes that both approaches can work for your scones, when you should do it ultimately depends on the consistency of your dough. “If your dough is even slightly on the wet side, it’s easier to chill first, then use a board scraper or knife to cut [the dough] once chilled,” says Latimer. Presumably, this is because the conditions of your fridge will help zap some of the moisture from your dough, making it easier to slice.
That being said, you should be monitoring the temperature of your dough throughout the process of making it — not just when you put it into the oven. Latimer notes that if your dough starts to feel too warm at any point, you can place it in the fridge to chill it back down before working with it again.
Cut the scones before baking them
There are two approaches you can take for slicing your scone dough. The first is to bake your dough as one cohesive blob, then slice it once it has exited the oven. The idea behind this is that smaller pieces of scones have more surface area — when accounting for their edges and sides — which puts them more at risk of drying out as they bake.
While this method has some merit, it’s important to note that slicing your dough after it’s baked could cause it to break or become too crumbly. And, as Trung Vu points out, cutting up the baked scones may also cause them to taste less fresh. “If you bake and then cut them, the exposed, cut sides will dry out faster,” he says.
Another technique that you can use to ensure that your pre-cut scones stay soft is to cut them out, but keep them relatively close together on the sheet. Like recipes for skillet cinnamon rolls or pull-apart bread, the scones will be able to cozy up with their neighbors, thus reducing the exposed surface area.
Bake scones hot
The “low and slow” philosophy works for some bakes. Scones are certainly not one of them. Theresa D’Alessandro explains that high heat is the way to go for scones if you want to give them the best rise. “The high heat will create a spring in the dough and will allow the butter to steam and not melt,” she says. For reference, Angela Latimer bakes her scones at around 400 degrees Fahrenheit, noting that 425 degrees Fahrenheit is usually her upper limit.
The exact bake time will depend on several factors, including the material of the pan that you bake them on or in. If you’re using a cast iron or dark-colored aluminum scone pan, for example, your scones will brown faster than ones that are baked on a lighter and thinner aluminum baking sheet. The darker the scone, the drier it will be — so be sure to keep an eye on them as they’re baking to prevent rock-like, over-baked scones.
Unfortunately, because scones have a hard and dry exterior crust and soft interior, it can be difficult to tell when exactly they’re done baking. The best way is usually to sacrifice one of the scones and break it open. The interior should be soft, but not doughy.
Experiment with fun and unique toppings
Scones are a recipe that’s meant to be customized with things like dried cherries and apricots, chocolate chips, blueberries, lemon, or bacon and chives, per Trung Vu’s recommendation. Vu shares that jam and clotted cream are two of the most traditional spreads for scones, though it’s not uncommon to see folks adorning their scones butter, curd, honey, or even dulce de leche.
But it turns out that there are just as many things that you can add to the scone batter as ways that you can top them. While you can follow Theresa D’Alessandro’s tip of stirring ingredients like Nutella and jam into the scone dough during lamination, beginners may want to opt for just spooning a little of their favorite spread on top of the scones instead. This is especially easy to do with a round scone, as you can separate it in the middle, like a biscuit, and spoon your accoutrements in.
Eat them on the same day you bake them
Scones are never as good on the second day. Trung Vu shares that these baked goods don’t have a long shelf life, and they will become hard and stale within about a day of baking them. We wish there was a way to extend their shelf life, but the fact that they only stay fresh for a day makes us appreciate them even more.
Once your scones have exited the oven, Angela Latimer recommends that you let them sit on the tray for about 5 minutes to firm up before transferring them to a wire rack to cool. The wire rack is an important tool here, as it allows air to circulate underneath the bottom of the scones and prevents them from getting soggy. Vu notes that if you do plan to store your scones for a later date, you should let them cool for at least half-an-hour before packing them away in an airtight container.
Try freezing your scone batter for future bakes
The bad news is that scones don’t taste good on day two. But, the good news is that you can always freeze your scone dough ahead of time so that you can have tasty scones primed for your next afternoon tea. Theresa D’Alessandro freezes her scones after they’re shaped and notes that if they’re stored in a freezer-safe container, the dough can last a few months. However, some outlets caution freezing the dough for longer than a month, as it can cause issues with the scones’ texture.
You can bake the pre-shaped scones straight from frozen — there’s no need to thaw the dough, seeing as they will soften a little bit while you’re preheating your oven. You’ll just want to tack on a few extra minutes to the bake time to account for the fact that you’re baking them from frozen. To avoid any unwanted odors, and to keep your dough as fresh as possible, try wrapping each of the scones in plastic wrap, then pop them in a resealable freezer bag.


