
You don’t need a lot of equipment to bake successfully. Our ancestors did just fine with wooden spoons and hand kneading, after all. However, the arrival of power equipment, particularly mixers, revolutionized professional baking, and — as the technology became more affordable — home baking as well.
A powerful mixer is right up there with a reliable oven among a baker’s biggest friends. Some would argue that a hand mixer is fine and question whether it’s worth investing in a stand mixer, but to me it’s a slam-dunk (and here’s our buyer’s guide to the best stand mixers). With a stand mixer, I can measure and mix other ingredients, or check the oven, while it does the work.
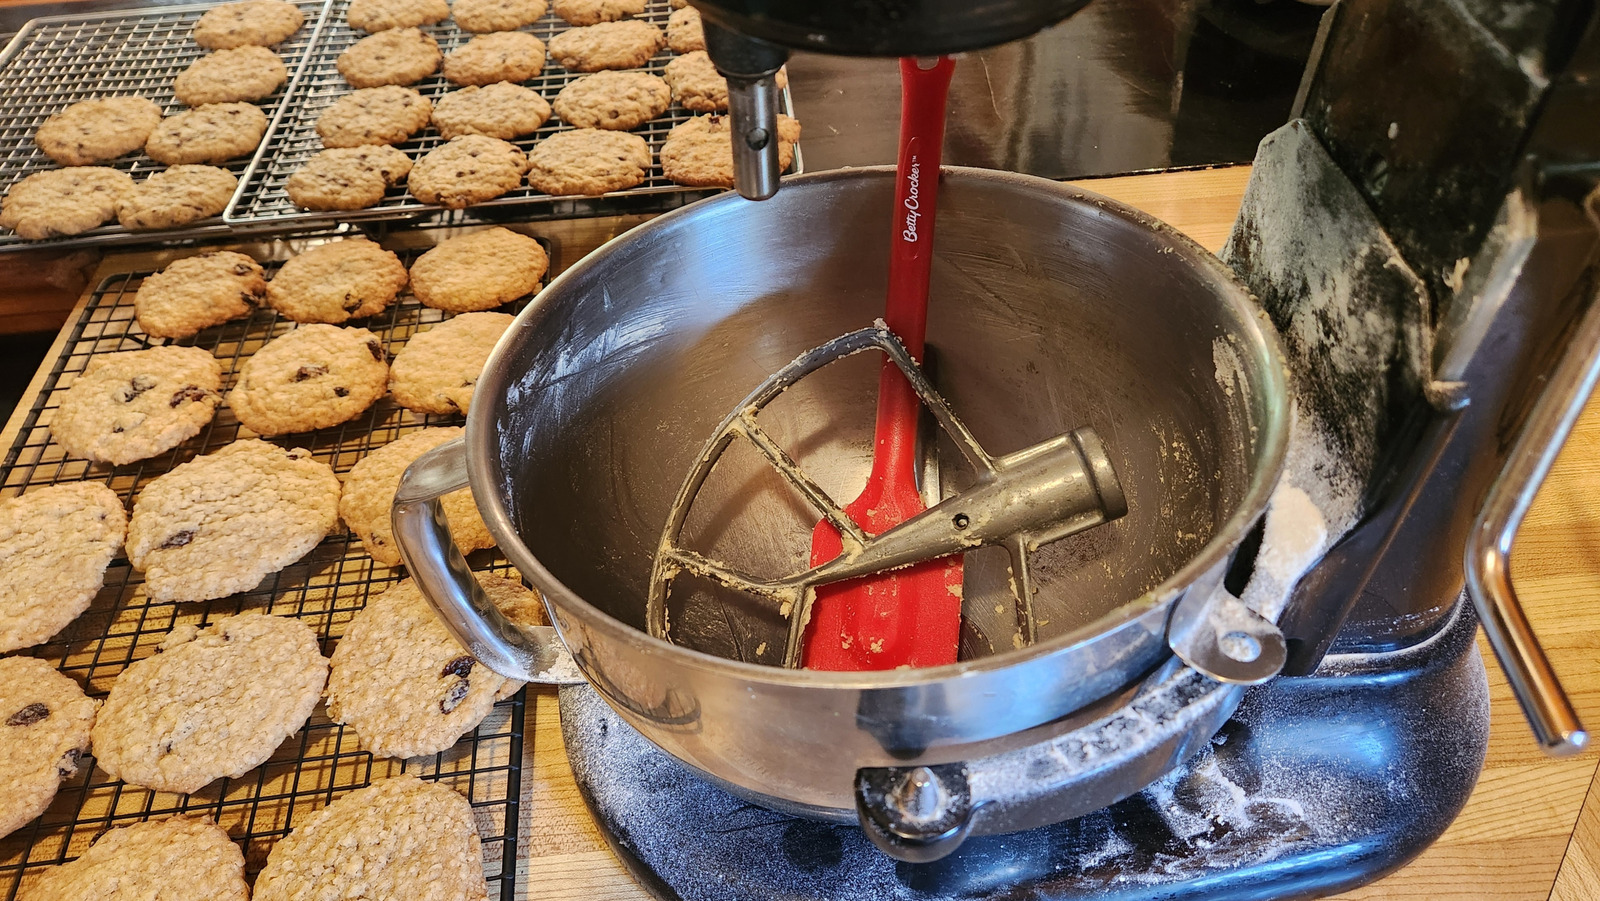
Like anything, a stand mixer works best and lasts longest if it’s kept clean. They’re all built on a similar pattern, from the smallest KitchenAid to a commercial Hobart that a linebacker could bathe in, so the cleaning process is similar whether you’re a pro or a home baker. While I trained as a chef, I’ve also baked commercially and run an in-store bakery, so I know how to clean a mixer from a lot of personal experience. Here’s how it goes.
Things you need
- A damp, absorbent cloth or sponge
- A toothbrush or other small brush for getting into cracks
- A bowl, basin, or sink for attachments to soak in
- Mild dish soap or other non-abrasive cleanser
- A microfiber cloth or other soft cloth for drying and polishing
- Baking soda (optional) for stuck-on gunk
- Vacuum cleaner (optional)
- A screwdriver
You’ll need the cloth or sponge for wiping the mixer clean. I personally prefer a cloth, but either one is fine as long as it’s clean. A brush (or toothpicks, if you don’t have one) is handy for cleaning small seams and crevices. The bowl or basin is self-explanatory, and so is the microfiber cloth for drying the pieces and polishing the mixer to a final shine. A vacuum cleaner is optional, but sometimes useful for getting rid of dry debris. I’ll explain the screwdriver when we get to that step.
Your choice of cleanser is important because it needs to remove food residue effectively without harming the machine’s finishes. I use dish soap, but other cleansers are fine. Just don’t use anything harsh or abrasive, and definitely don’t mix cleansers (it’s a common kitchen cleaning mistake, and the results can be toxic).
Routine vs deep cleaning
Before we start, let’s be clear that stand mixers (and many other appliances) need two different levels of cleaning. First, there’s a basic minimum of cleaning required to keep a stand mixer clean-looking and sanitary between uses. That can be as bare-bones or as thorough as you like, as long as you’re okay with the stand mixer’s appearance and don’t have old gunk falling into the bowl while it’s in use.
Periodically, though, you’ll want to roll up your sleeves and get that bad boy really, really clean. The design of a stand mixer means you’ll always have seams and crevices where dirt, splashes, and food debris build up. Over time, those can impact your stand mixer’s life expectancy. A good stand mixer is a significant investment for most of us, and it’s the workhorse that keeps the baked goods flowing, so keeping it in top condition is well worth a few minutes of your time, a few times a year.
The first few steps represent the kind of quick cleaning your mixer should get after every use. Honestly, they’re straightforward common sense. The remainder of the steps below explain how to give your stand mixer a professional-level deep clean, the kind that will make it last longer.
Before you clean your stand mixer
As with a lot of other jobs, some preparation before you tackle your stand mixer can save you work (and sometimes, painful or costly mistakes) in the end. First and foremost, if you haven’t done so before or not recently, check the manufacturer’s cleaning and maintenance instructions.
Despite their broad similarity, mixers aren’t identical in their design or finishes, so it’s important to be aware of any specific recommendations the manufacturers might make. The paddle on my first KitchenAid had a white coating on it, for example, and was dishwasher-safe. My current one is uncoated, and the dishwasher is not recommended because it can discolor the paddle. Knowing if specific cleansers are on the “use” or “avoid” list is pretty handy, too.
Next — and this is important — unplug the mixer before you start cleaning it, the same as you would before cleaning your food processor or any other electrical appliance (especially the ones that can take off your fingers!). Now, remove the bowl and any attachments you’ve used, and set them aside in a bowl or sink filled with warm, soapy water. Unless I need my mixing bowl for immediate use, that’s where I’ll usually soak my attachments. That way, the bowl itself is pre-soaked and cleans easily.
Dry-wipe your stand mixer from top to bottom
Your stand mixer accumulates dry debris, like flour, and also wet, greasy, or dried-on splashes. Typically, I first give my mixer a quick wipe from top to bottom (so gunk isn’t falling on the cleaned area) with a dry cloth. Next, I scrub around the mixing head with a brush, as needed, to remove dried-on bits of dough or batter.
On a lifting-bowl mixer like mine, the base has smoothly flowing curves that are easy to clean with a cloth. On a tilt-head mixer, like my previous KitchenAid, the bowl twists to lock into a base plate. If that’s the kind of you own, give the base plate a quick wipe and then twist your cloth to get into the grooves along the side that lock the bowl in place. Any crumbs or bits of dry batter in there can keep your bowl from locking in firmly.
When you get to the bottom of the tilt-head mixer, use a corner of your cloth to get into the grooves of the base plate that your bowl twists into to lock in place. Accumulated debris there can prevent your bowl from being held firmly.
Now wash and wipe your stand mixer from the top down
A dry-wipe may be all the cleaning your mixer itself needs, depending on what you’ve been baking. More often, though, you’ll have at least a bit of wet, sticky, or greasy stuff to wash away as well.
For that, it’s time to break out the warm, soapy water. Wet your sponge or cloth and then wring it out, so it’s damp but not dripping. Once again, start from the top and work your way down to the bottom. Unless you’ve had a “whoops!” moment with your speed settings, the area that needs the most cleaning will almost always be the head assembly where your paddle, whisk, or dough hook attaches. That’s where the batter splashes, or where the bread dough sticks after it climbs up your dough hook.
Most of the gunk on this part of the mixer will wipe away relatively easily, though you may need to rinse your cloth a few times before you get it all. For seriously stubborn debris, moisten the dirty areas well with your damp cloth, let them sit for a moment or two, then put some baking soda on your cloth and scour gently until the soil lifts away.
How to clean your attachments and mixer bowl
The whole point of leaving your attachments in a bowl of warm, soapy water is to soften and dissolve the stuck-on ingredients, so they’re easy to remove. By now, they’ve soaked long enough.
The dough hook is easiest to clean, with no corners or crevices except where it attaches to the stand mixer. Just give it a wipe to remove any stuck-on dough, then use your brush or cloth to remove anything that’s stuck in that opening. The paddle has a few corners, which may need extra attention from your cloth or a bit of scrubbing with a brush. The whisk is the most challenging piece to clean because of the overlapping wires and their attachment points at the base. You’ll need to carefully clean each wire with your cloth (and sometimes a brush), especially if you’ve let something like sweetened egg whites dry onto the wires.
Finally, wash the bowl inside and out. If your stand mixer is a tilt-head model, be diligent about cleaning the base of the bowl where it locks into the mixer’s stand. Once the bowl and attachments are clean, rinse them thoroughly with hot, clean water and either let them air-dry or dry them by hand with a clean, absorbent dry cloth or kitchen towel. At this point, the “ordinary, everyday cleaning” is complete. The steps below explain how to give your stand mixer its periodic deep clean, a few times each year.
Tip your mixer over and clean its underside
When it comes to cleaning, the underside of your stand mixer is probably the most neglected or overlooked spot. Realistically, on most mixers, there’s nothing under here that’s really going to affect its operation, so it’s okay if you’re scratching your head at this point and thinking “Seriously?”
That said, there are reasons to do this occasionally. For one thing, dirt, crumbs, flour, and other things can get up underneath and accumulate, where they’ll drop on your counter and soil it while you’re working. Also, gunk tends to build up on the rubberized feet that keep your stand mixer from sliding around as you use it.
Wipe out or wipe down the underside of the mixer itself (depending on whether it’s concave or flat) with a dry or damp cloth, depending on how dirty it is. Then use a damp cloth with soapy water to wipe any dried-on flour, dough, or greasy buildup from the feet. If the counter you’re working on isn’t completely clean, give it a wipe before you stand the mixer back up.
Clean in and around your mixer’s controls
There are two main locations where manufacturers put the controls for their stand mixers. On my KitchenAid, for example, it’s a slide switch located on the mixer’s head unit. On many other brands, including Cuisinart, Kenwood, and Breville, it’s a dial located on the unit’s base next to the bowl. The dial type is better sealed than the slider type, but in each case, there are seams where food debris can get in and get trapped. It’s not just splashes from the bowl that cause this; if your fingers are greasy or have dough on them, you’ll gunk up the controls every time you use them.
To get into those crevices and loosen anything that’s in there, you can use either a soft brush or the tip of a toothpick (as you see, I use toothbrushes for this kind of thing). If you have a vacuum cleaner with a small crevice tool, or one of the small cordless vacuums used to clean computers and other equipment, those can be handy for sucking out dried, crusty debris once you’ve loosened it with your brush or toothpick.
Check the accessory attachment port
Most stand mixers have an accessory port at the front, where attachments … attach. In this case, I’m not talking about the paddle or dough hook; it’s the port (or power take-off, to borrow terminology from lawn tractors) where aftermarket accessories like pasta rollers and ice shavers go. Some brands, including Kenwood and Cuisinart, have a second port under a cover at the rear. That one’s used for high-speed attachments, like a blender or food processor.
These won’t need cleaning after every use, but you should include them in your periodic deep cleans. Clean those the same way I described for getting in and around the controls, vacuuming, or wiping away loose debris, and using a brush or toothpick as needed to scrape stuck-on soil. The port at the front usually has a cover that lifts out or flips up to reveal the opening, and the rear port (if your mixer has one) has either a removable or flip-up cover that’s part of the mixer’s case.
Clean your stand mixer’s head unit and beater shaft
The part of the stand mixer where your three main accessories (the paddle, dough hook, and whisk) attach is called the beater shaft. On my KitchenAid, it’s a sturdy steel post with a lug that holds the attachments in place, though the mechanism can be different on other models. The larger assembly that holds and turns the attachments is the beater head. Both of these benefit from periodic cleaning.
The beater shaft is something you’d normally clean as part of your “every time I use it” routine, but it may still accumulate a bit of gunk over time. Give it a good wipe, especially around the lug, which can be a dirt magnet. On most mixers, you can even remove the shaft, clean, and dry it, and then put it back (I don’t usually bother). Occasionally, you may find grease accumulating on the shaft. A small amount is fine, just wipe it away. We’ve previously written about what to do if your stand mixer is dripping grease on a regular basis.
Once the beater shaft is good and clean, it’s time to clean all of the seams between the rotating and non-rotating parts of the head assembly. Use your brush or toothpicks for that, then wipe or vacuum away any debris that you’ve loosened. Finally, give the head unit a finishing wipe with your damp cloth.
Inspect your mixer’s lift mechanism
One thing about stand mixers is that there’s always a way to get the bowl out from under the paddle or other attachments. There are two main approaches to this: One raises and lowers the bowl, the way big commercial mixers do; and the other has a tilting-head mechanism that raises the mixer (and the paddle or dough hook) away from the bowl itself.
My current KitchenAid is the lift-bowl type, and flour, dust, and such tend to drift into the flanges and tracks where the arms raise and lower the bowls, and behind the clip that holds the bowl in place. So periodically, I loosen the clip with a screwdriver and get behind it with a brush. Then I use the brush or the twisted-up corner of a cloth to clean out any gunk. Finally, I give the lift arms a good wipe, top and bottom, and use a brush to clean around the pins that hold the mixer bowl in place.
If you have a tilt-head mixer, like my previous KitchenAid, the hinge itself is a place where flour and other debris can accumulate. It’s pretty well sealed while the machine is in use, but of course, splashes can happen while you’re changing attachments or scraping the bowl. Get in there with your brush, toothpicks, or the corner of your cloth, then vacuum up or wipe away anything you loosen.
Finish with the bottom plate
This step is purely for the people who have the tilt-head style of mixer, with a bowl that twists into the base to lock in place (the mixer in the photo isn’t mine, because I have the lift-bowl type now). I’ve already mentioned that you need to keep the sides of this plate (the “screw cap,” KitchenAid calls it) clean, so the bowl can lock securely into place.
If you’re doing a deep clean, you can take this a step further and get into the seams at the edge of this plate. You could do what we’ve done so far, and use a brush or the tip of a toothpick to get into those fine seams. It’s easier and more effective, though, to simply use a screwdriver to remove the screws holding that plate in place.
Once you’ve removed it, clean the underside and edges of the plate itself and set it aside. Now, use your cloth, brush, or vacuum to remove any gunk you find underneath. Dry this area and the plate thoroughly, then replace the plate and screw it back in.
Give your stand mixer a final wipedown
At this point, you’ll have handled your stand mixer quite a lot, moving it around, tipping it over, and removing and replacing various parts. There’s a high likelihood that it has some fingerprints on it, and maybe some water spots from your cleaning cloth.
So now, give your mixer one last wipe down with a dry microfiber cleaning cloth, or some other soft, absorbent cloth that won’t mar its finish. Finally, replace the bowl and return the mixer and its attachments to their usual storage spot. I usually try to do a deep cleaning at least two or three times a year; you may clean yours more or less frequently depending on how much you use it.
Your mixer works best when the paddle and whisk sit properly within the bowl. Whenever you do a deep clean, it’s also a good time to check your stand mixer’s alignment with a “dime test” to see if your stand mixer is properly aligned. Combining those jobs is a good reminder, like replacing the batteries in your smoke detector when you turn your clocks forward or back.


