
Plants are an essential part of every diet, but unfortunately many plant parts are inedible. Those excess areas can really add up and create a lot of waste. Sure, they can go into a home compost bin, but why not turn them into more food? Before you toss your kitchen scraps, check to see if you might be able to give those discarded carrot tops, celery ends, and tomato guts a second life by planting them instead. In addition to reducing your food waste, planting vegetable scraps is a useful way to stretch your grocery budget–it’s like getting extra food for free.
It’s not as simple as putting the scraps directly into the soil, though; different parts of different plants require specific techniques to help them grow. From seed saving techniques to sprouting new greens from cut lettuce, there are many ways to extend the life of your vegetables. Read on for tips on how to harvest edible food from scraps that otherwise would end up in the trash heap.
Onion or Shallot Tops
Anytime you’re cooking with onion or shallots, there’s an opportunity for planting veggies scraps. Whether you’re cutting an onion for a heavenly french onion soup, or to top your favorite slow-cooker chili, slice the onion crosswise to remove one inch from the top and bottom before slicing it for cooking. (You want to make sure the roots stay intact.) One of the sides you cut off will have small, dried root strings attached. That’s the side you’ll use for growing a new onion.
Begin by removing any remaining layers of papery skin from your onion end. Place the onion root side down in a shallow bowl of water on your countertop, covering the roots but not submerging the onion flesh. Make sure to change the water every few days, particularly if it starts to look cloudy or smell bad. Over the next several days, you’ll begin to see new, tender white roots forming on the bottom of onion. Next, new green shoots will begin to spring upward from the center of the bulb.
Once the shoots begin to show you can plant the new onion plant in soil. Bury the root and bulb completely, leaving the shoots exposed. These shoots will continue to get thicker and darker as the onion grows. When the shoots naturally fall over and are starting to brown where they connect to the onion, they’re ready to harvest. The entire process takes approximately 100 days.
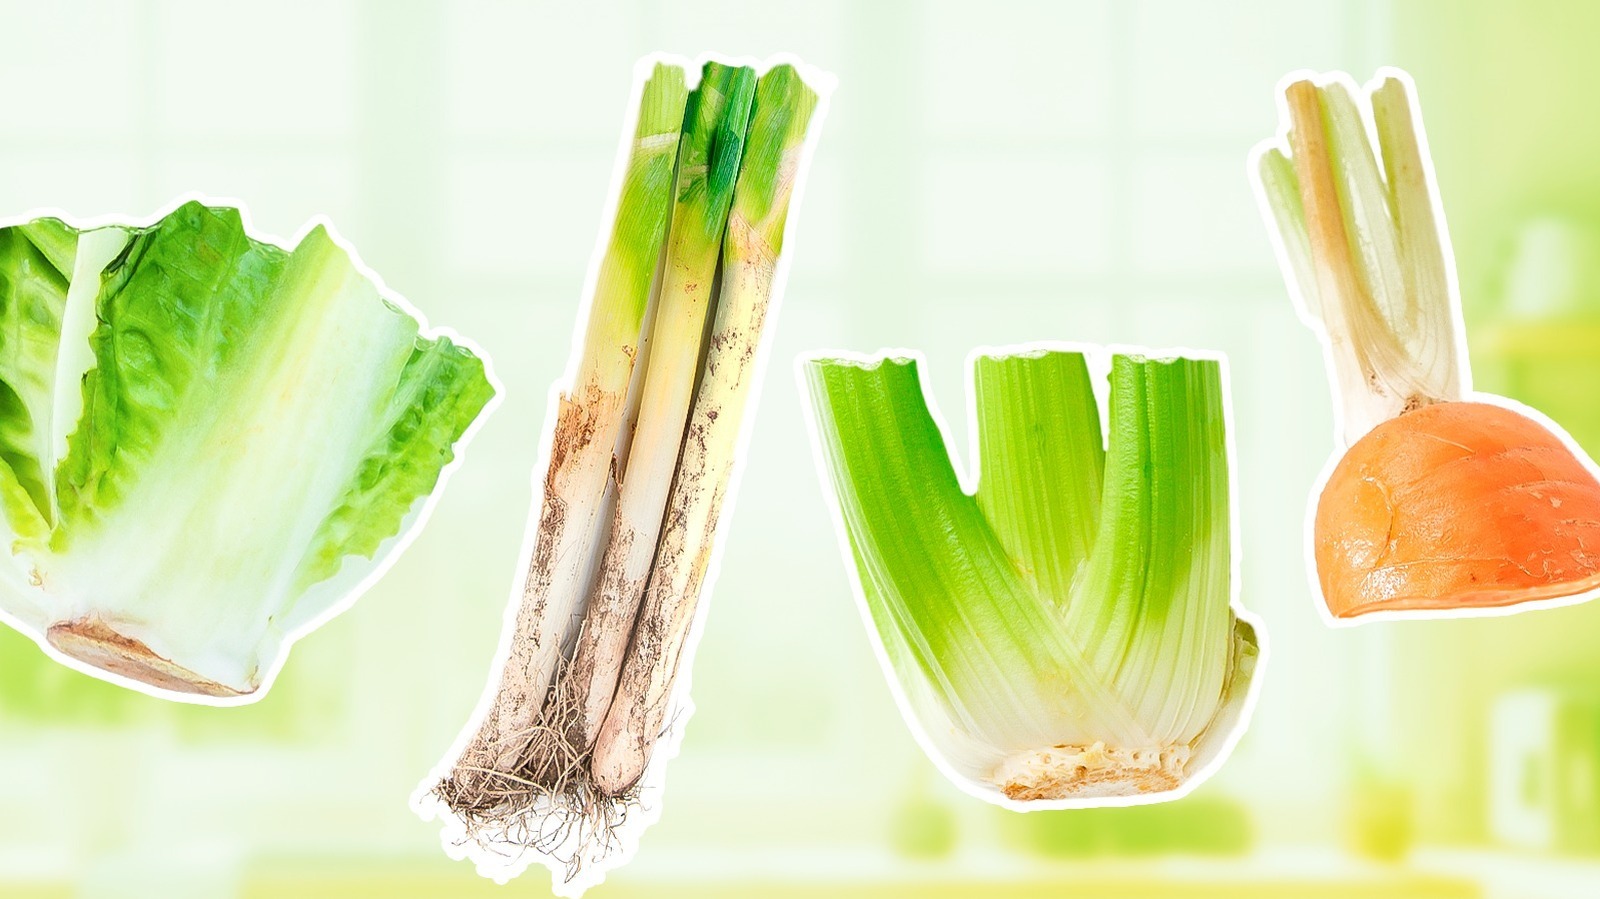
Leek Bottoms
Leek are another member of the allium family and just like onions, they are bulb. Therefore, growing leeks from scrap works much the same way as growing from onion or shallot scraps. Customarily when cooking with leeks, we slice off the greens and the last few inches of the root end. Just like with onions, you can identify the root end by the small white tendrils growing out of the bottom.
Take the cut bottom of the leek, and place it roots down in a small glass rather than a bowl. This will help keep the stalk upright. Fill the glass with enough water to cover about ¼ inch beyond the roots, leaving the stalk exposed. Place it on your counter in indirect sunlight, and change the water as needed to keep it fresh. Soon you will see new root growth and new leaves sprouting from the stalk. The leaves will fill in from the center and grow outward until it begins to resemble a store-bought leek again. Once the stalk has regained at least 70% of its original girth with new growth, you can plant it in soil as it grows to maturity.
Green onion roots
Green onions are hands down one of the easiest vegetables to regrow from scraps. Typically when cooking with green onion we either use the green or white part of the onion (or sometimes both). One part that is never eaten is the last inch of the onion closest to the roots. Rather than discarding that section, plop it into a small glass of fresh water, roots down and green end sticking up out of the water. Within days you’ll see new green onion growth coming out of the top.
You can cut the white stalk and greens off to eat, regrow that same onion root and repeat the process again and again. However, over time a spring onion grown exclusively in water can start to taste less potent and, well, a little watery. To transplant a regrown green onion into soil, wait until it has about one inch of new growth, then bury it in soil so that the roots and bulb part are completely covered but the leafy shoots are exposed. You can trim and regrow them this way while they’re in soil, too. Use this technique to never run out of green onions again!
Celery Bottoms
Although celery is not an allium–it belongs to the Apiaceae family which includes celery, carrots, dill, and parsnips–the technique for growing celery from scraps is remarkably similar to growing from onions. Rather than pulling celery stalks off and slicing off the first few inches from each stalk individually, cut the entire celery bunch straight through crosswise, keeping the root side where the stalks are attached to each other intact.
Take the celery stump and place it in a shallow bowl of water. Again, make sure the root side is submerged but the top end (the end you cut) sticks out above the water, and keep the water fresh as you wait for the celery to grow. In a matter of days, new leaves will begin to grow up from the center of the stump and new roots will form on the bottom. You can harvest the leaves and use them in a bright and savory pesto, as a substitute for coriander, or in any of the many uses for celery leaves in the kitchen.
If you prefer to grow and harvest the entire plant, you can transplant your celery into soil so it can develop to maturity, though it can be difficult to grow celery. Still, it’s worth attempting and by using a celery bottom as your plant start, you can try it for free! You’ve got nothing to lose except food waste.
Fennel bottoms
Fennel is another member of the Apiaceae family and can be regrown from scraps just like celery. Again, you’ll retain the bottom root end of the fennel bulb that’s normally sliced off during prep. Place this stump root in a shallow dish of water on your countertop. In a few weeks, new growth will appear as small green shoots with fennel’s characteristic feathery fronds on top rise from the fennel scrap.
If you have several shoots coming up on one base, you can carefully chop the base into pieces to separate these shoots and create even more fennel plants than you began with! After the shoots are a few inches tall, plant them in soil a few inches deep so that the base is fully covered and the shoots are above the ground. Make sure it gets enough sunlight and that the soil stays moist, and after about three months, your fennel plants will be fully grown and ready for harvest. If you like, you can propagate even more and let the cycle begin anew.
Carrot Tops
Carrots are yet another Apiaceae plant that can be regrown from scraps using the same method we used for fennel and celery: Submerge the carrot top root side down (that’s the cut side this time) into a shallow bowl or glass of water, leaving the top out. Place it in bright, indirect sun and change the water to keep it fresh. After a few days, new growth will begin to sprout from the carrot top.
The method is similar, but the results are a little different. The bright orange (or purple, or red) edible flesh we usually eat is the taproot of the plant–not the leaves or stalks we consume from celery and fennel. Once eaten, a carrot won’t regrow this taproot–it won’t grow into another carrot directly, it will only regrow its leaves and flowers. However, carrot tops can still be a useful planting in one of two ways.
First, you can eat those green carrot tops rather than throwing them away. Carrot greens make a nice addition to pesto, or a substitute for parsley leaves in many recipes. The second way you can use scrap carrot tops is by allowing the carrot top to grow new leaves, then planting the seedling in the ground. Eventually the plant will flower and produce seed. That seed can then be used to grow new carrot plants.
Beet Tops
While not related to carrots, beets share some things in common when it comes to how they’re regrown from scraps. Similar to carrots, the commonly consumed part of the beet plant is its root. It also will not regrow this root once it’s been cut off. Still, you can regrow beet greens from discarded beet tops, and beet greens are definitely one of the leafy greens you should be cooking with if you aren’t already. Use the same method we used for the carrot tops: place the root (cut) side down in water, leaving the top out to sprout. Over time, the beet will produce new greens which can be harvested as needed or all at once.
Beet greens make an excellent substitute for spinach, with a mild earthy flavor. They can be eaten cooked or raw and make a great addition to salads, lasagna, or pasta dishes. Or you can prepare them by braising or sautéing them and seasoning them simply with salt.
Lettuce and cabbage bottoms
If beet greens aren’t for you, try growing your favorite lettuce or cabbage variety from the discarded base. This will work for lettuce plants and cabbages that grow in heads: varieties like iceberg, romaine, red leaf, or butterhead and for heads of cabbage. Cut the base off of an intact head, about ½ inch above where the leaves are attached to each other. Place the base cut side up in a shallow dish of water on your countertop just as you have for the other scraps. Keep the water fresh and full, and in a few days you’ll see new leaves growing from the top.
Once the leaves are a few inches tall, you can cut these off and use them just as you would store-bought lettuce. Be careful not to leave the lettuce growing for too long; after about two weeks the leaves begin to taste bitter. Lettuce also doesn’t do very well transplanted into soil after being regrown from scraps because it won’t form sufficient root structure to feed the plant.
Unused potato chunks
Often potatoes are destined for the landfill because they often sprout. But those old undesirable potatoes can be used to start a fresh new crop of potato plants very easily! The irregular, branching growths that pop up on potatoes when they sit uneaten for too long are actually new roots. Often, when you look at a slightly old sack of potatoes, you’ll find the potatoes have started the growing process for you, sprouting new growth from the “eyes” that cover the tuber’s surface.
Better still, each one of those eyes can be planted and will grow into a complete plant. Use a clean knife to cut the potato into chunks, with one eye per chunk. Let the cut edges dry out so they won’t get moldy after planting. Once the cut sides have dried, you’re ready to plant. Place each piece in soil six to eight inches deep with the sprouted eye pointing toward the surface. Like magic, one uneaten potato becomes many!
Seeded tomato flesh
Many recipes for soups, salsas, and sauce require deseeding tomatoes to remove the watery guts, eliminate seed texture and create a thicker, smoother dish. If you’ve ever deseeded a tomato you’ve probably noticed the removed seeds are slippery and almost gooey. That’s because each tomato seed is coated with a naturally-occurring gel that prevents the tomato seeds from germinating too early (for example, while they’re still attached to the parent plant). It’s part of the tomato plant’s natural biology to help protect the seeds while a fallen tomato fruit decays. But if you plan to grow plants from these seeds, first you need to remove the gel from around the seeds.
Begin by placing all the gel-covered seeds you removed during deseeding into a fine mesh sieve. Run them under cold water while agitating the seeds with your hands to wash off as much of the gel as you can. Once you’ve rinsed off the gel, spread the moist seeds in a single layer on a paper towels to dry. Once the paper towel is completely dry, the seeds will be stuck to the paper, but that’s not a problem. You can roll up the entire paper and store it, or cut it into plantable squares with a few seeds on each piece. Once you’re ready to plant, you can plant the seeds, paper and all. Just follow regular methods for starting a plant from seed: either sow directly into the soil, or start seeds indoors and transplant later.
Pepper Seeds
From the mildest bell peppers to the hottest Carolina Reapers, pepper preparation often involves removing the ribs and seeds from the inside. While the ribs aren’t much use, the seeds can be saved and repurposed in your garden. Unlike tomato seeds, there’s no protective gel around pepper seeds, so saving and storing them is a snap. You still need to make sure the seeds are clean and thoroughly dry before you store them–moisture can cause mold to grow on the ungerminated seeds and damage their ability to develop. Once the pepper seeds are clean and dry, label and store them out of the light and away from moisture until you’re ready to plant them.
Pepper seeds may be planted outdoors eight to ten weeks before the last expected frost date which depends on your local climate. Or, you can get a head start by planting them indoors and then transplanting them outside. If you’re short on garden space, peppers are a vegetable that can be grown in a pot. However they require a lot of sunlight so their location is key.


