The smell of a barbecue fire is perhaps the most exciting sign of warmer weather for us northern folks. It typically coincides with the first sighting of green grass, the busting out of mud boots, and the storing of snow shovels. The aroma that fills the air is more than just a symbol of warmer days to come; it also signifies outdoor get-togethers, fresh produce, and mouthwatering late-night dinners blanketed by stars and buzzing with fireflies. But anyone with a gas grill knows that we delicately tread the line between whimsical fairytale and disastrous catastrophe. Arm yourself with knowledge and know these common gas grilling mistakes to avoid and prevent disaster this summer.
Firstly, it’s important you know the difference between propane grills and gas grills. Although both are suitable for grilling, you should know exactly what you’re working with when buying new tanks or hooking up lines, as the two fuels are not interchangeable. Once you have your grill hooked up and ready to run, take your time to set up your environment, double-check safety measures, and arm yourself with the right tools. As a chef and recipe designer who worked in a commercial kitchen, I always prioritize safety. Technique is also important, and there are several ways you can use gas grills to your advantage, especially when it comes to utilizing zones. Oh, and don’t forget your punny grilling apron that you swore you’d never wear. Now we are ready to gill.
Forgetting a backup lighter
How old is your grill? I’ve been grilling for decades and find that the ignitor on any given grill works only about half of the time. Perhaps my friends and I need to update our grills, but this is a common issue that folks run into. Well, if your ignitor doesn’t work, then you’re out of luck, right? Luckily, there are other ways to light your grill, but it’s important you do so in a safe way. After all, we are working with gas here, so unless certain protocol is followed, disaster could strike.
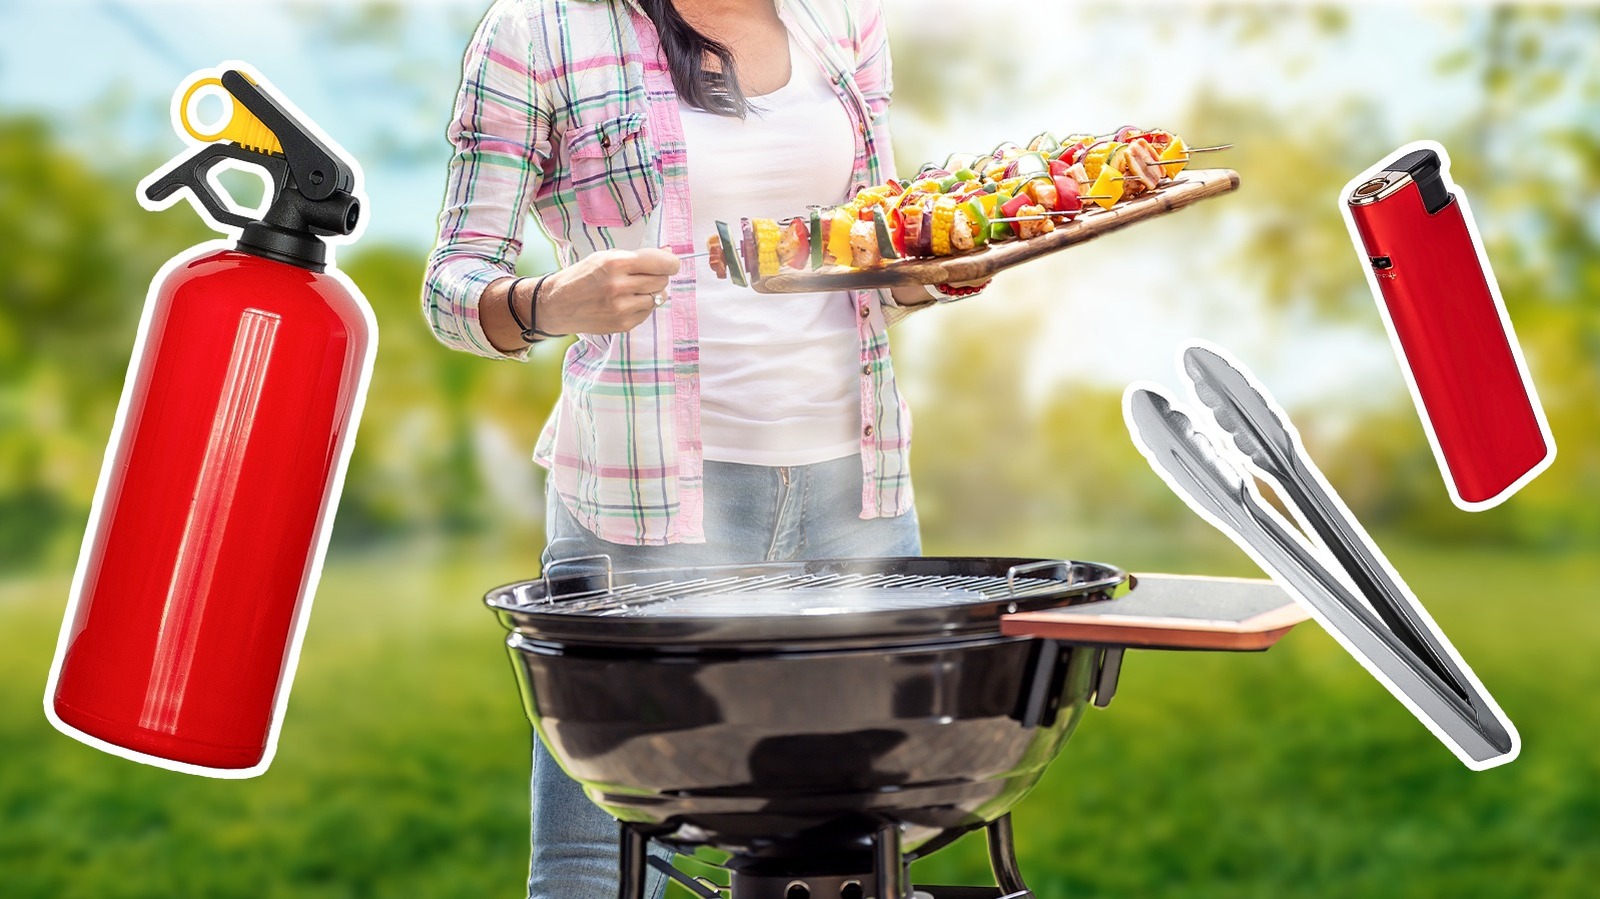
If you’re planning on using a gas grill, it’s always a good idea to bring along a lighter. Any old lighter won’t do; you’ll want to use one with a long neck. Often, gas grills will have a hole where you can stick the long neck of the lighter into. You’ll want to turn the gas on first, and then light the initial burner, which will then spread to the other burners. You can also use a long match if you don’t have a lighter, but the goal is to keep your hand as far from the flame as possible. If there is no hole dedicated to inserting a match or lighter, you can light the burners directly, but always be sure to do so at an angle so your hand is never directly above the flame. This tip is similar to one you might use while cooking with a gas stove that isn’t lighting.
Grilling in an enclosed space
While nobody would grill inside, or so I would hope not, I find more often than not that people are confused by what a safe grilling environment looks like. Firstly, it’s important to note that any space with a ceiling is off-limits. While some three-season porches might have incredible ventilation, it’s still considered an indoor space in the grilling world — and from experience in my earlier years, I can tell you that it poses quite a risk. It’s important to be especially mindful of ventilated areas when using a gas grill, because you want to avoid any kind of buildup of gas in an enclosure or the space around you, in addition to the risk of an unconfined fire.
Ideally, you’ll want to place your grill about 10 feet from any house, tree, bush, or object that could easily catch fire. Grill fires happen, sparks happen, mistakes happen, and if things get out of control, it’s essential that you can contain the fire to the grilling area, and that nothing else catches. This is especially important if you’re living in a dry area prone to wildfires. It’s important to be especially cautious when using a gas grill, as they contribute to more fires than charcoal grills. If you’re dealing with a particularly dry day, spray down your grilling area with a garden hose, and trim any rogue branches that might reach within ten feet of the grill. Stay safe!
Turning the gas on with the lid on
Seasoned grill masters know that there is a specific sequence of events that needs to take place to have a successful grill-out. Some of them simply help to improve the outcome of your meat, vegetables, mushrooms, or fruit, while the others can prevent serious injury. An absolutely essential step that must be taken before turning on your gas is to open the lid of your grill. In fact, as you’re setting up your station, I would recommend doing it right after taking off your grill cover. This gives you a chance to assess the grates to see if they need cleaning, which can help you lay out your plan of attack.
The reason you want to open that lid is to prevent any buildup of gas. If you turn on the gas and then twist the knobs to open the valve into the grill, and then light your spark, you’re going to have an explosion on your hands. Instead, follow this sequence: Open the grill, turn on the gas valve, turn on the grill, and ignite your flame. Once you start grilling, whether you keep the lid open or closed is less important for safety, and more important to the outcome of your dish.
Checking on your food too often
Many folks who are armed with a grilling spatula and apron have jumped at the opportunity to stand behind the grill because they love a job to do. For some, multitasking, or having a purpose, is more comfortable, especially in large social settings. Others are hoping to escape a high-energy household for a few minutes of peaceful burger flipping. If this is you, you might find yourself hanging out with the grill, itching to watch your food cook, poke it, or flip it around to stay busy. Don’t do this.
Think of your grill foods like you’re baking them in the oven. Opening the oven door changes the internal temperature of the oven, which can affect the outcome of your dish. Take note of the internal temperature of the oven by looking at the temperature dial on the outside of the oven. Additionally, the magic of grilled food is that the outside is charred by flames, and chars on the grates. The more you disturb the food, the more likely it is to fall apart and not achieve a pleasant browning effect. You can open your lid as opposed to keeping it closed if the internal temperature of the grill is becoming too hot, or if you need to flip or remove food actively. If you’re working with flattened burger patties, bacon, hot dogs, or other thin foods, there is more wiggle room. For thick cuts of meat, you’ll want to limit how often you open the lid, especially if you’re cooking with indirect heat.
Forgetting to preheat the grill
Those who use cast iron pans in their homes know the importance of preheating. Without fail, you must preheat your pan, preheat your oil, and then add your food when it’s all nice and hot. This prevents sticking and introduces food to a hot environment. You wouldn’t fail to preheat your oven, would you? In addition, when cooking meat, it’s important to brown it first. Browning meat gives it an extra layer of flavor and helps to lock all those good juices in. Just wait for that wonderful sizzle when you flop your patties or steaks down on those fiery hot grates.
Chef and author Robert Irvine shared his favorite tips when cooking with a gas grill, and you guessed it, preheating the grill was at the top of his list. He describes how he’s witnessed people throw meat on a cold grate, and explains that it results in a mess of meat that’s stuck to the grate. He also shares that preheating the grill is the only way to get a good sear, which is coincidentally one of the main reasons people choose to grill their meat in the first place.
Failing to bring along safety gear
If you’re grilling at home, then it’s important to set up your space with the proper safety gear. Once you’ve chosen a safe place to set the grill, you’ll want to go out and purchase a fire extinguisher or fire blanket. Grease fires are difficult to put out, and water is not an option for extinguishing the flame, as it could make matters worse. Instead, you’ll want to turn off the grill if it’s safe to do so, close the lid to cut off the oxygen supply, and then, if the flame is still out of control, use a fire extinguisher or fire blanket. This will help you to safely extinguish a grease fire.
Other ways to keep yourself safe while grilling are to avoid wearing loose-fitting clothing and use long tongs. Pitmaster Rodney Scott believes that tongs are the absolute most important tool for grilling. A good pair of tongs should help you grip the meat, vegetables, or whatever else you’re grilling, preventing a slip-and-burn disaster. I also like to keep a fireproof, heat-resistant glove on hand in case of emergency. Hopefully, you won’t need the fire extinguisher or the gloves, but they are good to have.
Forgoing the cleaning process
There are many reasons you should be cleaning your grill. Much like a cast-iron skillet, grills don’t get the soapy water treatment that your dishes might receive. There is a particular process that should take place both before and after you grill, ensuring no buildup of bacteria. Furthermore, cleaning your grill keeps those grates smooth, which will prevent sticking, which can be really frustrating when you’re working with more delicate foods like fruits, vegetables, and fish.
PSA: We are no longer cleaning grills with wire brushes. Those bristles can break off and end up in your food. Instead, there are a few safe and simple ways to keep those grates clean. One way is to crumple up a ball of aluminum foil and rub it on the grates. This will chip away any undesirable crusties and burnt food. You can also use your tongs for this, or a metal spatula, but remember to get in between the grates and don’t graze the surface. Wipe down any grease stains or crumbs after each use. When you’re ready to start grilling again, be sure to preheat the grill and scrape it down again. At the end of grilling season, you’ll want to do a deep clean and scrub the entire grill top to bottom.
Not trimming the fat
We love fat. Fat is what melts and makes your meal so flavorful and juicy. It’s what makes that meat sizzle, and your vegetables crispy. However, there can be too much of a good thing. Health aside, large amounts of fat on your cut of meat can be dangerous when cooked over an open flame. Have you ever heard of a grease fire? Well, melted fat makes grease, and if a concentration of grease catches fire, well, then you have yourself a grease fire. To prevent this, it’s essential to trim the fat off your fatty cuts of meat.
Trimming the fat from pork chops when grilling, or from steak or even lamb, should be done a certain way. You don’t want to remove all of the fat, because as we know, it adds to the texture and flavor of the meat. Cut off large fat deposits with a sharp pairing knife, cutting away from yourself to prevent injury. Leave a thin sliver, as it will be unlikely to pool and catch fire. Keep in mind that any grease can catch fire, but a grease fire happens when there is enough grease buildup that the fire can continue to grow. A little extra sizzle here and there from those dancing flames is okay, as long as it’s under control.
Adding smoking chips improperly
If you’re the kind of grill master who appreciates a woody infusion, then it’s likely you’ve grilled with wooden planks, smoking chips, or smoking blocks before. For a gas grill, smoking chips are typically my weapon of choice unless I’m cooking a delicate fish, which sometimes holds up best on a wooden plank. The purpose of using wood while grilling is to allow it to smoke, which surrounds your protein or produce with a specific woody undertone depending on the type of wood used. For example, cherry has an undertone of sweet fruit, and is very rich, while hickory has a more savory and strong flavor. Whichever species you land on, there is a certain protocol to using smoking chips in a gas grill, and it never involves dumping the chips through the grates right onto the burners.
Try using a smoker box when adding chips to give your meat a smoky undertone on your gas grill. It’s a metal box that will hold the chips in place and prevent them from falling through the grate. You can soak the chips beforehand in water, beer, juice, or any other liquid that might add a nice flavor. Load the smoker box, and let those chips smoke and steam. Alternatively, you can place them in a ball of foil, but keep the top slightly open to allow for air flow and smoke to escape.
Overcrowding your grill
There are many reasons you should be cautious about overcrowding your grill. Perhaps the mildest issue that can arise is that it can negatively affect the outcome of the texture of your food. Have you ever overcrowded your pan, ruining cuts of meat? Instead of drying and crisping, food tends to steam and get soggy. You want the flame to touch as many sides of your protein or produce as possible, and prevent moisture buildup.
On a more serious note, overcrowding meat on a grill can cause fat to melt in puddles, which can lead to a grease fire. The risk goes up if you’re using especially fatty cuts of meat. This can happen with anything from burgers to chicken wings (I know from experience) and can get out of control quickly. The second the grease puddle catches, the quicker the fat melts off the rest of the meat, spreading the flame and building into a real issue. Space your protein and produce out on the grill, leaving at least a three-finger space between each cut, but the bigger the space, the better. It may take longer, but the result is so much tastier, and you’ll likely be a lot happier with eyebrows.
Forgetting to check your gas levels
Okay, you’ve got your gear, meat, veggies, a funky apron, and some hungry mouths to feed. Time to get grilling. But wait, disaster strikes. The tank is out of gas, and you are stuck sending someone to the store for more. Dinner is delayed, and everyone’s disappointed. To avoid this, I like to check my tank after I grill to be sure I’m ready to go for the next go-around. Additionally, if you have the storage space and the budget, it’s a good idea to keep an extra tank on hand. You never know when you’ll be grilling all night long and will need it.
Some grills have the tank on a weighted hook, which can estimate how much gas is left. You can also pick up the tank and get a pretty good estimate by feel. If you’re not confident in your ability to feel it out, then I’ve got a hack for you. This might be the easiest way to check the amount of gas in your grill tank. Heat some water, but don’t let it boil. Pour it down the side of the tank, and run your hand along the tank. When you can feel where the tank is cool, that’s the spot where the gas is filled up to, as the gas will keep the tank from turning warm. Voila!
Not utilizing your zones
There are plenty of differences between a gas and charcoal grill, but perhaps the most beneficial part of going with a gas grill is the control you have over the temperature of the zones. The zones can all be set to the same level, or you can vary them, creating low temperature zones and high temperature zones. You can use these zones to cook different foods.
Consider setting your grill to two zones, one with the burners on and the other with the burners completely turned off or set to a very low temperature. This section with the low heat is going to be your indirect heat area, where your protein or produce can cook in oven-like conditions, which helps cook the inside and the outside more evenly. Direct flames provide quite a bit of heat to the outside of your food, especially the part that is in contact with the grates. It pays to use two-zone grilling when cooking meat because you can sear it on the direct heat and let it cook in the indirect heat zone. Use the direct heat zone to sear and finish your steak to perfection.


