We may receive a commission on purchases made from links.
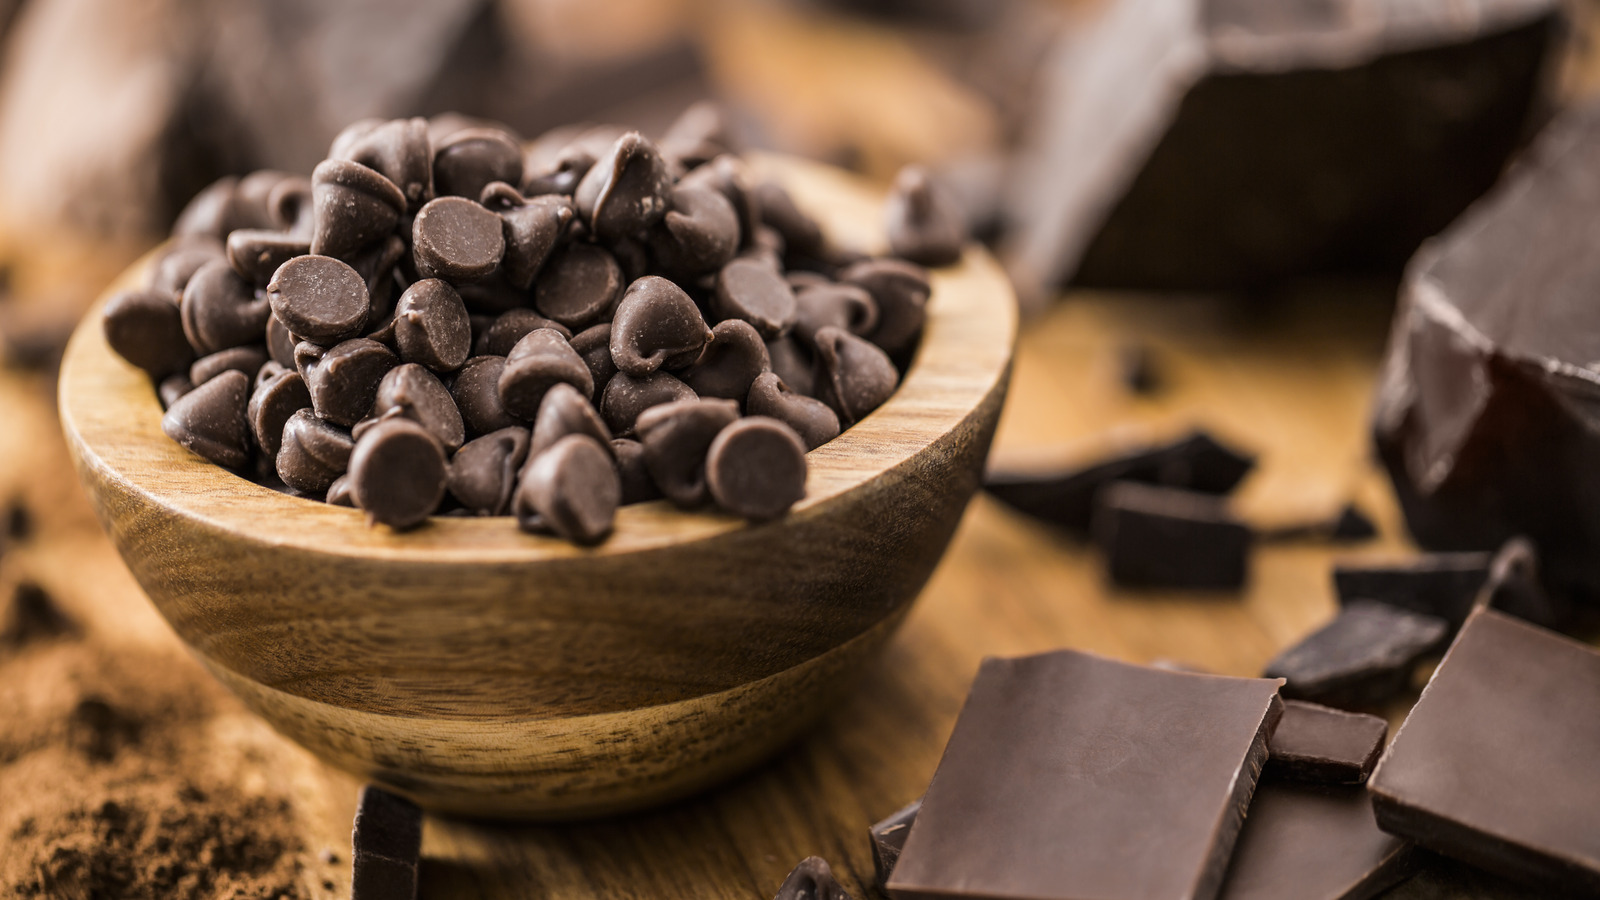
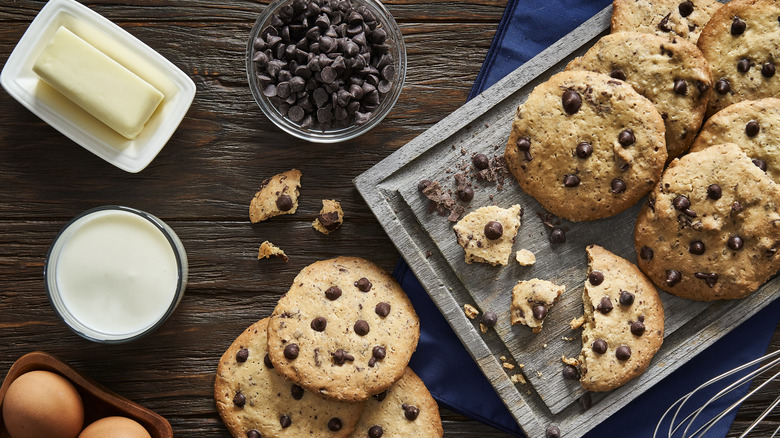
If you’ve got even a little bit of a sweet tooth, there’s a good chance that chocolate chips are a staple in your pantry. They’re essential for your best chocolate chip cookie recipe, and there are also all kinds of creative ways to use chocolate chips, from ice cream mix-ins to cake toppings. With all these uses in mind, it’s time to learn how to make your own chips. Sure, there are plenty of great store-bought chocolate chip brands, but making your own can save money and a trip to the store, and it gives you control in how you make them. For example, you can control the level of sugar. Best of all, DIY chocolate chips are so simple and require just two ingredients: your chocolate and sweetener of choice.
Choose unsweetened chocolate for two reasons. It keeps the amount of sugar and sweetness totally up to you for both health and flavor purposes. Plus, sugar and other additives can hinder chocolate’s melting, so totally unsweetened chocolate is the easiest to work with. Simply melt your chocolate in a microwave-safe bowl for 20 seconds, then stir it for a couple minutes — if it’s not smooth, try a few more seconds in the microwave. Then, add your sweetener, whether you decide to use granulated sugar or something like Stevia. About 1 teaspoon of sweetener per ounce of chocolate is a good starting point, but again, the point here is that you can make the chocolate more or less sweet.
Sweetening, shaping, and using your chocolate chips
While the sweetener is up to you, you might want to stick to granulated sugars over something like honey, at least when starting out. This throws fewer variables into the mix when it comes to the finished texture. If you want to experiment, try something like brown sugar to give the chips a deeper, rounder sweetness. You might be wondering how you’ll actually get those cute little chocolate-drop shapes once the melting and sweetening is done. Create your own piping bag by pouring the chocolate into a sandwich bag and snipping a corner so that you can pipe little drops onto a parchment-lined baking tray. You could also buy a HKNMTT mini half-sphere silicone mold, using the piping bag trick or a squeeze bottle to fill it with chocolate and pop out the chips once they harden. In either case, achieve the pointy top by sticking a toothpick into the still-liquid drops and pulling up.
Once the chips are solid, move them into an airtight container and store them in a cool, dry place or your refrigerator. They can last up to a few years when stored properly, but always check for signs of mold or a musty odor before using them if it’s been a while; they shouldn’t stick around for too long with how many uses they have anyway. Make a skillet chocolate chip cookie, pop them into muffins, use them to decorate cupcakes, or garnish a chocolate martini with a few.


