
This isn’t third grade; a Wonder Bread ham and cheese sandwich with a smear of mustard just won’t cut it. But you know what sounds absolutely tantalizing? A crispy, toasted and pressed ham panini with melted Swiss and a smattering of Dijon. The simple act of pressing a sandwich into a panini can transform it from basic to gourmet in minutes. If you’re lucky enough to own an at-home panini press, important that you maintain it well so you can continue to enjoy toasty, crunchy paninis for generations to come. Upkeep and maintenance often get overlooked in home kitchens, but as someone who ran a commercial kitchen, I can give you all of the do’s and don’ts of cleaning a panini press.
If there is a panini press sitting in the cabinet above your refrigerator feeling lonely, it’s time you took that bad boy out and gave him some prime counter space. There are endless unique ways to use a panini press beyond your standard pressed sandwich. However, some of them can get pretty messy, especially when there is cheese or oily sauce involved. The catch is, melty cheese thrives in paninis, so you’ll want to allow your tools to get a little messy. Just be willing to clean your grill consistently using the proper methods, which, luckily, is a fairly easy thing to do. After you learn the basics, start hunting for the best panini recipes you can find, and enjoy your elevated sandwiches.
Do adapt your strategy depending on the grill you have
There is quite a range when it comes to panini presses. Fairly consistently, panini presses are either made with a nonstick surface or with cast iron. Cast iron panini presses are most often found in commercial settings, like bakeries or restaurants, and home-kitchen panini presses are often smaller and nonstick. Both are great options but require different care.
The first thing you’ll want to do is read your instruction manual for clear instructions about maintenance. This should also cue you into what kind of surface material you are working with if you can’t tell by looking at it. The nonstick surface will be shiny and slippery, while the cast iron will have more texture and be matte. Follow the directions carefully, and trust the manufacturer. A nonstick surface should be treated much like your nonstick pans, and the cast iron should be treated like your cast iron skillet or Blackstone grill. For those in the beginning stages of choosing the best panini press, consider the time and energy you want to put into maintaining it and how long you’d like it to last. Do your research, because it’s an important investment for your kitchen.
Don’t submerge it in water
Whether your panini press is made from a nonstick material or cast iron, you are going to want to avoid placing it in the sink or submerging it in water. Panini presses are electronic, so this will damage the machine and put you at risk of electrical shock. Water and electricity don’t mix. However, this doesn’t mean you can’t use any water at all. We’ll discuss the rest of the dos and don’ts of cleaning a panini press using water later.
Did you know that there are some panini presses that have detachable paddles? Some are even dishwasher-safe. If you have one of these fancy, nonstick, detachable grated panini pans then wait until the panini press has fully cooled. Unplug it, and remove the heating surfaces. Wash them per the instructions they came with, and follow some of the dos and don’ts of cleaning a panini press listed below, especially those for nonstick presses. Do not try to remove the heating surfaces if there is no indication that they are supposed to be removed, since this could cause major damage to the press.
Do remember to dump the crumbs
First things first when it comes to cleaning a panini press is right along the lines of toaster maintenance: Dump those crumbs. Do you ever notice that crumbs get everywhere? While your bread is only touching the grates of the panini press, somehow when you pick it up a pound of sourdough crumbs fall to the ground. Get ahead of it by dumping out those crumbs before you even begin the cleaning process.
Do this by waiting until your panini press is fully cooled down and unplugged. You can then hold it over the trash can or sink, and give it a gentle shake. You’ll be surprised where crumbs fall out of. Dumping them out will prevent these crumbs from hiding in the nooks and crannies of the mechanism and remaining there for years. In addition, it will make the wipe-down processes so much easier, preventing the use of a million paper towels. This two-second act will help to make the bulk of the cleanup just that much quicker.
Don’t forget to grease the grates for easier cleanup
For both a nonstick and cast iron panini press, it’s important to use oil. This oil is not only the key to making your panini extra crispy, but is also a way to prevent stubborn messes in the long run. If you’re using a cast iron grill you’ll want to heat your grill first, then apply a thin layer of oil directly to the grates. You can also apply oil or butter to the bread for extra flavor and mouthfeel. Once the oil is hot, add your panini and press. The hot oil creates a layer between the sandwich and grate so any crumbs, sauces, or melted cheese will be easier to remove, and the bread won’t stick.
For a nonstick pan, use either cooking spray or oil or butter your bread. Oil is less critical for a nonstick surface, but still recommended for an easier cleanup and more scrumptious sandwich texture. Beyond butter, you could use olive oil or even mayonnaise. Yes, you’ll need to clean the oil off, too, but it’s easier than crusted-on sandwich residue.
Do make sure it’s unplugged
Safety first! I know this tip seems glaringly obvious. However, we all know how easily we can get distracted in the kitchen and go into cleanup mode without thinking. Especially if your panini press lives full-time on the counter, it’s tempting to grab a wet rag and go to town cleaning without a second thought. First, though, it’s important to turn off your panini press and unplug it while it cools down. This two-step process will ensure that you have given the machine the chance to power off.
If you’re working with a cast iron press, it’s okay to clean it while it’s hot. Actually, it’s preferred. Still, this does not mean it can be plugged in during the process. You’ll have to be extra cautious not to burn yourself, and remember to wear or use any protective gear you might need. Pay close attention to avoid injury.
Don’t forget to season after cleaning a cast iron panini press
For those of us who love our cast iron pans, we know that they come with a few extra steps. While dishwasher-safe pans feel easier to clean and maintain, cast iron is still preferred by many home cooks and chefs. Part of cast iron maintenance, whether we are talking about a pan or a panini press, is seasoning. No, this doesn’t mean sprinkling it with flavorful spices.
Seasoning cast iron is something that is done right after it’s cleaned, and is reinforced each time you use it thereafter. Seasoning seals your pan, and creates that nonstick surface we love that’s much heartier and long-lasting than a true nonstick pan. To season your cast iron panini press for the first time, crank the heat up and use a paper towel or heat-resistant cloth to spread a thin layer of oil on the cast iron. Tongs can help to prevent you from burning your fingers. Repeat this process and let it smoke off. Repeat it again a few more times over the course of at least an hour.
Do treat it like a waffle iron
Treat your nonstick panini press like you would a waffle iron. This means you’ll want to refrain from using metal utensils or metal spatulas to extract your sandwich. Little scratches made by sharp tools ruin the nonstick material, and may even release toxins. Consider using a wooden spatula instead to remove the sandwich from the device once it’s nice and crispy.
Just like a waffle maker, it’s important to use oil on your nonstick surface. A spray delivers a nice even coating that won’t puddle, but use the oil or fat you are most comfortable with. Wait until everything is nice and hot before adding your sandwich. When it’s time to clean your panini press, channel your waffle iron cleaning abilities. Use soft fabrics, water, and mild detergents. Get every little nook and cranny, and take your time. There’s nothing worse than pulling out your appliance and finding food residue from the previous culinary excursion.
Do clean it each time you use it
It’s so easy to just dump a pot of pasta water, rinse it, and put it away. Many people barely rinse their oven pans, and cast iron skillets get wiped and forgotten. Yes, the device will be heated up again, which should kill much of the bacteria. However, it’s crucial not to let bacteria fester on your appliances, or let food particles crust onto the surface.
Stay ahead of it and clean your panini press after every single use. It doesn’t matter if you plan on making another panini that night, it deserves a wipe-down just like any other appliance that comes in direct contact with food. If it’s a cast iron panini press, clean it while it’s hot, and if it’s nonstick, wait for it to cool down. Do not put it away until it’s been thoroughly cleaned. After all, would you eat off of the same plate for multiple meals?
Don’t load on the soap
There’s nothing worse than cooking your stirfry or pancakes and smelling that chemical soap scent burning off your pan. If you’re using a nonstick panini press,, it is okay to use soap to clean the surface, but I would recommend a mild detergent, preferably unscented or lightly scented. Because you aren’t able to submerge the press in water to get every drop of soap off, you’ll want to avoid leaving behind any strong soap residue that will compromise the flavor of your next sandwich. I would recommend adding a small amount of soap to a wet paper towel and whipping the surfaces. Then, go over it several times with a soap-less damp paper towel. This will help to remove any remaining soap.
If you’re using a cast iron panini press, avoid using soap. There are so many other natural cleaning agents you can use, but the scent of soap will linger for a long time if it gets absorbed by your cast iron. If you must use soap to get the job done, definitely use just a small amount of scentless soap pre-mixed with water to dilute it. Work hard to remove all of the residue.
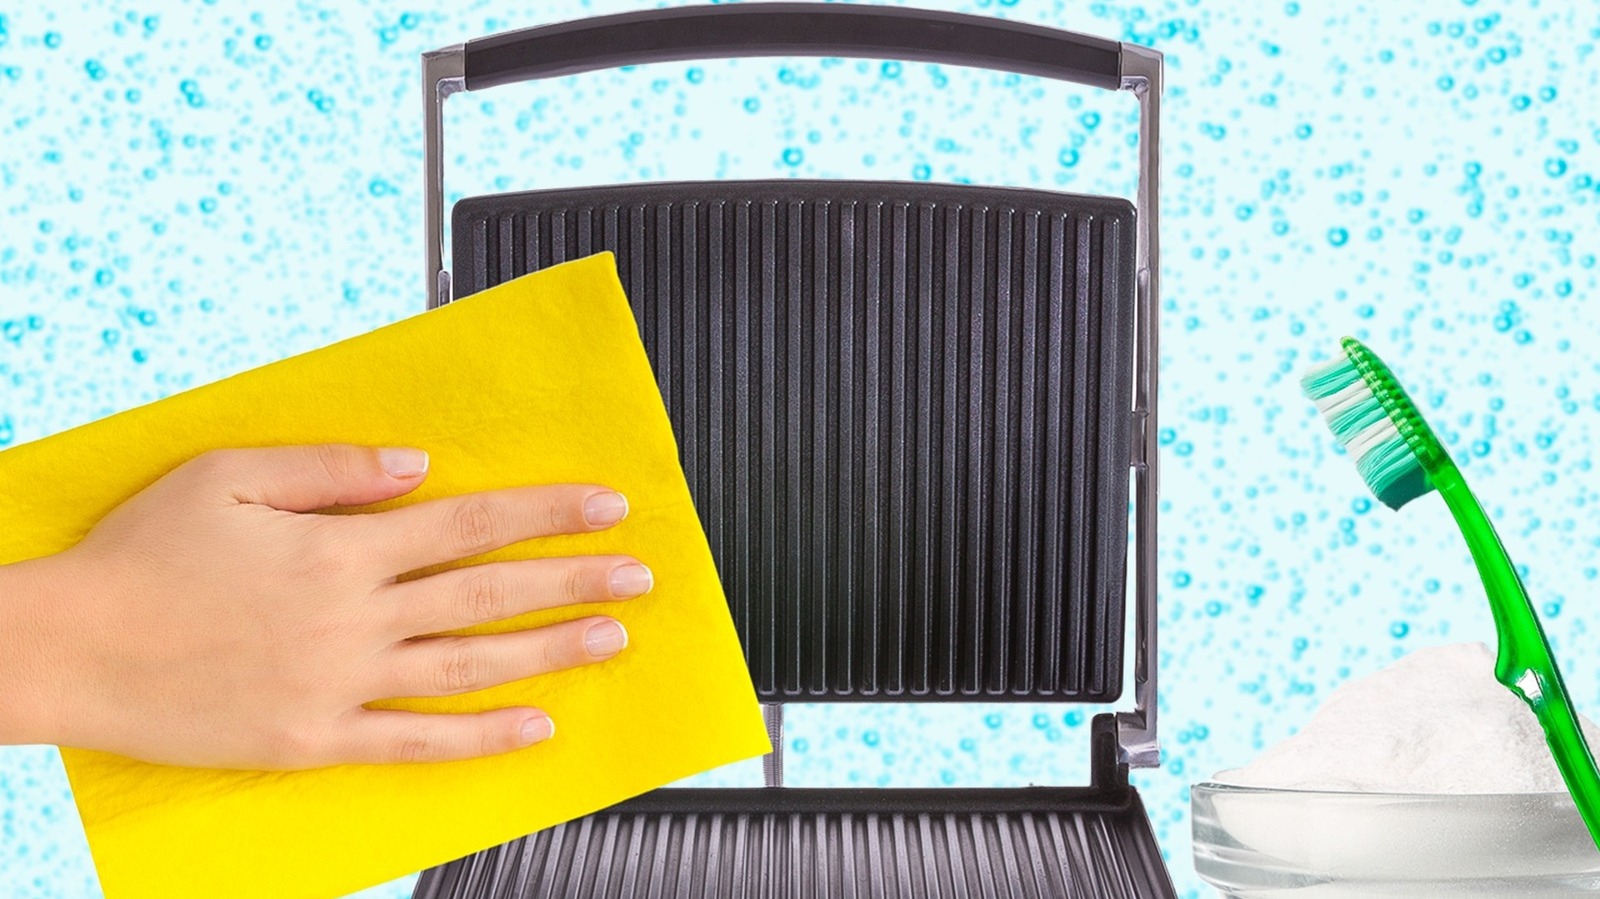
Do use baking soda
Now that I’ve mentioned avoiding strong soaps, you’re probably wondering what you can use to clean your cast iron panini press. And while a full clean-down is appropriate after each use, you’ll also want to consider a deep clean every now and again. Luckily, this deep-cleaning ingredient is a simple pantry staple that you may currently have on hand. We all know that baking soda has uses beyond a leavening agent for your baked goods and one of those versatile uses is to clean appliances. This works on any nonstick surface like your waffle iron, pans, or even your glass stovetop.
Simply wipe away any major crumbs, unplug your nonstick panini press, and let it cool down. Then create a paste using water and baking soda. Apply the paste to the paddles and let it harden. This may take time, so feel free to walk away and come back. Then, use a microfiber or soft cloth to polish it off. Alternatively, mix baking soda with vinegar or lemon juice and use a soft brush to wipe it down. This combination kills bacteria, germs, and other pathogens. Using this deadly combo will leave you feeling confident that your appliance is clean and ready for your next go-around, using only natural and food-safe products. No more soapy residue smell!
Don’t use a tough scrubby brush if it’s nonstick
Cast iron and nonstick panini presses are fussy in their own ways. With nonstick, it’s important to be really careful not to scratch the surface, which could release toxins. And while we’ve chatted about avoiding any metal utensils, it goes much deeper than that. Certain scrub brushes are just too abrasive for the fragile surface. For instance, the scrubby part of your sponge might just put it over the edge, creating micro-breaks in the material. Your Scrub Daddy or steel wool are both no-goes, and anything that feels scratchy is just too tough.
When cleaning your nonstick panini press, find a non-abrasive brush, cloth, or sponge to use. If it would be painful to scrub your knuckles with it, the brush is too rough. Instead, consider using microfiber cloths, the soft side of your sponge, or soft brushes. Paper towels work, too. Picture yourself wiping the surface with a light and gentle touch, no elbow grease is required here. Avoiding common mistakes everyone makes with their nonstick surfaces will help to preserve your panini press longer and keep those grates from losing their nonstick luster.
Do use a soft-bristled toothbrush
There’s been quite a bit of talk about what tools and soaps not to use when cleaning your nonstick panini press, and that’s important information to know. However, there are a few tools that I would highly recommend using to get a solid deep clean and make your job a whole lot easier. Luckily, you’ll likely have one of these tools on hand, perhaps even in your cleaning kit. Using a toothbrush is the perfect way to get in those grates without having to fold and refold your cleaning cloths to try and get them to fit in the crevices. Of course, it’s important that you’ve chosen a soft-bristled toothbrush so that it won’t scratch the surface and will be flexible enough to get into even the smallest corners of the press.
Use the toothbrush along the paddles and surface with a little light detergent or baking soda slurry. You can also consider using it dry to dust out all of those exposed mechanisms of the machine where food can build up. Yes, the place where the food touches the press is the most important area to clean, but you don’t want crumbs and food splatter crusting onto the cords, handles, or bases either. This could attract bugs and rodents if left in your cabinet or on your countertop, so it’s best to keep the entire machine sparkling clean.
Don’t forget to dry it thoroughly if it’s cast iron
There are two kinds of people in this world: Those who put their dishes into the dishwasher right away, and those who let them “soak” first. As a fan of the quick entry into the dishwasher, I’m convinced soaking dishes is just a way to avoid cleaning at the moment. Unless, of course, you’re dealing with a really tough crusted-on mess. Well, with panini presses, we really don’t have the option of soaking dishes. Furthermore, with a cast iron panini press, we don’t even want to talk about soaking, as cast iron rusts. If you’re looking to preserve your cast iron panini press, you’ll want to be sure every speck of water is off of the surface before you store it.
One way to do this is to clean it while it’s hot. This will ensure that the water evaporates and is an easier technique as the hot water bubbles and releases the residue from the surface. Another method to get every last drop of water off of your press is to wipe it down with a dry paper towel or clean rag after the cleaning is done. However, if you accidentally end up with a little bit of rust, you can always use a vinegar soak to remove rust on your cast iron surface.
Do think ahead to avoid a mess
Have you ever thought, Ugh, I want a smoothie but don’t have the bandwidth to clean the blender, or Darn, grilled veggies sound amazing right now but that sounds like a huge hassle? Well, we’ve all been there, and it’s the reason processed foods and takeout are so popular. If you’re craving a panini but are now feeling overwhelmed by the cleaning process, I have a cheat code for you: Use the parchment paper trick for making paninis without the mess.
Make your sandwich, mess-free, by wrapping it in parchment paper. I know what you’re thinking… a parchment paper-wrapped sandwich helps the eater stay clean, but not the press. This technique actually has you wrapping the panini in parchment paper even before it reaches the press. Make your sandwich, lay down parchment paper on both sides of your sandwich, and then pop the whole thing in the press. Then, remove the panini, parchment paper, and all, and fold up the corners so your meal becomes leak-proof. You may have to dust off a few crumbs from the press, but overall there is very little clean-up involved. That’s the beauty of thinking ahead.


