
When it comes to preparing chicken, sometimes less is more. While we are fans of breading and basting, simple preparations like searing can prove just as delicious — that is, when executed correctly. Regardless of how easy it may seem to brown poultry in a skillet, there are a bunch of factors that can impact the poultry, including the amount of oil used during cooking. An often overlooked detail, determining exactly how much oil to drizzle into a pan could be the key to achieving a better browned chicken.
Oil is essential whenever you cook chicken. Along with preventing the meat from sticking, the fatty liquid also facilitates faster, uniform cooking. It even amplifies richness and heightens flavor. Most importantly, however, oil helps chicken to brown, which has major textural and visual benefits. Yet, despite its importance, oil shouldn’t totally saturate your skillet. Given that the goal is to sear rather than fry, we recommend keeping quantities moderate. Generally, a single tablespoon (potentially, two) is all you need when browning chicken in a standard nine-inch skillet. As for which works best, stay away from unrefined oils and instead opt for something neutral with a high smoke point such as sunflower, canola, or peanut oil.
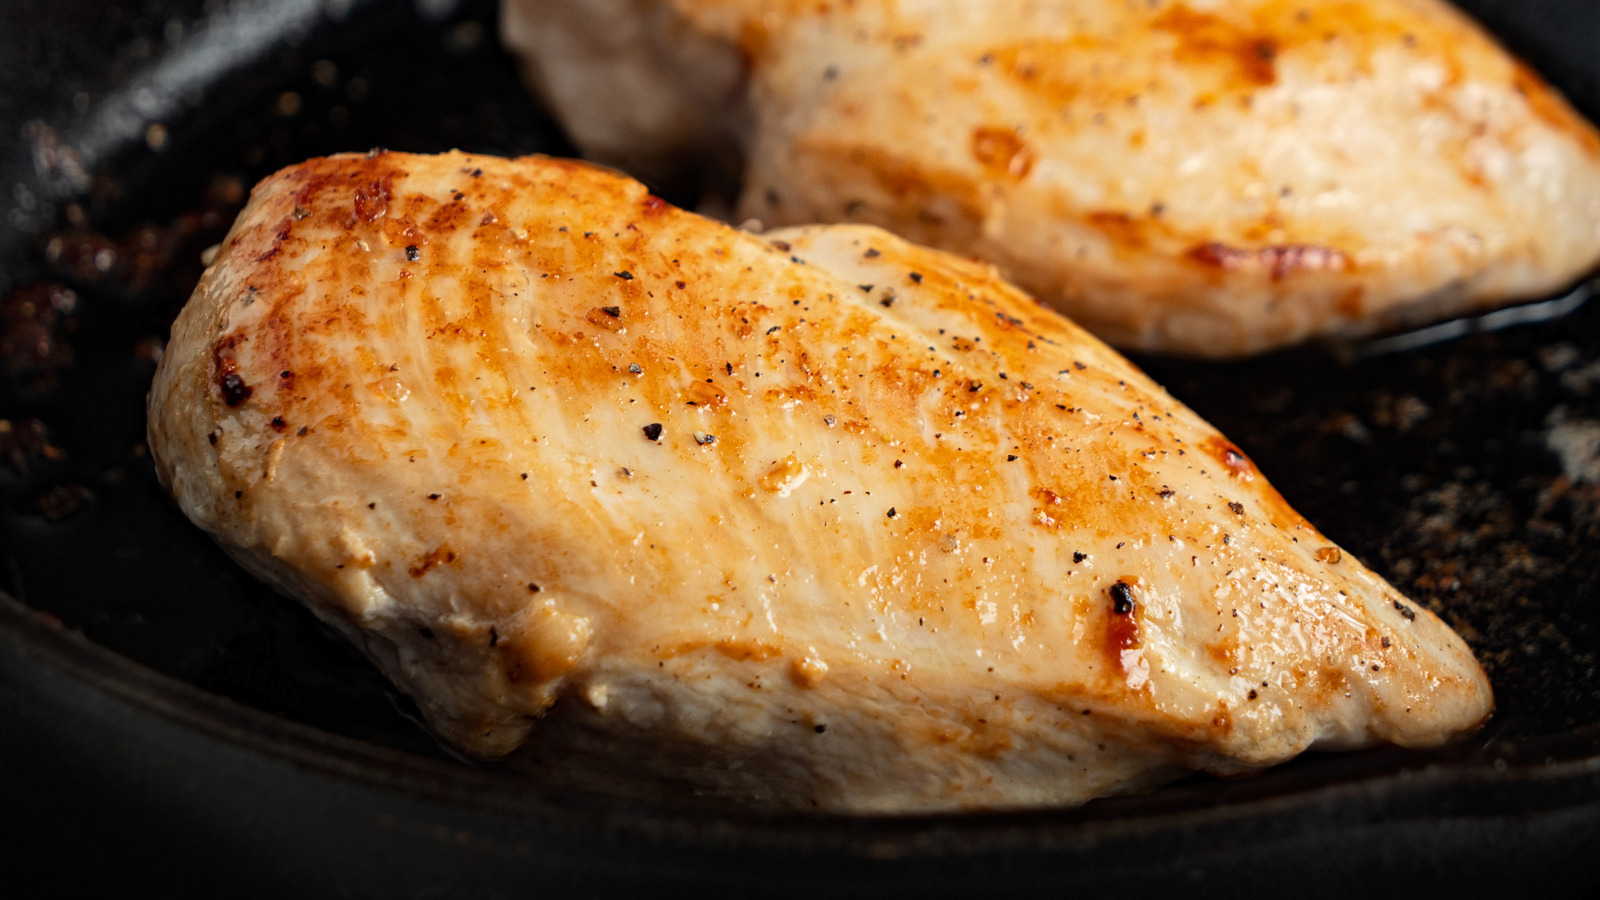
For the best results, simply pour oil into a warm stainless steel (or cast iron) skillet, moving the pan slightly until the surface is fully coated. Once it starts to ripple and appear somewhat streaky, you can finally begin browning the chicken.
The dos and don’ts of searing chicken to perfection

Starting with quality poultry is a must. Whether you buy organic chicken from the supermarket or pasture-raised birds from local producers, look for labels that indicate how the meat was processed, as air-chilled options tend to yield a crisper sear. Although any piece of poultry will do, we suggest selecting skin-on breasts and thighs as the fat will keep meat juicy, flavorful, and looking its best. Now, on to prep…
Since fresh chicken is relatively moist, always pat the meat dry prior to searing so that it browns as it should. This step also helps seasonings — preferably, salt and pepper — to adhere more effectively. Additionally, let the chicken rest briefly at room temperature as this guarantees a tender and evenly cooked piece of protein. Once both pan and protein are primed, place the chicken in a warm and well-oiled skillet. Avoid overcrowding the pan as this can impede caramelization.
To ensure a successful sear, we advise cooking the chicken over medium-high heat, turning it only when it releases easily from the pan. Frequently flipping the meat will only keep the chicken from developing a crisp and golden exterior. After searing for about five to seven minutes on either side, the perfectly browned chicken can be pulled from the pan and any crusty and oily bits clinging to the skillet can be transformed into a pan sauce (use this cherry balsamic recipe as a blueprint!) while waiting for the meat to rest.


