Some recipes allow for at least a degree of objectivity. The instructions tell you that your dish (or one step of it) will be done when the timer goes off after a certain number of minutes or once a thermometer reads a particular temperature. There’s a clear, concrete way to know you’ve reached the end point and your food is ready to enjoy. Many more recipes, though, require some kind of subjective call — “until the cake is golden brown” or “until the sauce reduces by half.” Unfortunately for those who prefer precision in their cooking process, clarified butter falls into the latter category. You’ll have to rely on your senses to know when it’s finished.
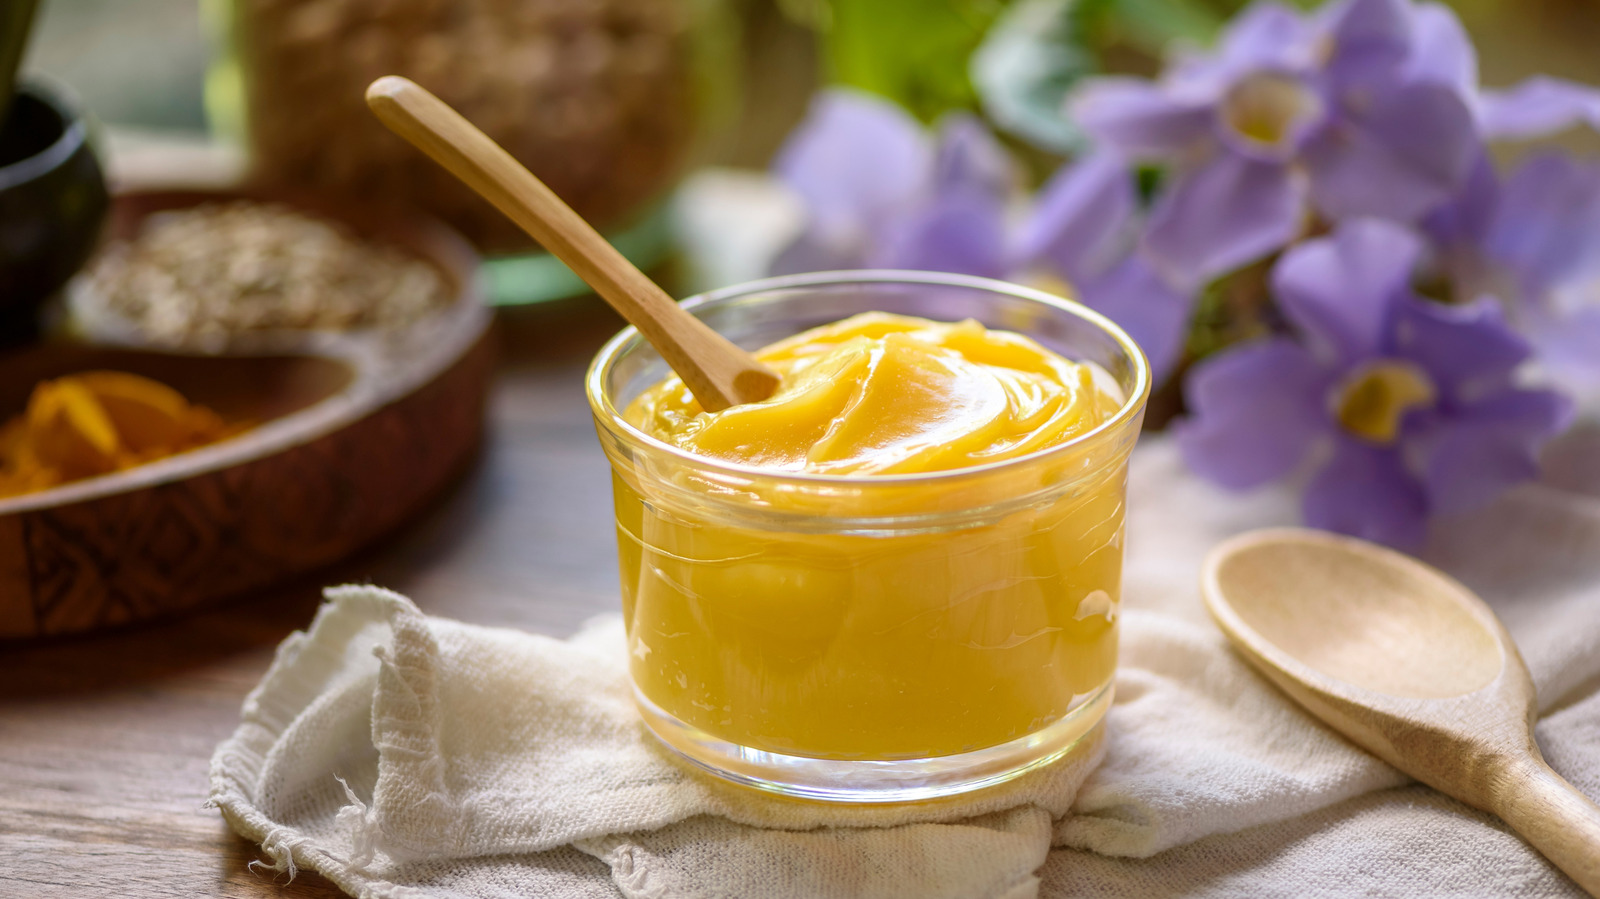
First things first: The ingredients in butter are water, milk solids, and butterfat. Of all the different kinds of butter, clarified butter is one that contains only the butterfat. Clarifying takes out the milk solids and the water and in return provides a golden-colored liquid with a higher smoke point, toasty flavor, and extended shelf life. Even though it seems like the removal of milk solids and water would be pretty objective process-wise, knowing when those steps are complete can be a little trickier. In short, you’ll have to just observe, watching for when foam appears, the water stops sputtering, and the simmering goes quiet.
Look and listen during the cooking process
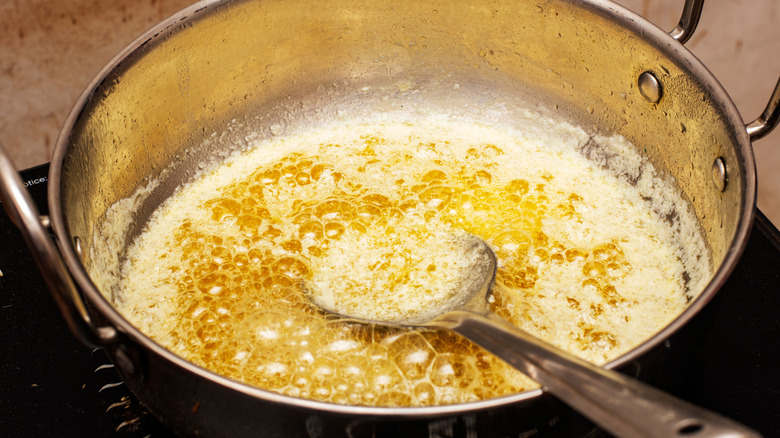
If you aren’t familiar with the clarification process, those instructions will require some, well, clarification. Butter is clarified by heating it to separate out the water and milk solids. That process will usually remove about one-quarter of the volume (if you start with a pound of butter, you’ll end up with about three-quarter pounds of clarified butter), so factor in the loss of end product when deciding how much butter you need. Put the butter in a pot, and turn the heat on low, then let the butter melt without stirring it. Allowing the melting butter to sit untouched is essential; as the butter melts and foams, the milk solids separate out and sink to the bottom of the pot.
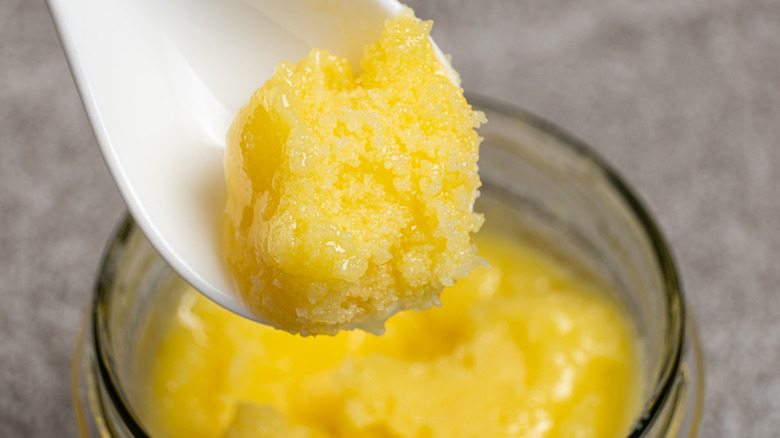
You’ll also hear water sputtering as it evaporates and bubbles popping as the butter simmers. Make note of these sights and sounds, because their absence will be your cue. Watch and listen for the sputtering to stop and the bubbles sitting on top to become tiny. Then, turn off the heat before the milk solids get brown (that’s how to make ghee), and let the separated butter sit. After about five minutes, use a spoon to scrape the foam off the top, revealing the clarified butter. There will still be milk solids at the bottom of the pan, so to get pure clarified butter, you can spoon it out, strain it through a cheesecloth or a fine strainer, or very carefully pour it and leave the solids in the pot.
How to use clarified butter
Whatever your straining method, get the clarified butter into an airtight container. One of the benefits of clarified butter versus regular butter is that it will last much longer without spoiling since the milk solids are what make butter go bad. If you put that clarified butter in the refrigerator, it will stay good for up to a year, and if you keep it at room temperature, it will last for roughly two months.
Beyond the long shelf life and toasty flavor, clarified butter’s smoke point is one of the main reasons it’s a secret ingredient in dishes like Martha Stewart’s scrambled eggs or Ina Garten’s pancakes. Butter has a fairly low smoke point — it will start to break down and burn at only about 350 degrees Fahrenheit. With the water and milk solids gone, though, clarified butter is a lot more hardy and can stand temperatures up to 450 degrees Fahrenheit, which means you can saute, griddle, and roast without sacrificing any buttery goodness.


