
Enjoying a bite of fresh, juicy corn right off of the cob is one of the bests tastes of summer, and it makes sense that many of us want to enjoy the taste of fresh corn year-round. Many of us end up with more corn on the cob than we could ever eat in the warmer months, and there’s no need for extra corn to go to waste. Thankfully, there are several ways you can freeze corn on the cob so you can enjoy sweet, crunchy kernels — without freezer burn — long after summer ends.
Vacuum sealing is the best way to freeze corn on the cob. Using a vacuum sealer can help your corn last up to 12 months in the freezer, giving you plenty of time to enjoy fresh corn before the following year’s harvest. Many corn enthusiasts recommend blanching each cob first, as this can help to preserve the texture and the flavor of the corn while it’s in the freezer. Whether you choose to blanch your corn on the cob or pop it into vacuum sealer bags sans blanching, you’ll be able to enjoy perfectly grilled corn on the cob (top it off with a bit of compound butter to add even more flavor) all year round.
How to blanch corn on the cob before freezing

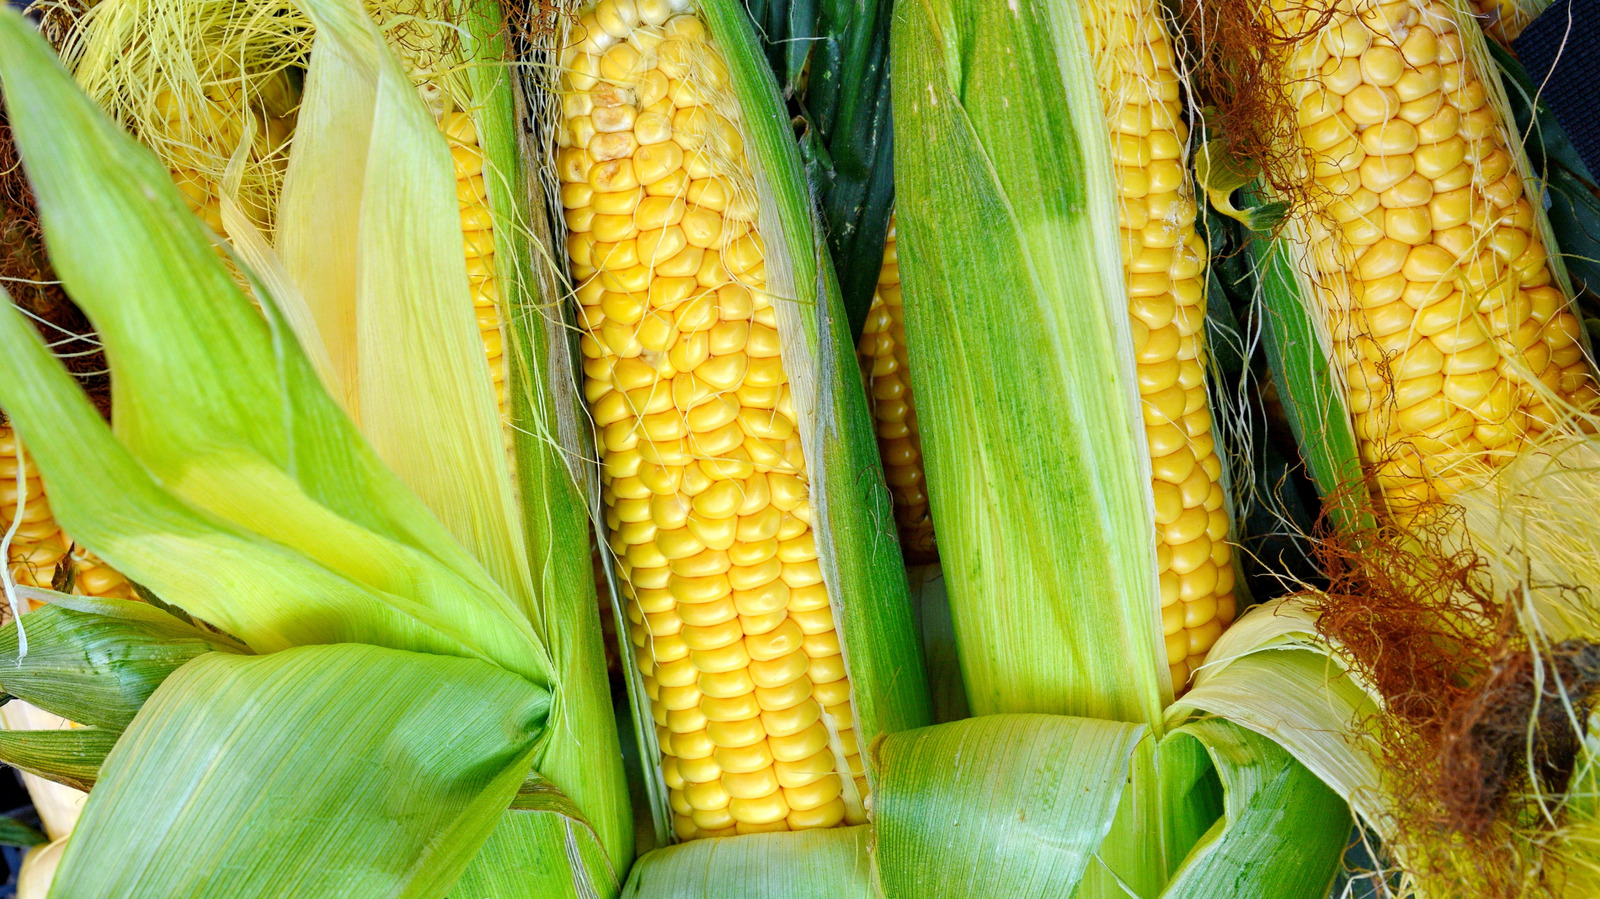
Before you prep corn on the cob for long-term storage, it’s important that you choose corn that’s suitable for freezing. To check this, simply pull the husk back a bit and puncture a single kernel. The liquid on the inside should be white and fairly thick. If the liquid is clear and watery, it’s likely that the corn isn’t ripe and needs some more time before it’s ready to freeze.
Blanching — the process of boiling vegetables in water for a few minutes — kills naturally occurring enzymes that can cause the loss of color and nutrients while your corn sits in the freezer. Blanching renders these enzymes inactive, making it more likely that your corn’s flavor and texture will stand up for months to come in your freezer. You’ll want to blanch your corn as soon as possible after picking (or purchasing) and husking to preserve in-season flavors.
To blanch your corn, husk each of the ears and remove the silk. Bring a large pot of water to a boil, and place your ears of corn into it. In the meantime, prepare a large pot of ice water. After a few minutes (recommendations on how long to blanch corn before freezing range anywhere from four to about 10 minutes), place the corn in the ice water bath to stop the veggie’s natural starches from cooking (and creating a mushy texture).
Vacuum sealing is key whether you’re blanching corn on the cob or not

Whether you’ve decided to blanch your corn or you’re going with the blanch-free method, vacuum sealing is key. If you blanched your corn, remove it from its ice water bath and dry it thoroughly (this is super important to prevent mold, mildew, and other corn-destroying issues). You can dry the corn as is, or you can cut the kernels off of the cob before you continue. After it’s dry, place the now dried corn into a vacuum sealer bag, hit the seal, and you’re good to go.
Prefer to skip the whole blanching process? No worries — vacuum sealing and freezing is still the best way to store corn on the cob. Peel the husk away (or at least a few layers of it), place the corn in bags to vacuum seal, and you’re set. Be sure to label your vacuum-sealed bags with the date before you place them in the freezer.
To enjoy your corn, allow it to thaw for a bit by placing the vacuum-sealed bags into cool water. After it’s thawed, use your once frozen corn the same way you’d use it in the middle of summer — it’s especially fun to bring typical warm-weather tastes, like grilled romaine and corn salad with an herby dressing, into the dead of winter.


