
Restaurants exist, in part, because a lot of us lack the time, energy or skills to turn out every single meal every day. They also let us conveniently enjoy food that would be challenging or impractical to make at home on a small scale.
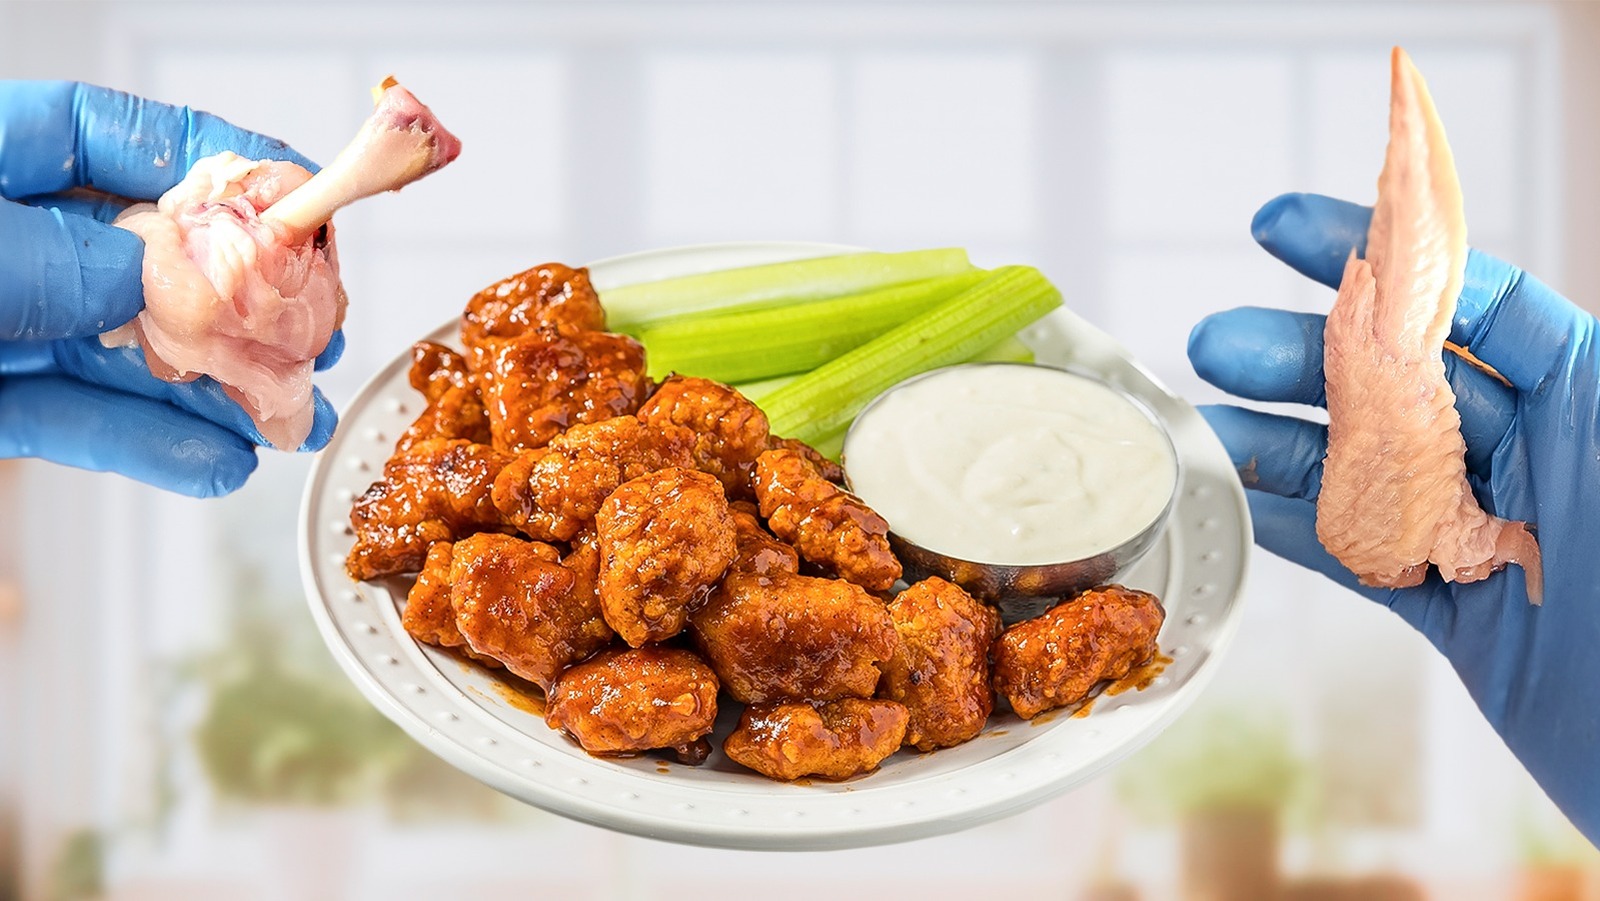
Consider Houston eatery Stuff’d Wings, which specializes in — yes — stuffed chicken wings. Before you can stuff a wing, you need to debone it, and that’s a task that a lot of home cooks will cheerfully allow someone else to do for them. Which is a shame, because it’s actually not hard. In fact, deboning things for yourself is a really useful skill that can stretch both your grocery budget and your boundaries as a cook.
Long before I ever became a chef and restaurateur, I used to challenge myself to try things like this. The internet was in its infancy then, so I leaned on books, but it’s much easier to learn how to debone a chicken wing (or anything else) with a visual guide. So, I’m going to demonstrate the technique here in my home kitchen.
Things you’ll need
Deboning the middle or “flat” of the wing is relatively straightforward, so even if you’ve never done it before, you’ll quickly get a feel for it after a wing or two.
You don’t need a lot of tools for the job, just:
- A cutting board
- A sharp knife, ideally a boning knife
- Disposable kitchen gloves
- A plate to hold the wings as you debone them
- A damp kitchen towel to keep your cutting board from sliding as you work
The gloves and towel are optional, though I highly recommend them. They’ll make the job more pleasant. As for the knife, a boning knife is perfect for the task (it’s one of the five knives Alton Brown recommends for everyone to own) but any knife will work as long as it’s sharp and easy for you to handle. If your knives aren’t up to the job, we’ve got you covered with an expert’s advice on everything you need to know about knife sharpening, and I recently expanded and updated our ranking of the 20 best knife brands if you feel the need to upgrade.
Step 1: Turn the wings upside down on your cutting board
If you look at your wing, you’ll see that one side is relatively featureless, with thick skin and dimples, which is where the feathers used to be. If you flip it over, you’ll see the muscles and joints clearly outlined through the thinner skin of the underside. The “drumette,” or “drummie,” corresponds to your upper arm. The “flat,” with its two finer bones, corresponds to your forearm. That’s the part you’ll stuff. The wingtip, which corresponds to your hand, is there mostly to provide a convenient handle for eating the wing.
This is the side you want facing upwards as you work. Choose a wing from your stack to start with, turn it so the underside is facing up, and set the rest aside.
Step 2: Remove the drumette
Look for the spot where the drumette meets the flat, at the “elbow” joint. To make a nice, clean cut that doesn’t dull your knife, you want to cut through the cartilage that holds the bones together, not the bones themselves. To make it really obvious where the correct spot is, especially for your first few wings, I suggest bending that joint until you dislocate it.
You should see a small gap under the skin where the bones have separated, and there’s just cartilage. Slide your knife through that spot, severing the drumette. Set the drumette aside on your plate for later: They’re not normally deboned and stuffed, like the flats, but I’ll describe a couple of things you can do with them.
Also, while most of you probably don’t need this warning, I’ll emphasize it again: Cooked and raw chicken should never go on the same plate. Nothing that’s been in contact with raw meat or poultry should ever touch the cooked meal because that’s exactly the kind of cross-contamination that’s a common cause of salmonella infections and other really unpleasant forms of foodborne illness.
Step 3: Circle the exposed cartilage with your knife
Look at the exposed end of the flat, where you’ve removed the drumette, and you’ll see a small cap of cartilage with skin and flesh clinging to it. With your knife, circle this section at the exposed end of the wing, cutting right through to the bone.
We’re going to leave that cartilage in place for now (it conveniently holds the ends of the bones together, making them easier to handle), but circling the bones with the knife tip begins the process of loosening the tasty meat that clings to the bones. You may need to go around the cartilage more than once in order to sever the skin completely.
Step 4: Push back the skin and flesh of the wing, to expose the bone
Hold onto the exposed cartilage with your non-dominant hand (the left, in my case, because I’m right-handed), and then use your dominant hand to push the skin and flesh back from the bones where they meet the elbow joint.
Releasing the meat from the bones is the most important part of the deboning process (news flash!), so take your time and work carefully. Look for any places where there’s a tendon still attaching the meat to the bones, and carefully cut them away from the bone with the tip of your knife. If you’ve chosen to use a larger boning or utility knife for this job, you might still think about switching to a smaller paring knife for this step of the process, especially if your hands are too small to comfortably manage fine work with the bigger knife.
Step 5: Push the muscles to the end of the flat
This is the fun step. Once you’ve severed any tendons binding the flesh and bone together, push firmly with your thumb and fingers to slide the meat down the bone toward the wingtip and the wrist joint. The muscles along the outside of the bones will move freely, but there’s a segment of tender muscle sheltered between the flat’s two small bones (the equivalent of the radius and ulna in your own forearm) that can be trickier to dislodge.
To get that part of the muscle, you’ll need to wiggle a fingertip in between the bones and push down. If your fingers are too big to do this effectively, you can use the point of your knife instead. You won’t use the edge; just push the flat side of the knife tip against the muscle to move it from its spot between the bones. Then, push the meat and skin all the way down to the wrist joint so the bones are fully exposed. The meat usually turns itself inside out, like a sock, and that’s fine.
Step 6: Twist the flat to remove the bones
Now, we get to the tricky part. Grasp the now-bare elbow joint in your dominant hand, where that cap of cartilage we left in place holds the bones together. Give it a firm twist and a wrench to pull the small bones from the cartilage at the wrist joint. The smaller bone will usually pop out easily, though the larger one may require a bit more effort.
If they don’t pop out obligingly after that first effort, they should at least be dislocated. You can then reach down to the newly loosened bones at the wrist joint and pull them out. If necessary (it won’t be, usually), you can use the tip of your knife to cut through the cartilage, as you did at the elbow joint to remove the drumette. The two wing bones, the cartilage from the elbow joint, and possibly part of the cartilage from the wrist joint will come off in your hand. You can discard the bones, but I always keep mine for making broth.
Step 7: Finish the wing
The final step in the deboning process is the easiest: Just take the wing meat that’s bunched up at the wing’s wrist joint and turn it right-side out. A few small pieces of muscle may fall out or threaten to, and you can simply poke these back inside with a fingertip. Congratulations! You’ve just deboned your first wing.
Set this one aside on your plate, along with the drumette, and repeat with the next wing. As a practical matter, I usually sever all of the drumettes first before deboning the flats, but that’s a personal preference, and you’re free to do it however you prefer. Once all of the wings have been deboned, you’re ready to stuff and prepare them.
One quick note before we proceed: There are lots of ways to add flavor to chicken wings, but if you plan to marinate them, you should do that before you stuff them. Otherwise, the stuffing will get soggy, and you may create a risk of foodborne illness.
Alternative method for deboning wings
Instead of using your fingers to push the wing meat away from the bone, some people prefer to use a knife. Follow Steps 1 through 3 as described above, but then make a slit with your knife that runs the length of the flat from the elbow to the wrist joints, following the line of the larger bone. Now, tease the skin and muscle away from the bones with the tip of your knife, leaving the bones bare. Remove the bones as described in Step 6, leaving just the meat and skin behind.
When you use this technique, your chosen stuffing isn’t fully contained within the wing. You can either wrap the wing in something (a strip of bacon is the obvious choice) to keep the stuffing in place, bread or batter the wings, or simply make the filling spilling from the wing an appealing part of its look.
Debone the drumette
The flat of the wing is the part that’s generally deboned and stuffed, and the pointy wingtip provides a convenient handle for eating it. But what about the leftover drumettes?
If you wish, you can debone those as well and use them in stir-fries, casseroles, or anywhere else you’d use small cuts of chicken. To remove its single sturdy bone, cut around the cartilage at either end. Next, make a slit lengthwise down the drumette, following the line of the bone. Use the top of your knife to help sever tendons and peel the flesh from the bone, leaving the bone and its attached cartilage behind. The whole process is very similar to removing the bone from chicken thighs. The bones can be added to the rest of your wing bones and used to make chicken broth.
French the drumette
Stuffed wings are just plain fun, which means they’re great for entertaining. So it makes sense to find a party-worthy use for the drumettes as well. I’d recommend “frenching” them.
In culinary terms, frenching a bone means leaving it exposed and cleaned. To do this with a drumette, cut through the skin and flesh at its narrower “elbow” end until you reach the bone. Now, use the edge of your knife to remove the cartilage, leaving the joint exposed. Finally, scrape the flesh away from the end of the bone with the tip of your knife, severing any tendons holding it in place.
When you roast or grill the drumettes, the meat will contract to make a ball-shaped “lollipop” at the thick end, with a bare bone at the narrow end to act as a handle. They make a fun appetizer, perfect for dipping. You can use the same technique to make barbecue chicken lollipops from drumsticks, upgrading the idea from an appetizer to a meal.


