
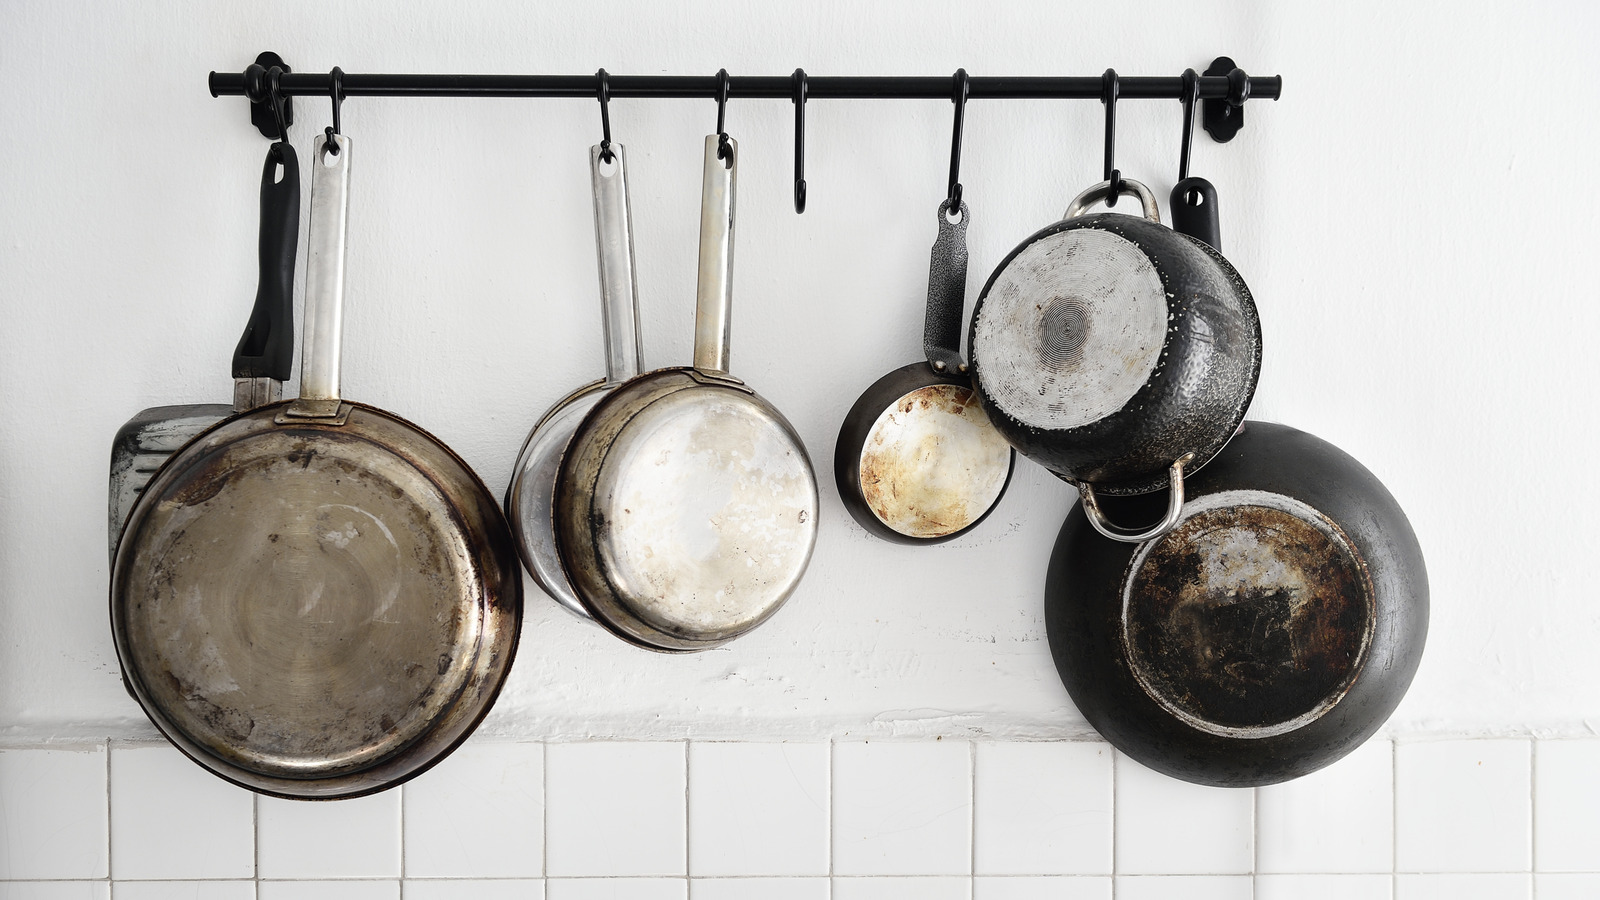
When looking at a rack of pans hanging on the wall, whether it’s in a chef’s kitchen or a home decor website, odds are, they aren’t department store nonstick pans. Instead, they’ll be copper, cast iron, or gleaming stainless steel. Chefs often use stainless steel cookware, because it’s durable, non-reactive (unlike aluminum or copper), and provides even heat distribution, even with the sort of super high heat that coated nonstick pans aren’t so well suited for. Stainless steel pans also eliminate the risk of a nonstick coating scraping off and ending up in the food.
But keeping stainless steel from getting gummed up with cooked egg, curry, or tomato sauce can be daunting, and cleanup can be tough when something burns on the surface. Fortunately, though, you can transform any decent stainless steel skillet into a nonstick pan (minus the chemical treatment) in a number of ways.
Each suggestion below comes with a caveat. Pans, like their owners, have unique characteristics and requirements. Are you cooking on gas or electric? Are the pans thick or thin? Copper or enamel-bottomed? A bonded composite surface like All-Clad? Are you cooking a thick, uniform steak or slender, variably textured vegetables? Even if you’ve scored inexpensive stainless steel pans at Costco and you just want to heat up frozen meatballs efficiently, we’ve got you covered. Whether using high heat and the right oil, or lining the pan with parchment paper, the fact is, you can have your elegant stainless steel cookware display and easy-cleaning, nonstick pans at the same time.
Aim for high heat
If you’ve ever looked at a recipe that says to cook over high heat, but opted to slow-cook the dish over medium-low heat for fear of burning your steak, tofu, or zucchini, you’re not alone. But check out any diner’s griddle and you’ll see it’s as hot as it can be. The same should be done with stainless steel pans on a home stovetop. The fact is, stainless steel is designed to handle high temperatures. And by using it this way, you’ll be cooking a given dish as directed and gaining a nonstick surface at the same time.
There are two factors involved: First, the relatively porous nature of stainless steel changes with high heat. Expanding steel closes the natural pores and indentations, making the surface much smoother. Second, something called the Liedenfrost effect happens. You can see it in action when you flick a little water on the pan and individual droplets dance on its surface instead of forming a pool, a phenomenon that occurs when your stainless steel pan is heated above 400 degrees Fahrenheit. This effect means that pork chops, broccoli, or eggs will cook on top of the surface of the pan instead of getting soggy or stuck. It also ensures a great sear on a steak, like you might associate with cast iron. In general, high heat automatically makes stainless steel pots or pans more nonstick. Just make certain any meat you’re cooking sears completely and caramelizes before flipping it, or it may stick to the pan anyway.
Season a stainless steel pan
Cookware acolytes already know the rigors of seasoning a cast iron pan, new or old, to prevent food from sticking and the pan from rusting. With cast iron, you’re baking thin layers of oil onto the porous surface of the pan, giving it a semi-permanent nonstick surface. That doesn’t work with stainless steel pans, but you can mimic the effect each time you use one.
The technique for creating a nonstick surface by temporarily seasoning a stainless steel pan works hand in hand with, and improves on, the high-heat method above. Preheat the pan above 400 Fahrenheit until you achieve the Leidenfrost effect (the rim of the pan will be very hot to the touch). Then, add a thin layer of oil. Using an oil with a high smoke point is important here. The smoke point is the temperature at which oil starts to burn, imparting bitter notes to food and sticking to the pan. This can also be a good opportunity to use a neutral oil, imparting minimal flavors to whatever you’re cooking. Consider canola oil, which is generally less expensive than other high-smoke point oils and has a mild flavor.
It only takes a thin layer of oil coating the surface of the pan for this seasoning technique to work. If you’ve poured in too much, pour some off after it heats up, or wipe it (carefully) from the pan with a couple of paper towels, the way you might grease a cake pan.
Add the right oil at the right time
Debates rage within online cooking communities as to when to add oil to a pan for the best nonstick results. Some people advocate for adding cold oil to a cold pan and heating them up together, with others insisting oil is best added to a pre-heated pan. Some people even heat the oil up before adding it.
Heating oil along with the pan brings everything up to temperature in a uniform manner, so cold oil doesn’t briefly cool down a hot pan. However, the risk of burning your oil is higher, since it sits in the hot pan longer. Meanwhile, some people say adding cold oil to a hot pan makes it behave more like a nonstick one. Heating the pan first also allows any residual moisture (from washing) to boil off before oil is added, reducing splatter. Either way, when it comes to stainless steel cookware, you want that oil shimmering hot but not smoking to achieve an ideal nonstick surface. If the oil’s not hot enough, it soaks into the food, which can affect its flavor and increase the chances of it sticking.
Remember to pat dry whatever you’re cooking before adding it to a hot pan with hot oil. Moisture will cause the oil to pop and spatter, creating both a mess and a safety risk. Water also cools down oil and pan both, briefly creating inconsistent heat, increasing the risk of food particles sticking to the pan.
Line the pan with parchment paper
Finally, lining a stainless steel pan with parchment paper works particularly well when frying foods that commonly stick to the cooking surface, like salmon or an egg. In fact, frying an egg this way is a parchment paper cooking hack you might use again and again. It’s a chef’s technique that has some history, but seemingly went viral in 2023 with a blogger’s Instagram post on how to fry up crispy salmon. That video inspired a whole TikTok cooking trend.
This trick also works with actual nonstick pans that have lost their coating and are now “stick” pans. To put it into action, cut a piece of paper larger than what you’re cooking, but smaller than the diameter of the pan’s bottom. Add a little oil to the pan, set the paper in and add more oil or butter (soaking the paper, essentially). This is your new frying surface. Salmon should flip easily, but you’ll want to cover and baste the egg so both sides cook at once. Make certain the paper doesn’t extend past the pan’s lip as it could burn, particularly over an open gas flame. You don’t have to get tricky when cutting parchment paper to size, but if you want to, we have a guide on how to line any pan with parchment paper.


