
We may receive a commission on purchases made from links.
One of the easiest and most nutritious Mason jar meals on the go right now is chili. The best part? All you need to prep it is dried beans, veggies, and spices, each layered within the jar to create an efficient and aesthetically pleasing arrangement.
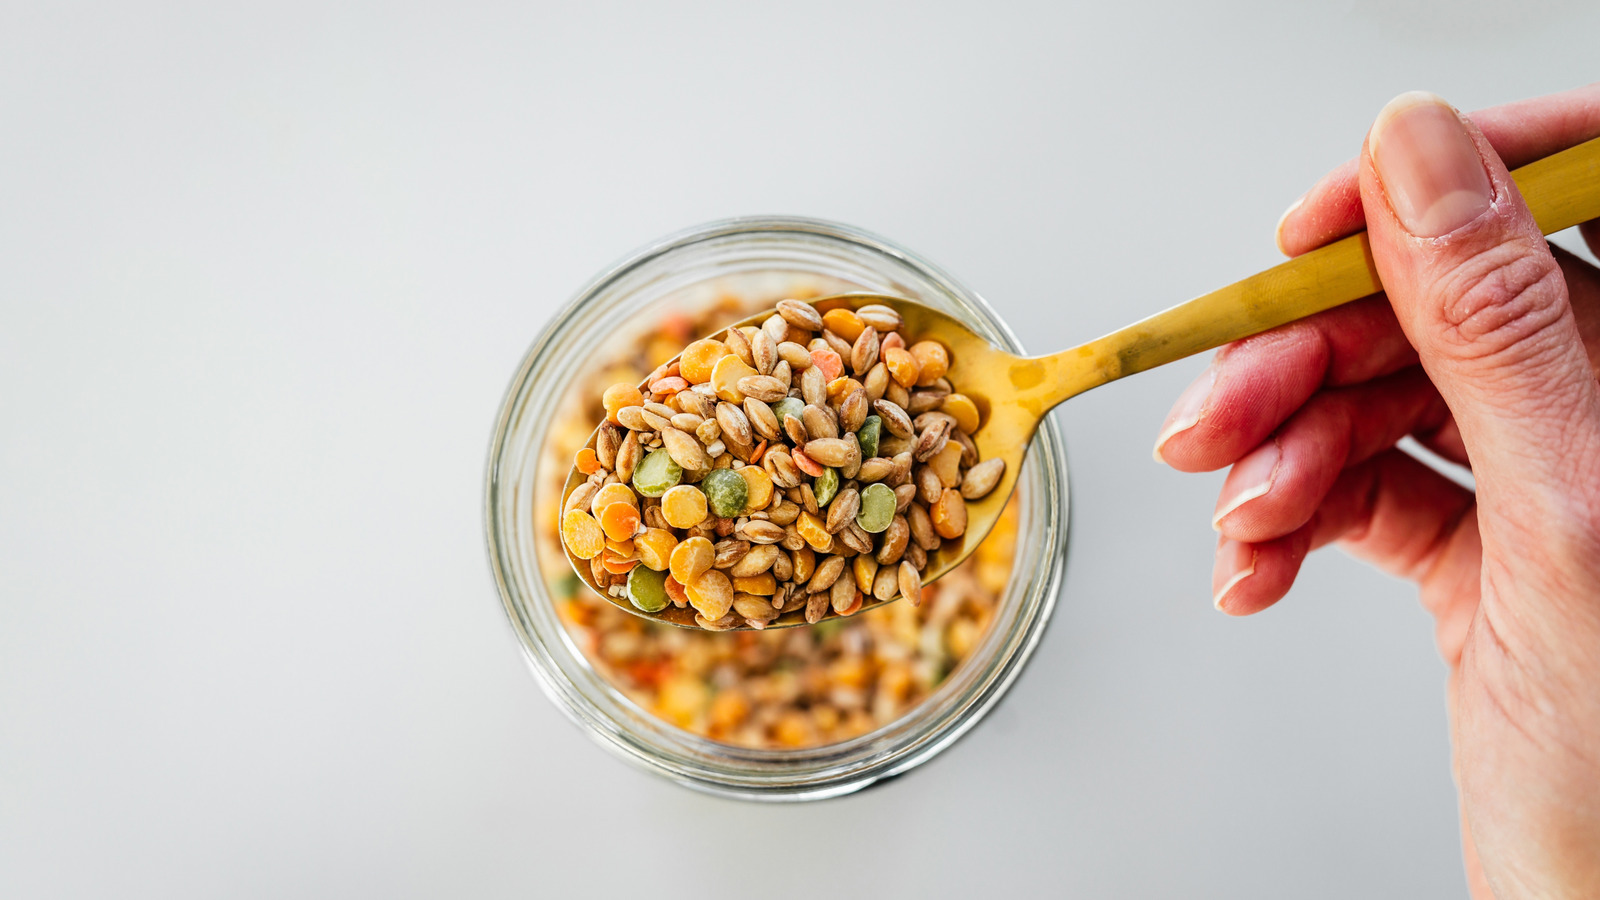
To layer your Mason jar chili, put your legumes in first, as they are the heaviest ingredient. Next, layer dehydrated vegetables inside the jar on top of the beans. Dehydrated food has a life of 6- 12 months and can be purchased online. Alternatively, you can easily make your own in a dehydrator, or in the oven at low heat. Finally, combine your spices (either loosely or in small bags) and place them on top of the dried vegetables. We recommend chili powder, sugar, paprika, garlic powder, cumin, salt, and pepper to start with. You can get as creative as you want, even including some secret ingredients to elevate your chili to a more gourmet level.
Though any kinds of beans will do, to make this chili nutritionally diverse and colorful, we recommend using a few different types of legumes and layering them. Kidney beans, black beans, and navy beans are a classic combination but take a little longer to cook than other kinds of legumes. Opting for a combination of split peas and lentils can significantly cut down cooking time.
Serve your Mason jar meal as a vegetarian bean soup or as a traditional chili by adding ground beef at the end. However you decide to serve it, simply empty your jar’s contents into the slow cooker (remove and open the small spice bags first if you went with those) with some water and tomatoes in the morning, and by the time you get home, the comforting scent of chili will have filled your kitchen and beyond.
How to label and write instructions for your Mason jar chili

Similar to Mason jar cookie mix, Mason jar chili makes a perfect gift, especially around the winter holiday season. The layering of dried beans, veggies, and spices creates an aesthetically pleasing jar that can be further beautified by adding cute instruction labels. Decide what your instructions will say based on the ingredients you have chosen for your chili. Lentils will require a shorter cooking time than beans, for example, so if you’ve prepared Mason jar chili of both types, make sure you grab the right instruction card to append to the jar.
In terms of appearance, you can keep it simple or try some DIY graphic design with programs like Canva. You could design and print labels with instructions, then directly stick them to the jars with tape. Alternatively, you can punch holes in them and attach them around the lid of the jar with ribbon, string, or twine.
If you have lovely handwriting (or can wrangle someone that does to help out) you can buy self-adhesive labels, such as these Mess Dissolvable Canning Labels, to write on and stick on your jars. For a more rustic look that complements homemade chili, just grab a sharpie and write the instructions directly onto the Mason jar. Sharpie ink will stick to your jar beautifully and won’t smudge or fade away. It can easily be removed with a solvent or alcohol solution when your giftee wants to re-use the jar for something else — unless the chili was so good they decide to prep and make it again.


